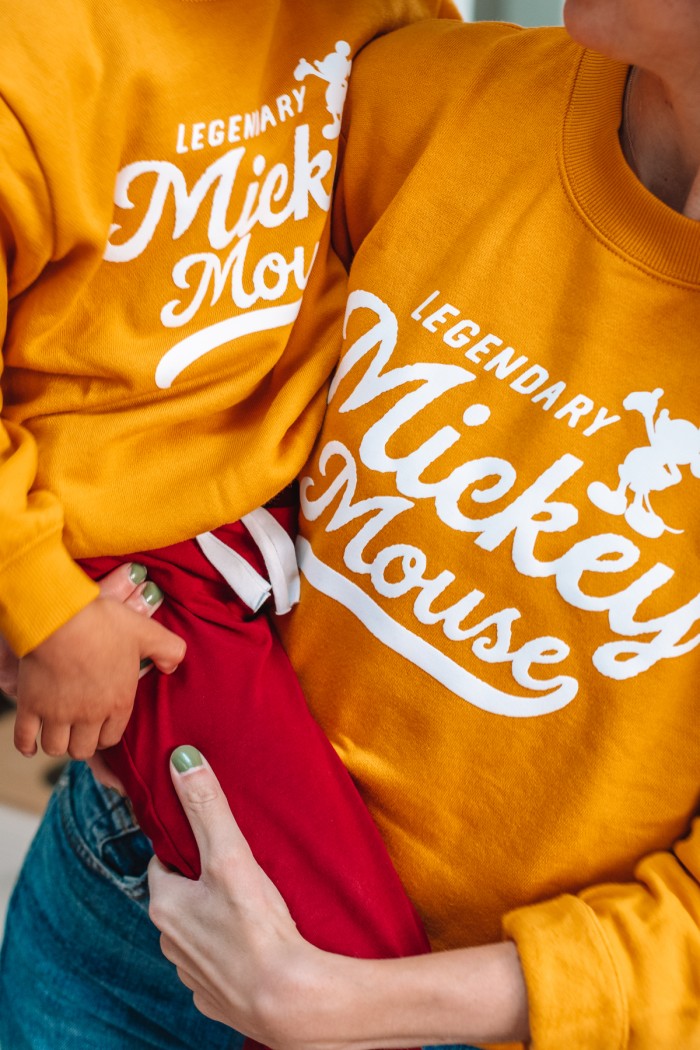
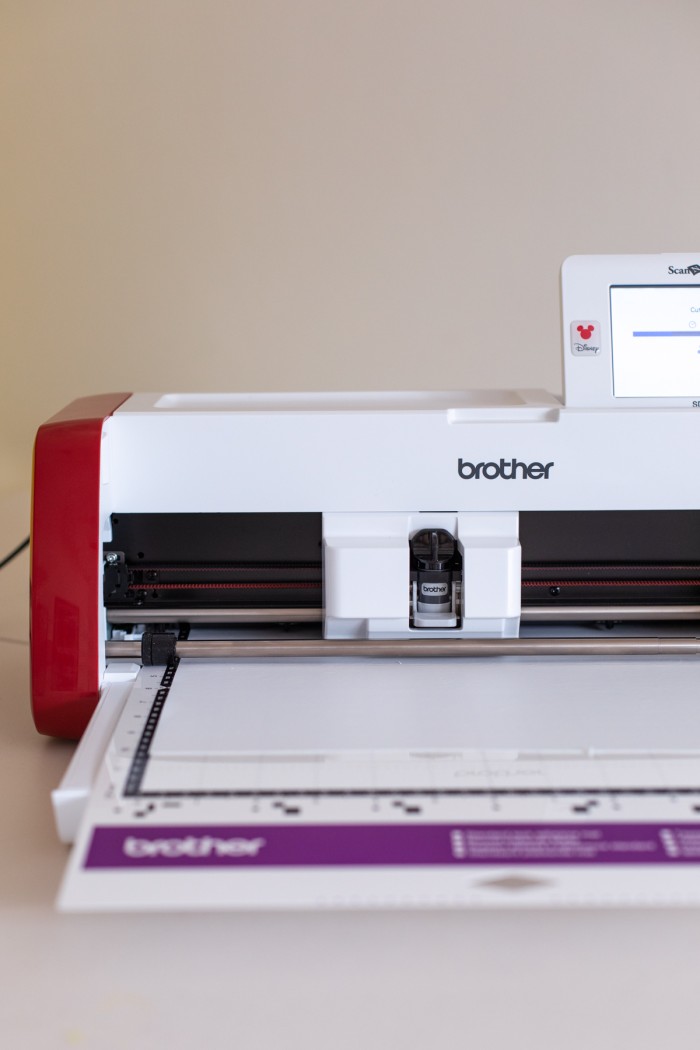
I will always love a parent/child matching outfit and especially when it involves Disney! I recently got to try out the new Brother ScanNCut DX SDX230Di Electronic Cutting Machine… DISNEY edition and pulled one of the over 150 Disney designs it has built right in to create these cute mommy and me Disney shirts!
I’ll share the tutorial below for the shirts, along with some of my favorite features of the ScanNCut… plus I’m giving one away to one of you, too!
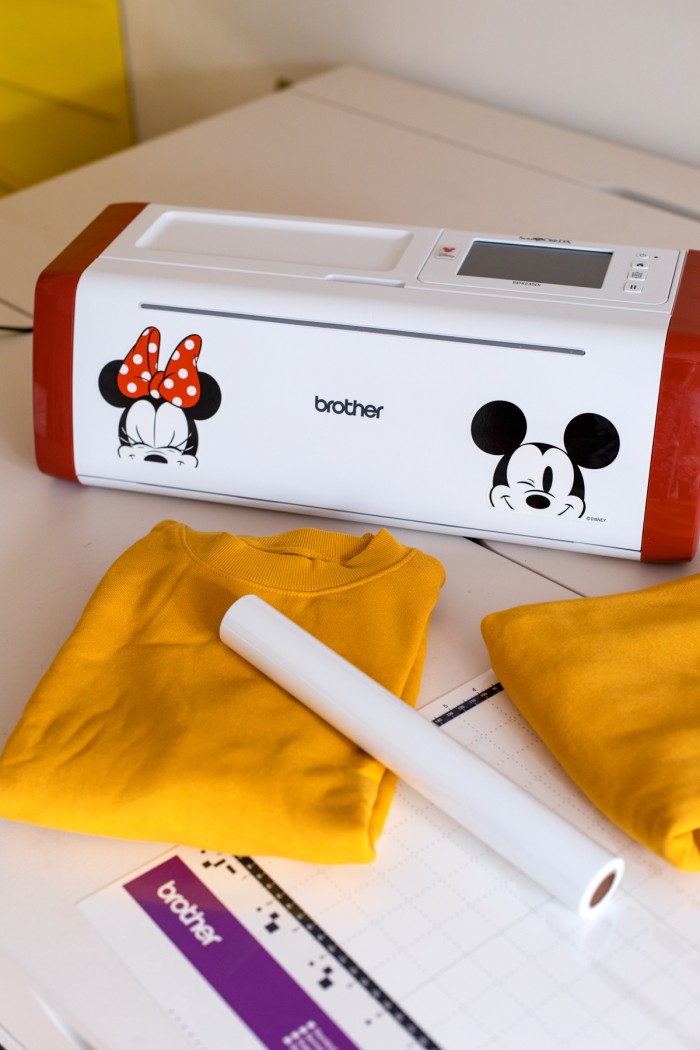
An electronic cutting machine is such a versatile (and FUN!) tool to have in your craft closet because you can do so many home, fashion and craft projects across so many different materials. And for Disney fans, this one is even more fun!!
To share a little more about the Disney-inspired ScanNCut, here’s a few of my favorite features:
- It’s the only electronic cutting machine that has a blade sensor technology that detects the thickness of your material automatically and adjusts blade pressure accordingly
- It’s completely stand-alone, you don’t need to connect a computer to it to use it (though you can if you’d like!)
- You can scan designs (like your kids artwork) and turn it into cut or draw files for craft projects!
- It comes with over 1,400 built-in designs including over 150 Disney designs!
- It was easy and intuitive to use, with little to no set-up. You can just dive right in to your first project!
What You’ll Need
Here’s what you’ll need for this project:
- Plain sweatshirt(s)
- ScanNCut DX SDX230Di Electronic Cutting Machine
- Iron-on vinyl
- Scissors
- Thin cloth (for ironing)
- Iron
Step by Step Mommy & Me Disney Shirt Tutorial
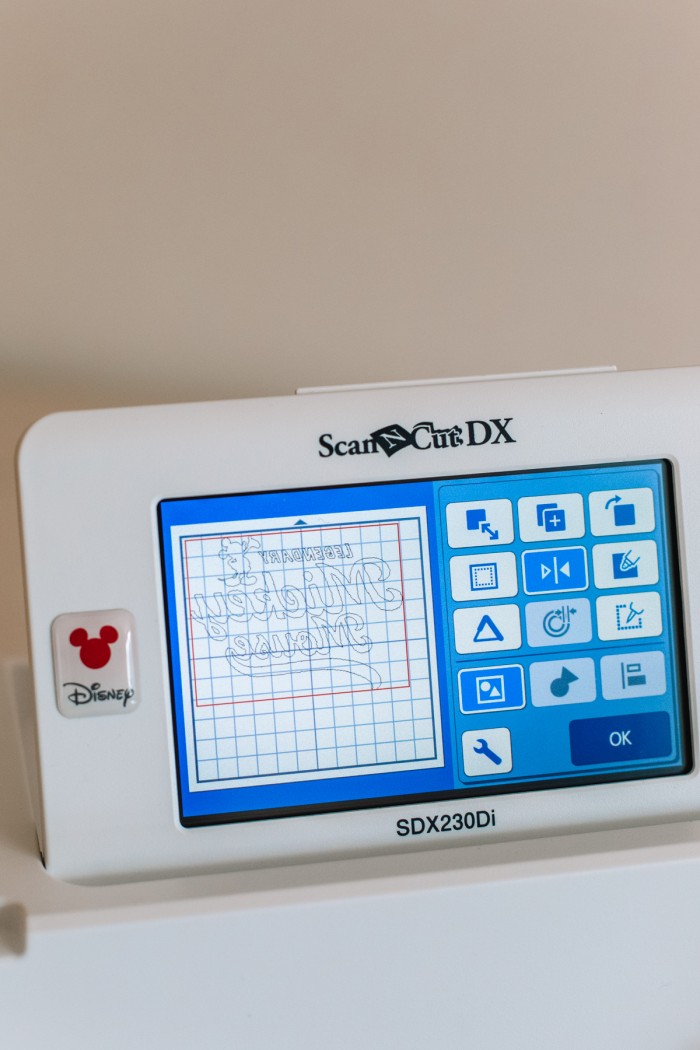
- Turn on your Brother ScanNCut and navigate to the “Legendary Mickey Mouse” graphic that is already built in.
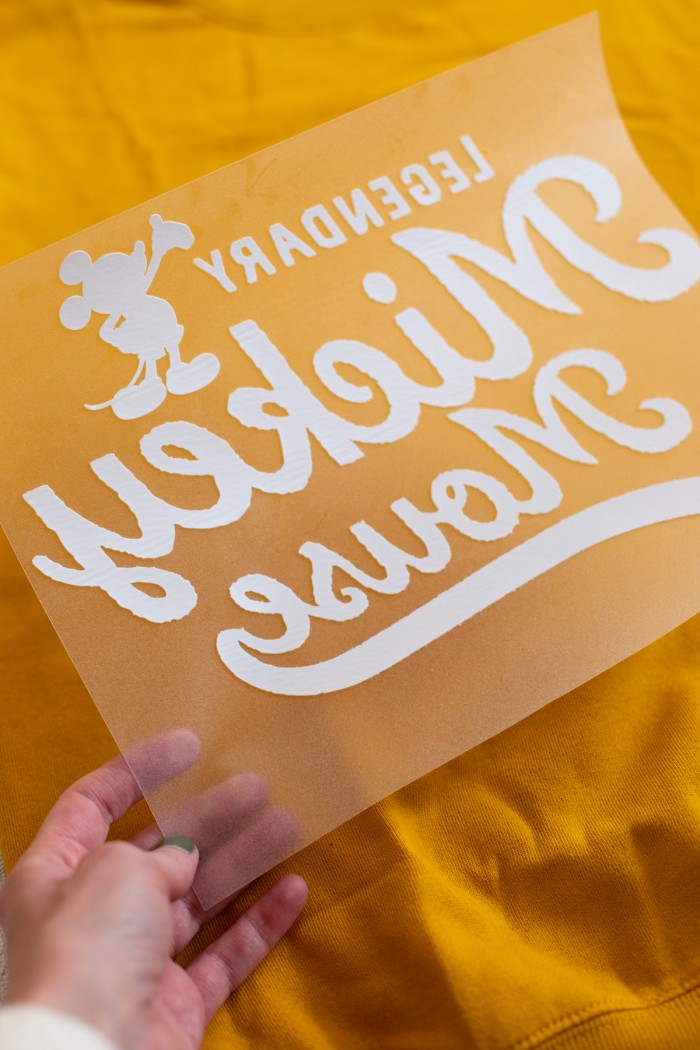
- Adjust the size as desired. And don’t forget to select the “mirror” option since this is an iron-on project.
- The machine will automatically adjust to the bade pressure needed, but be sure to turn the “half cut” option on so it only cuts through the vinyl and not the clear protective film!
- Cut a piece of your vinyl and place it on the standard grip mat, load it into your machine by pressing the load button. Hit “cut” on your screen.
5. Once your decal is cut, weed it. That means, you’ll remove the excess vinyl leaving only your design on the clear protective plastic.
6. Iron the surface of your sweatshirt where you intend to place the decal.
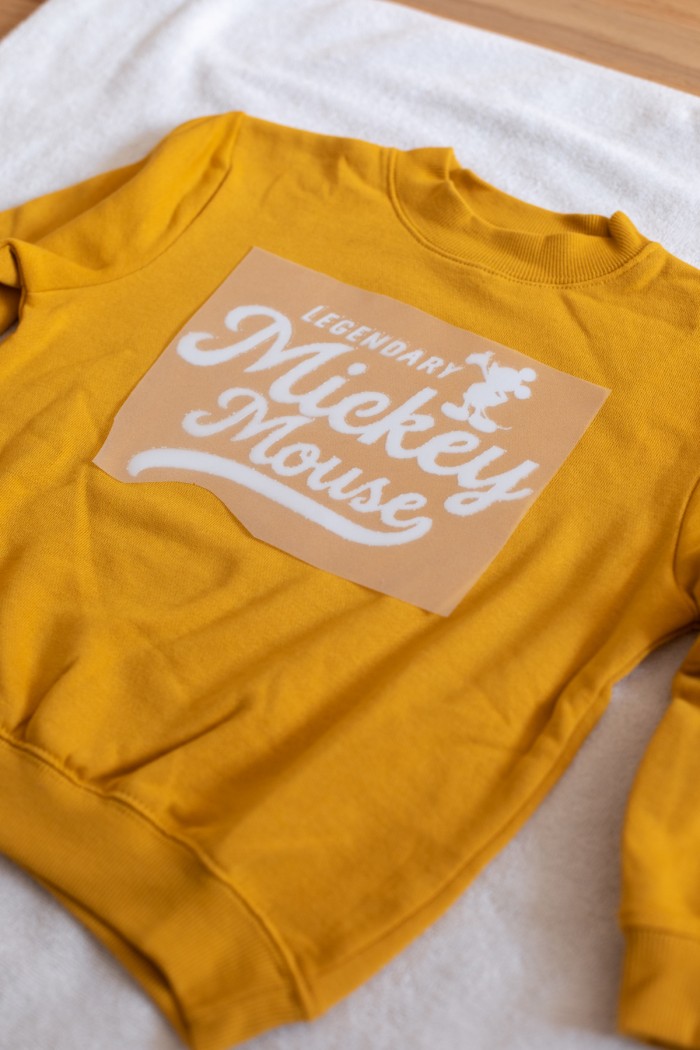
7. Then, place the decal on your sweatshirt as desired. Lay a thin cloth over it and iron on with firm pressure, for about 12-15 seconds on each part of the decal.
8. Let cool completely and then remove the clear plastic.
Repeat with your other sweatshirt for matching Mommy and Me Disney shirts!
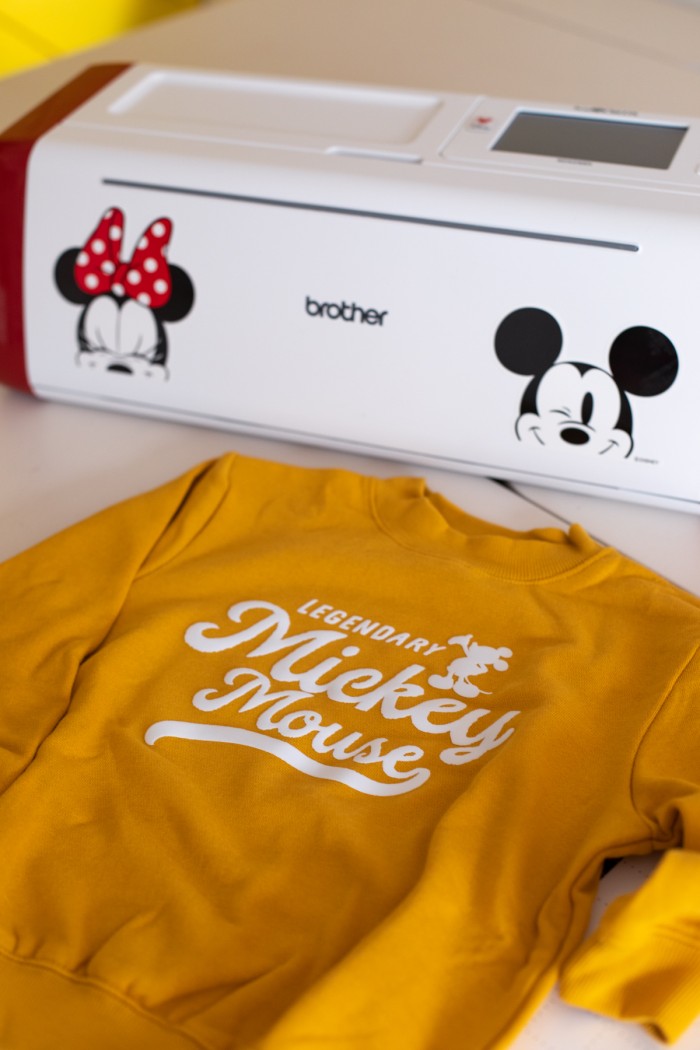
These shirts were SO easy to make. I love the incredible detail on the cuts of this design, it looks kind of old school and I’m so happy with how these turned out. Going to cozy up in them at home for now, but can’t wait to wear them on our next Disney trip, too!

Photos by Jeff Mindell
Now, who wants to win a Brother ScanNCut!? You can head to my Instagram to learn how to enter to win one of your own for all your Disney inspired (and more!) craft projects!
You can learn more about the ScanNCut DX SDX230Di Electronic Cutting Machine here!
This post was created in partnership with Brother. All content and opinions are that of my own! Thank you for supporting the sponsors that keep the Studio DIY party going! Read more about my editorial policies here.
DIY Mommy + Me Disney Shirts
Materials
- Sweatshirt
- ScanNCut DX SDX230Di Electronic Cutting Machine
- Iron-on vinyl
- Scissors
- Thin cloth for ironing
- Iron
Instructions
- Turn on your Brother ScanNCut and navigate to the “Legendary Mickey Mouse” graphic that is already built in.
- Adjust the size as desired. And don’t forget to select the “mirror” option since this is an iron-on project.
- The machine will automatically adjust to the bade pressure needed, but be sure to turn the “half cut” option on so it only cuts through the vinyl and not the clear protective film!
- Cut a piece of your vinyl and place it on the standard grip mat, load it into your machine by pressing the load button. Hit “cut” on your screen.
- Once your decal is cut, weed it. That means, you’ll remove the excess vinyl leaving only your design on the clear protective plastic.
- Iron the surface of your sweatshirt where you intend to place the decal.
- Then, place the decal on your sweatshirt as desired. Lay a thin cloth over it and iron on with firm pressure, for about 12-15 seconds on each part of the decal.
- Let cool completely and then remove the clear plastic.





Angela says
This is ADORABLE! I love how they came out! Would you mind sharing the sweatshirt you used? I love that color and style.