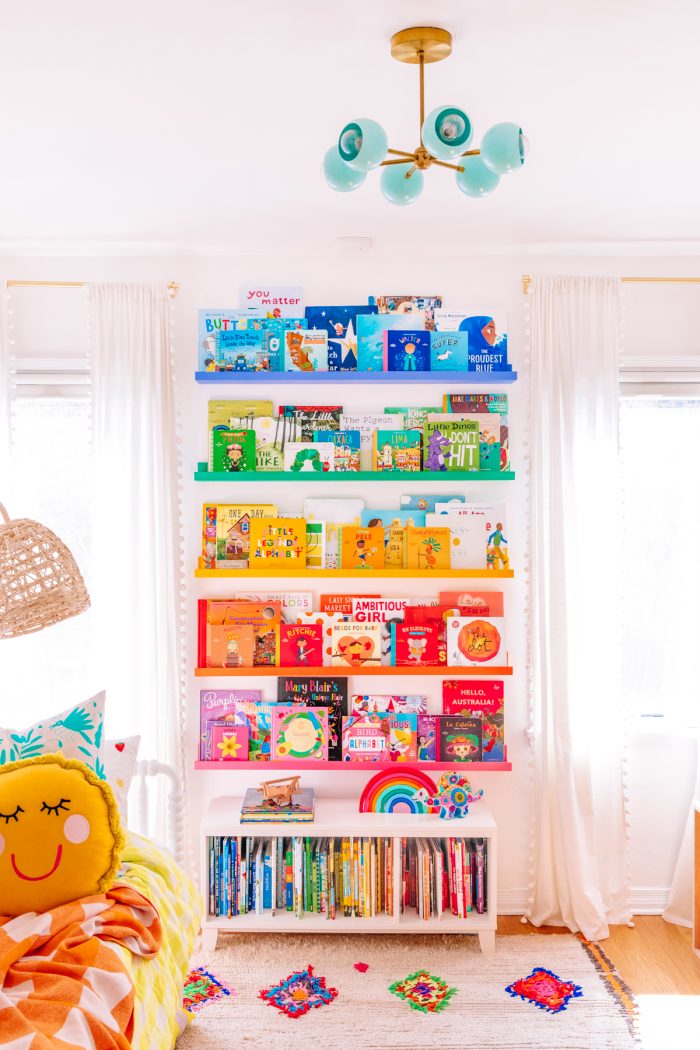
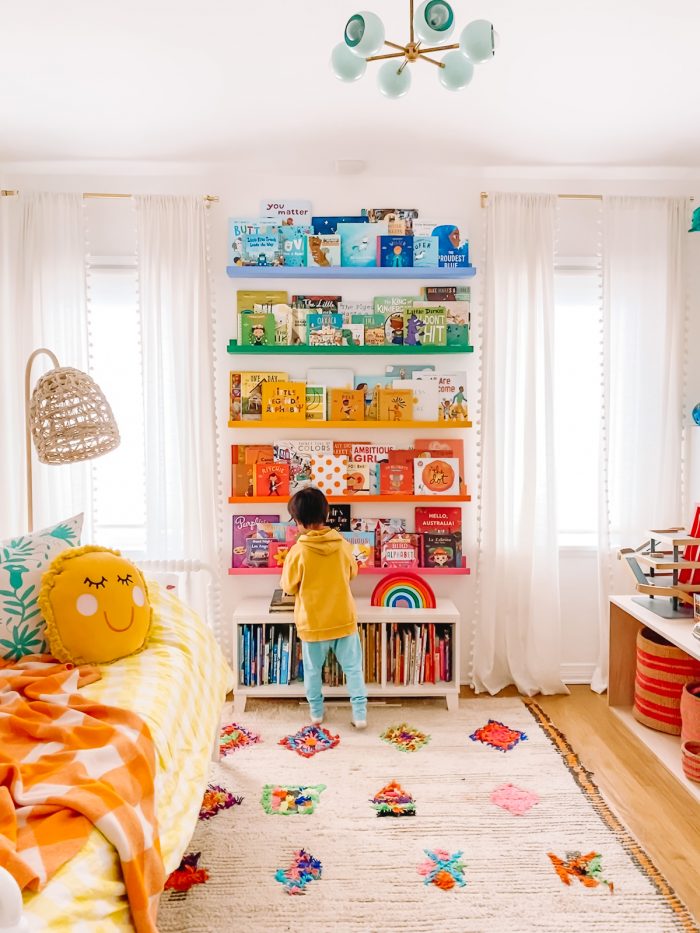
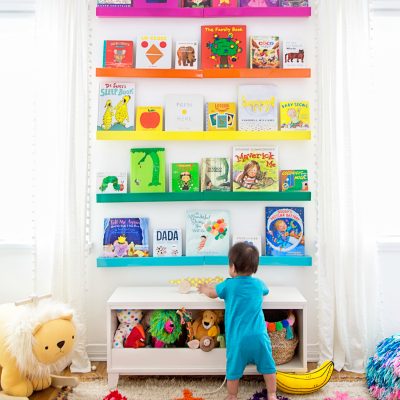
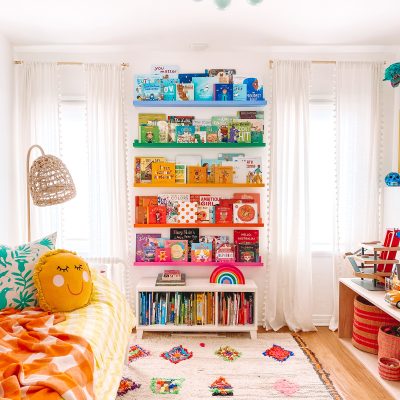
Since day one when we designed a rainbow nursery for our son, I’ve loved the statement our rainbow bookshelves have made. However, as he’d grown older and our book collection has grown right along with him, they no longer held as many books as we needed them to. So, as we upgraded his room to a big kid room, I decided to replace them with an IKEA hack for DIY rainbow bookshelves!
This allowed me to make much wider shelves but still get the same look, and they turned out great! Today I’m sharing all the details for how to paint IKEA shelves, the colors we used and how much this project cost!
What shelves work best for this project?
I used the MOSSLANDA picture ledges in white. They come in both a 21″ size and a 45″ size. We used the latter. If you have a longer or shorter wall, you can also buy multiple shelves to create as long of a shelf as desired.
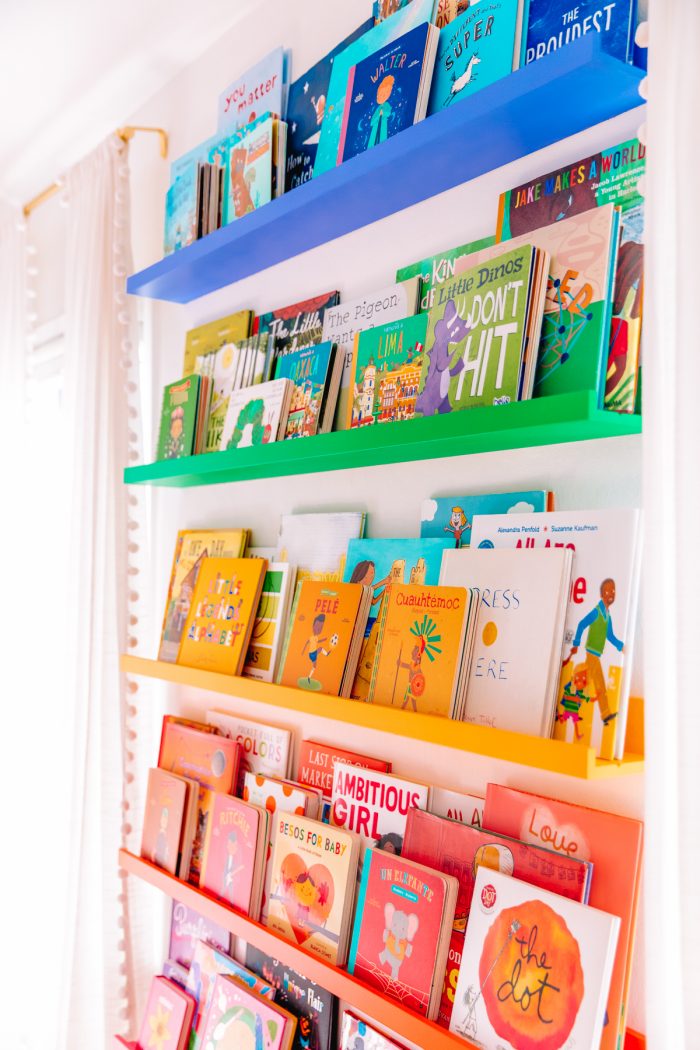
I liked these shelves because they are quite deep and can hold multiple layers of books on the shelves. Our past rainbow shelves, and the current pre-made colorful book ledges on the market (which I linked at the bottom of this post!), are much narrower and generally only allow for one layer of books.
You could use any shelf for this project, such as a simple floating shelf, a peg shelf, or these which have a bar across the front to hold books more securely.
The Best Primer for IKEA Laminate Shelves
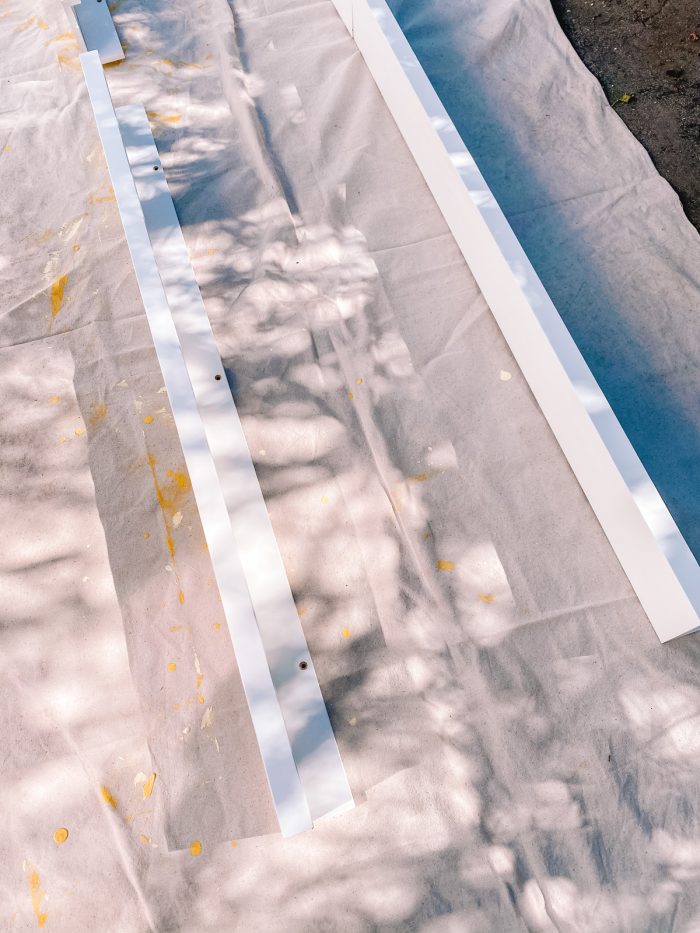
Painting laminate is difficult as it is a slick, plastic surface that makes it hard for paint to adhere to it. However, you can do so by using a shellac-based primer before painting.
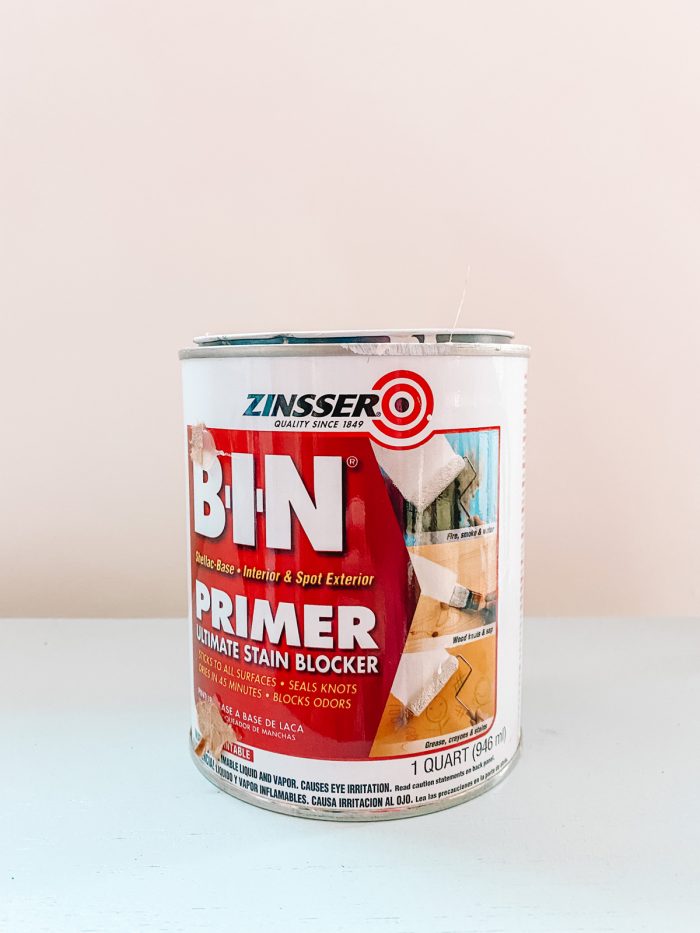
Whenever I paint IKEA furniture, I use the Zinsser BIN Shellac-Based Primer. You can buy it at most paint and hardware stores. It will stick to any surface and give you a good, more durable base before you paint.
It does have a strong smell when applying, so be sure to always apply this primer outside or in a well ventilated area. The smell does dissipate quickly once dry.
What kind of paint should I use?
I typically use water-based paint. It is not as durable as an oil-based paint, but I like that it has less fumes and dries more quickly.
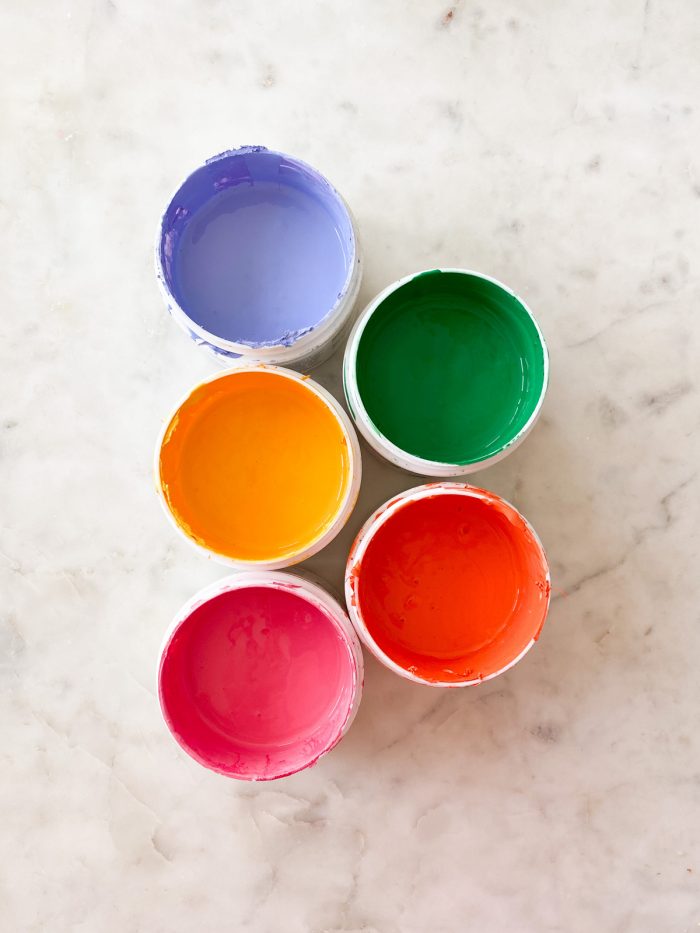
For this project, I used Dunn Edwards 8oz sample size paints because they were the perfect size for painting each shelf. They’re a low VOC latex paint with a velvet sheen and worked perfectly for this project.
What colors did you use?
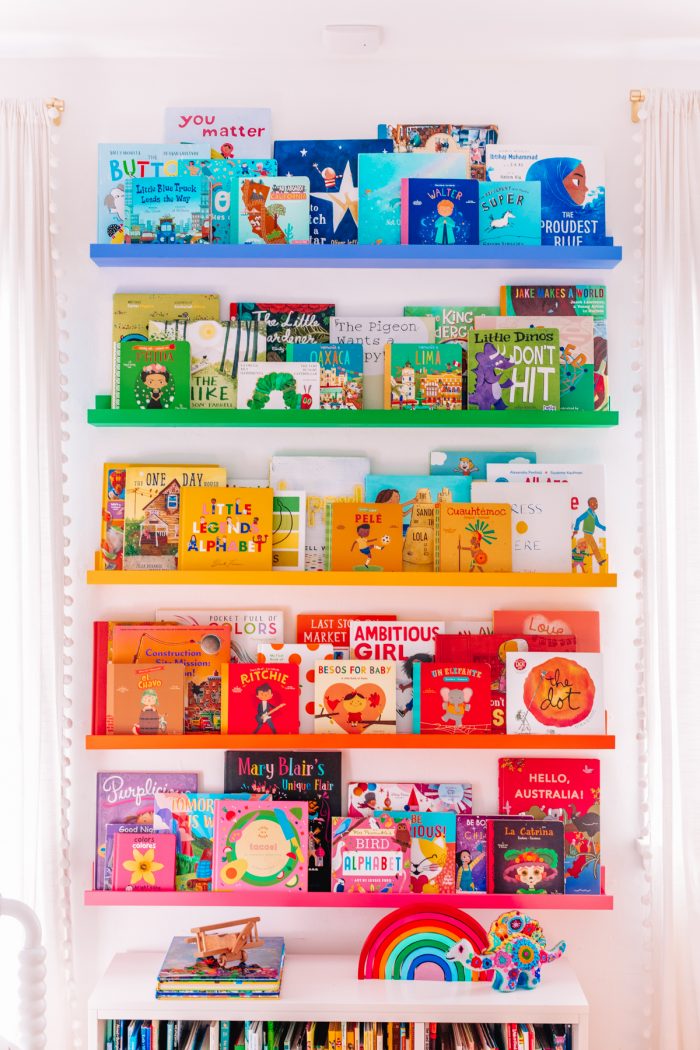
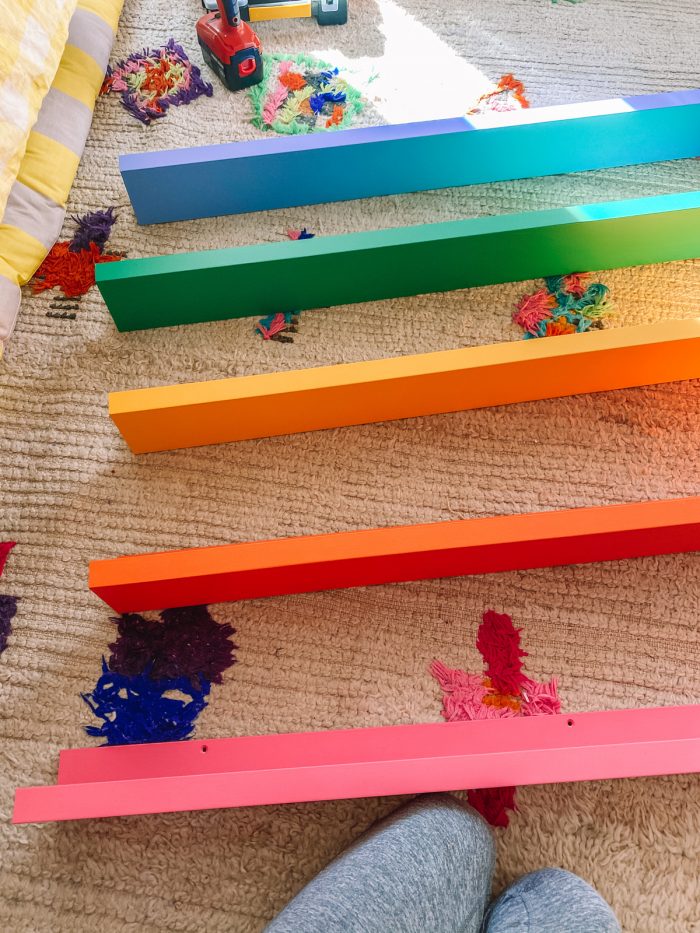
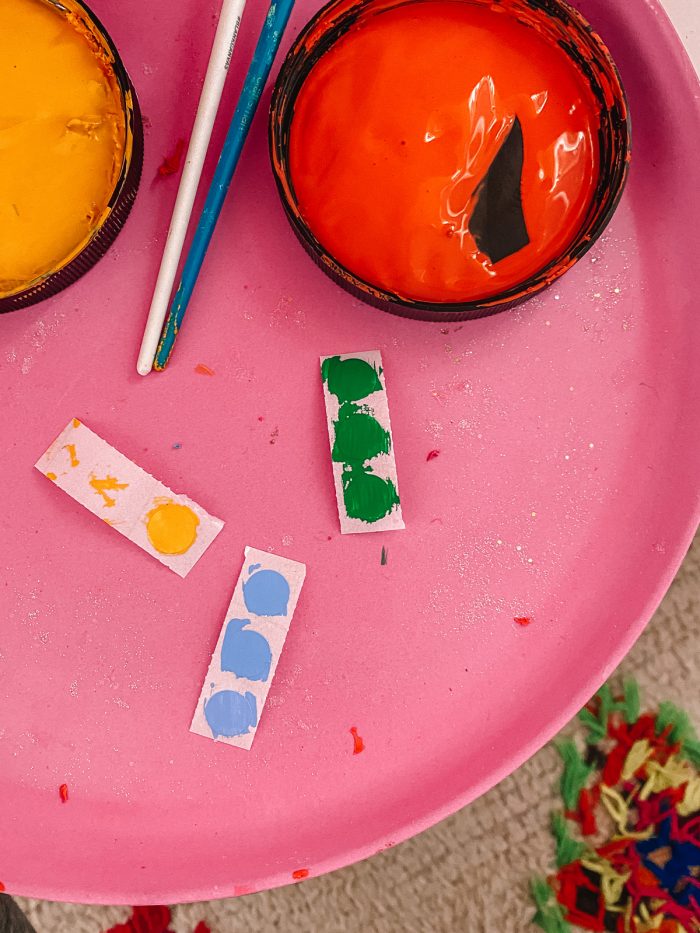
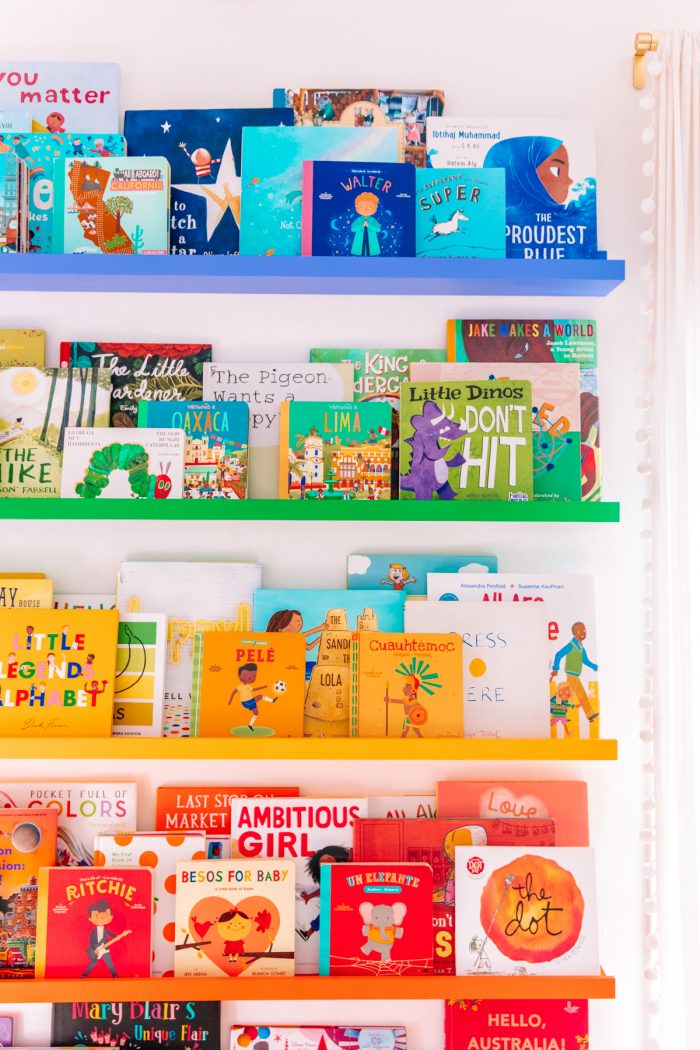
You can make any version of a rainbow you’d like, the more colors the better if you have room! I had five shelves to work with and chose to go with a blue, green, yellow, orange, pink “rainbow.” Here are the colors I used, again all the Dunn Edwards SUPREMA Velvet 8oz sample size (one per shelf):
- Periwinkle (blue)
- Later Gator (green)
- Vibrant Honey (yellow)
- Often Orange (orange)
- Cupid’s Arrow (pink)
Color Considerations to Keep in Mind!
If you are intending to use these shelves for books, organized in rainbow order, you may what to take a survey of your books to see what colors pop up the most. Initially, I was going to go with a more “unique” rainbow and including a yellow-green color but after looking at our books, I realized I didn’t have enough books in that color to justify it.
How far apart should the shelves be?
The spacing between shelves will depend largely on the space you have to work with, and how tall your books are. I spaced ours 14″ apart, from the bottom of one shelf to the bottom of the next. That allowed most of our books to fit easily on the shelf, while still allowing us to be able to reach all five (though the blue one is quite high).
Do I need to sand my shelves?
I did lightly sand down the shelves before I painted. I can’t say I noticed a huge difference in how the primer adhered as a result in this specific project, so you can decide whether you want to or not! But know, it can’t hurt!
But definitely, lightly sand in-between paint layers only on any rough spots or drips that need to be sanded off.
Materials List
Now that we’ve talked a bit more in depth about what you need for this IKEA hack, here’s a recap of the material list:
- IKEA MOSSLANDA Shelves (or other similar shelves)
- Zinsser BIN Shellac-Based Primer
- Paint (an 8oz sample size per shelf will be the perfect amount!)
- 220 grit sandpaper (for sanding laminate)
- 400 grit sandpaper (for between paint coats)
- Paintbrush and mini paint roller (Paint roller is optional, I found it helpful!)
- Hardware (Check the IKEA instructions to see what hardware is needed for your wall type)
Step-by-Step Tutorial for Painting Rainbow IKEA Shelves
Now that you know more about the materials needed for this project, here’s the step by step tutorial:
1. Give the shelves a sanding with the 220 grit sandpaper. Then wipe them down with a lightly damp cloth to remove all particles etc and let dry.
2. Using a brush and/or mini paint roller, prime the shelves with the shellac-based primer. Since the back part will be against a wall, you don’t have to paint that. But be sure to paint the bottom and sides which will all be visible. Let dry completely.
3. If there are any drips or rough spots on the primer once dry, lightly sand them off with the 400 grit sandpaper.
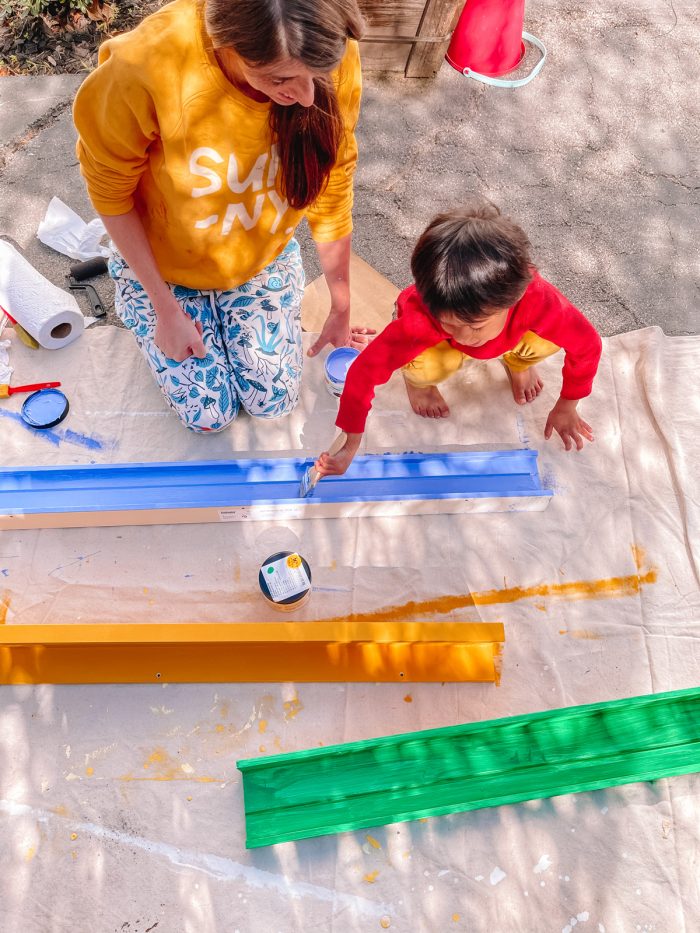
4. Using a brush and/or mini paint roller, paint your first coat of paint on each shelf. Let dry completely.
5. If there are any drips or rough spots on the primer once dry, very lightly sand them off with the 400 grit sandpaper.
6. Paint as many remaining coats as needed, following the same process, until you are happy with the final look. I ended up doing three coats on most of the shelves, though with some colors I got away with only two!
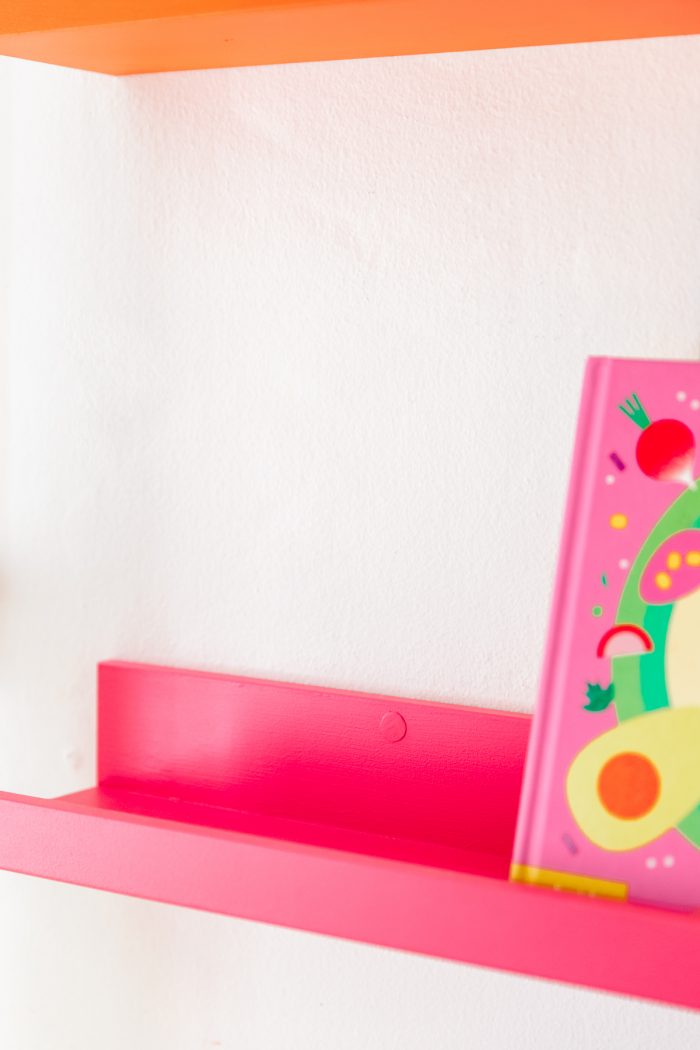
7. Paint the white stickers that come with the shelves to cover up where the screws go. You’ll likely need two coats on these as well. This isn’t necessary, you can also just discard those and leave the screws exposed. But if you’d like to add the stickers, you’ll want to paint them so they blend in! Let dry.
Hang your shelves according to the instructions for your wall type, which are included with the shelves. Place stickers over the screws. Done!
How much does this project cost?
Here’s a cost breakdown for this project:
- IKEA MOSSLANDA Shelves (x5): $74.95
- Zinsser BIN Shellac-Based Primer (1 quart): $16.98
- Paint (8oz samples x5): $24.95
- Sandpaper, Brush, Paint Supplies: $15
For a grand total of: $131.88 TOTAL for all five shelves!
Don’t want to DIY?
If DIYing sounds like a drag to you (which it’s not, this project was actually super easy!!), you can buy pre-made rainbow bookshelves. The pre-made rainbow shelves we originally had when we decorated our son’s nursery are no longer sold, but there is a version available here! Note: they are narrower than the DIY version I made so keep that in mind when it comes to your storage needs and pricier!
Photos by Jeff Mindell
The best part about this project is that IKEA makes these shelves SO easy to hang. So while the paint may be a bit labor intensive, hanging them is a breeze! Thrilled with this new version of our favorite rainbow bookshelves and with the fact that they were a fraction of the cost of other rainbow shelves!
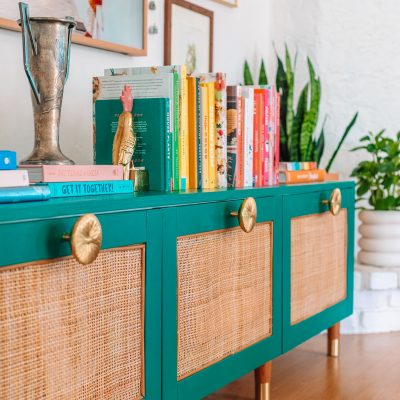
Looking for other IKEA hacks? Check out this rattan IKEA media unit project!






Mia G says
This turned out so beautifully! I love the colors you chose in the end. I’m surprised at how easy this whole thing was!
Kelly says
Thanks Mia!!!!
Scarlet says
This is such a pretty idea. I love how easy and affordable the project is. It makes great decor for a kid’s room as well being functional them to learn their colors and learn to sort and organize too. I am pinning now to try myself!
Sarah says
I’m seriously considering doing this for our son’s room but am a new-ish Californian and worried about earthquakes! Did y’all do anything to secure the books on the higher shelves?
Jack Milgram says
I’d better stop scrolling through your blog. My flat becomes too much colorful. 😀
Paige says
What paint type did you use for the shelves when you got the sample colors?
Kelly says
It was an interior paint in a velvet finish!
Sheila R says
I LOVE LOVE LOVE this! Thank you for sharing! I also love the ceiling light fixture. Would you mind sharing where that came from? Thank you so much!
Jen says
Love this idea! It’s so beautiful and fun. I’ve sent it to a couple of my mom friends (and book lovers friends) already. I was wondering where you found the low profile bookshelf under the bookshelf wall you created. I have a friend expecting and she needs something like that to go under a window.
Kelly says
Hi Jen! Thank you!! The little bookshelf is from Crate & Kids! https://bit.ly/3hN1oUS
Hillary says
I love the rug!! Where did you find this?
Elyssa says
This is amazing! Thanks for the detailed steps. I plan to do this in the next few months and will report back. 😉