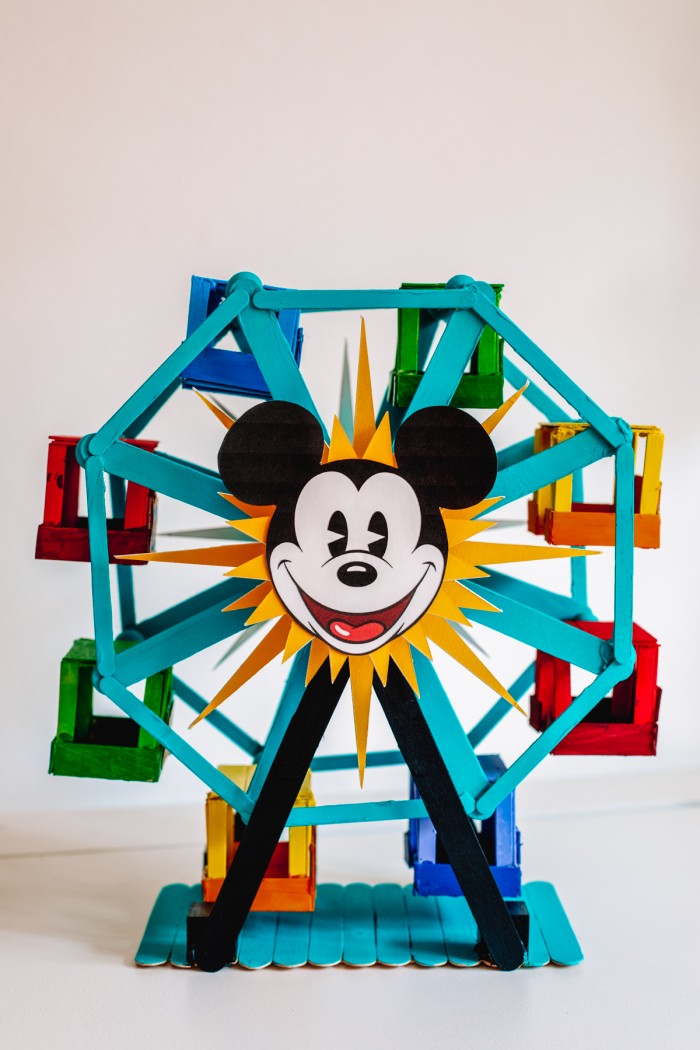
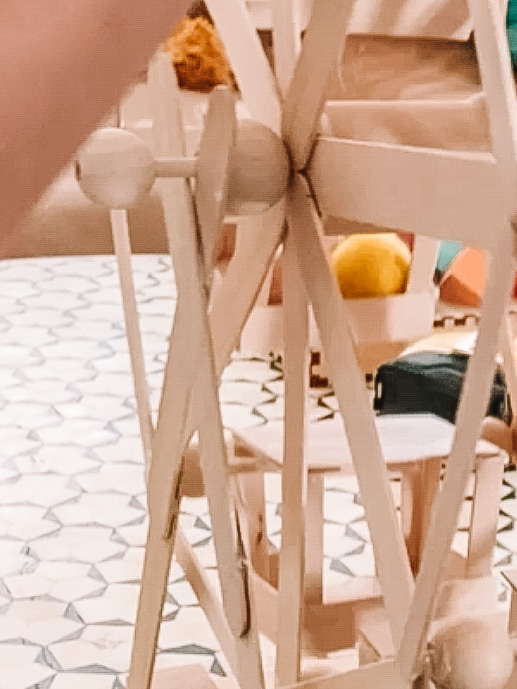
We woke up one morning and my son said “Let’s make a ferris wheel!” I laughed at first but… I like a challenge. Looked around for what supplies we had and my eye landed on our basket of popsicle sticks and wood pieces. Lo and behold… we turned those into this popsicle stick ferris wheel!
And it works! It spins flawlessly.
To take it one step further, since we love making Disneyland rides and popsicle stick houses, we decided to give it a makeover to look like the Pixar Pal-A-Round Ferris wheel from Disney’s California Adventure! This project was surprisingly easy to construct, so today I’m going to teach you how to make a popsicle stick ferris wheel of your own!
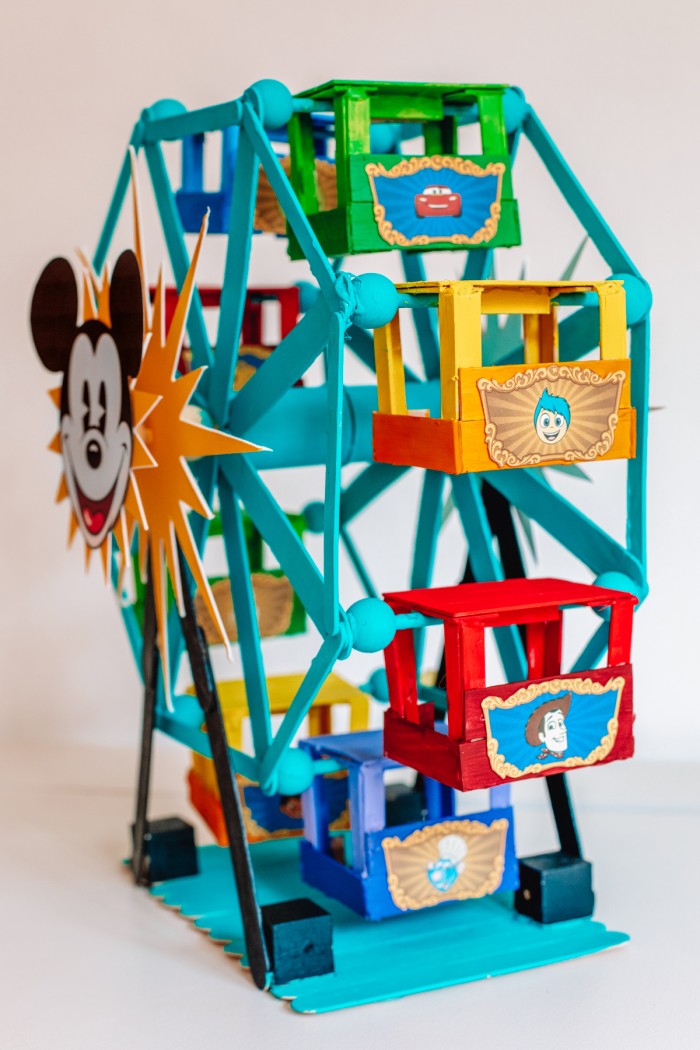
Popsicle Stick Ferris Wheel Supplies Needed
- Approx. 110 jumbo popsicle sticks
- Approx. 75 regular popsicle sticks
- 5 – 3/16″ wooden dowels
- 20 wooden beads (the size should be at least 20mm, but more importantly, they must have a hole large enough to fit a wooden dowel)
- 4 wooden blocks (Can be any size in the 1″-2″ range)
- 2 wooden spools
- Hot glue gun + glue sticks
- Strong scissors (strong enough to cut wooden dowels and popsicle sticks)
For the Pixar Pal-A-Round version, you’ll also need the following:
- Starburst Printable
- Mickey face
- Pixar Pal-A-Round art
- White Cardstock
- Yellow mat board (cardstock would work too, but wouldn’t be as durable!)
- Ruler
- X-Acto knife
- Cutting mat
- Awl
Step-by-Step Instructions
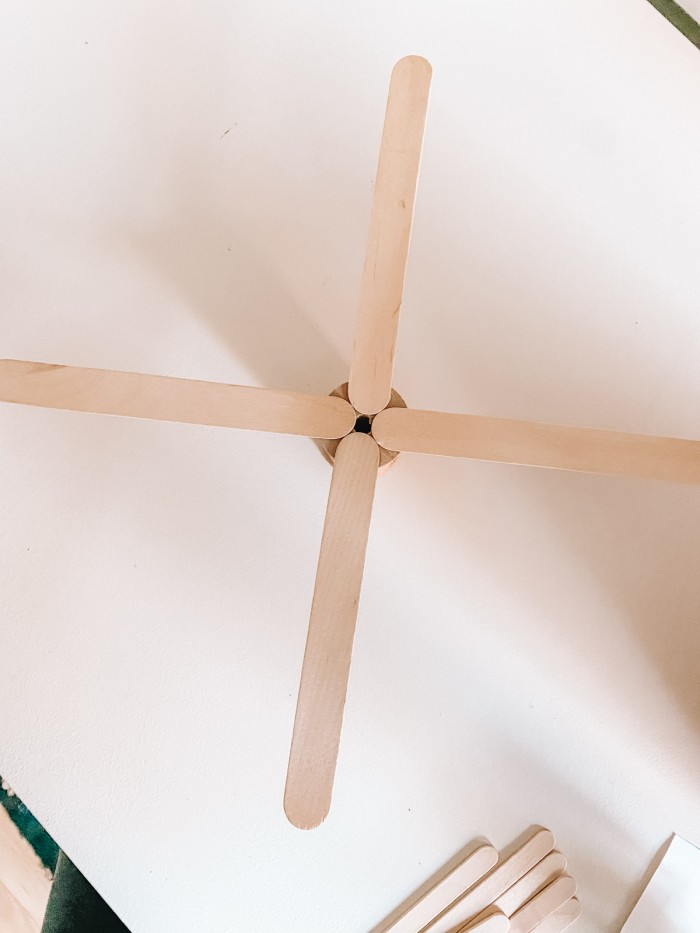
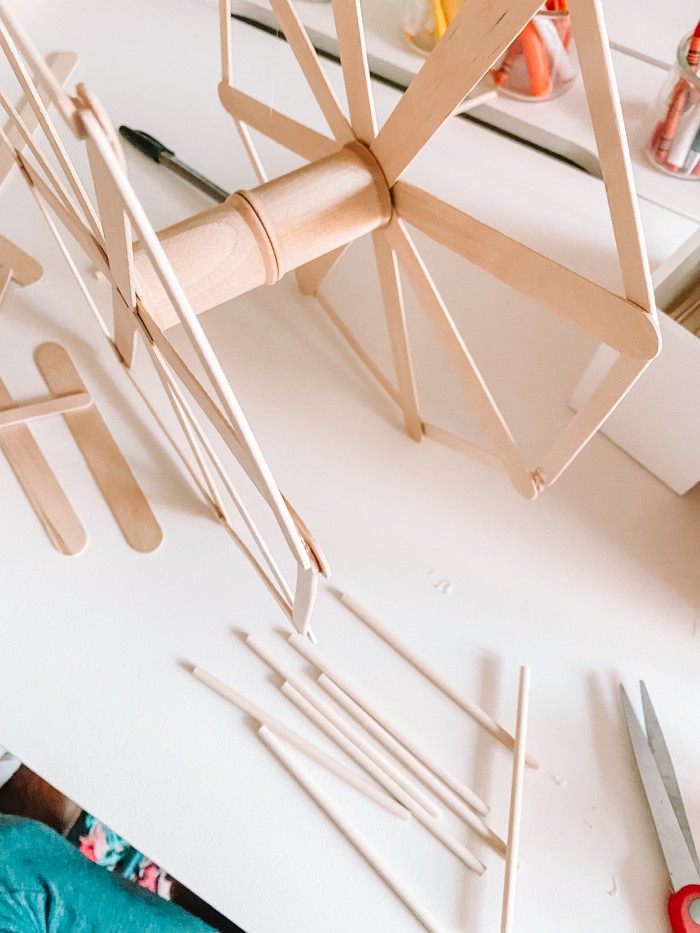
Glue four jumbo popsicle sticks to one wooden spool in a cross shape.
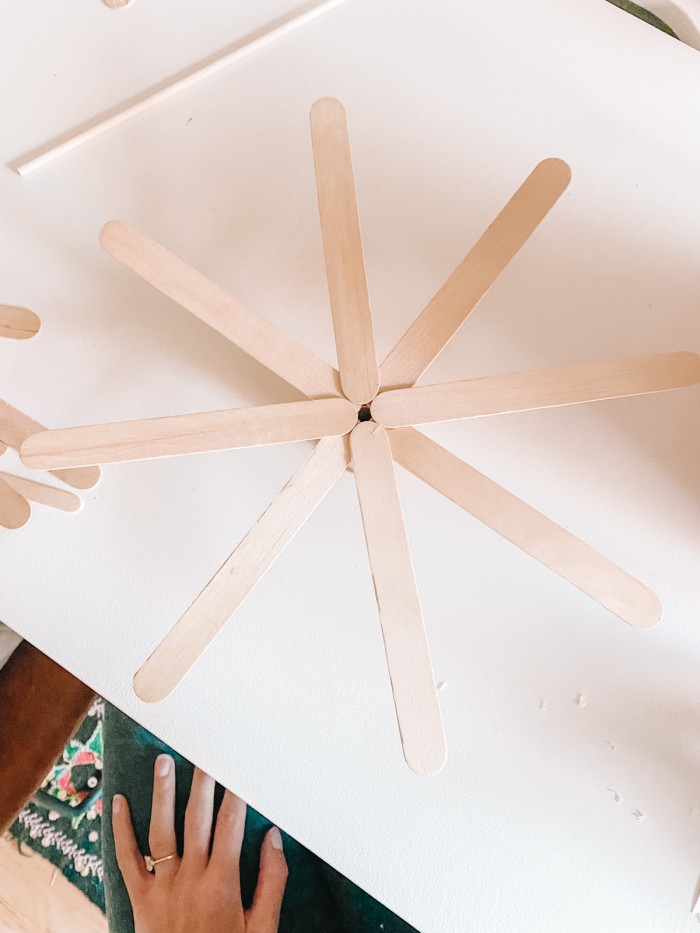
Complete it by gluing four additional jumbo popsicle sticks on top in an x shape as shown above.
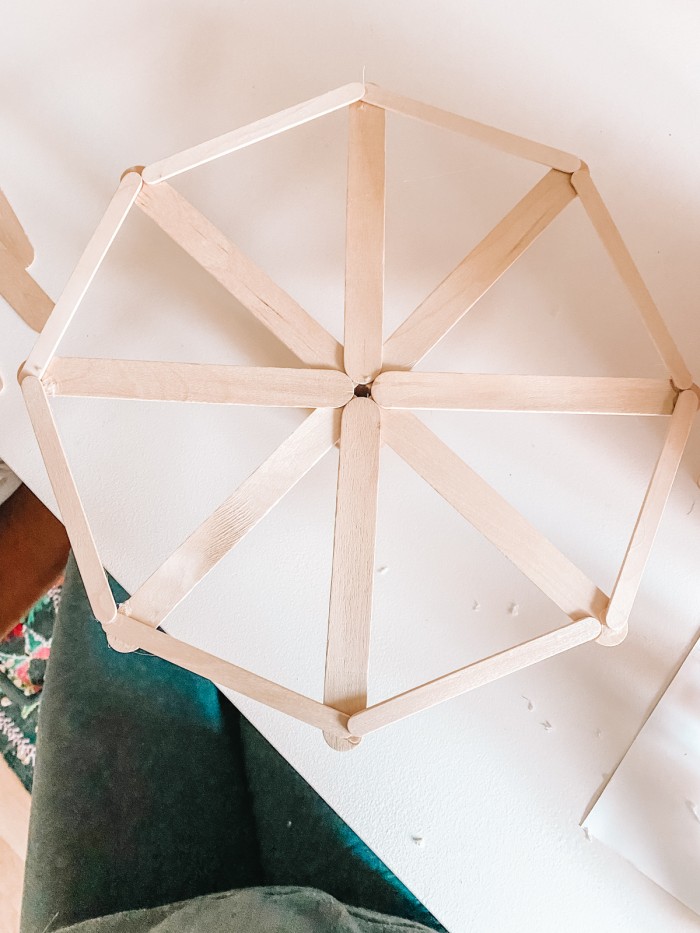
To create the outside of the wheel, gllue eight regular popsicle sticks between the ends of each jumbo popsicle stick. Repeat these steps to create a second ferris wheel shape.
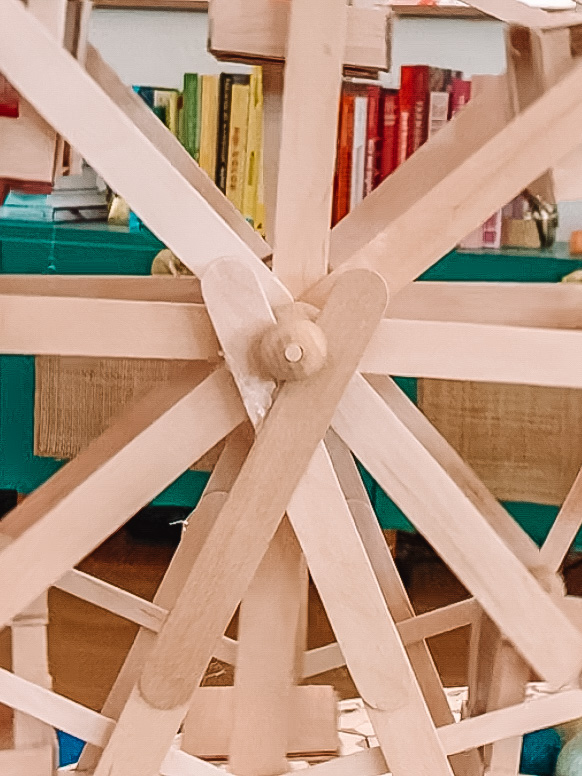
Glue the two spools together, being sure to align the shapes so the “crosses” match up on either side.
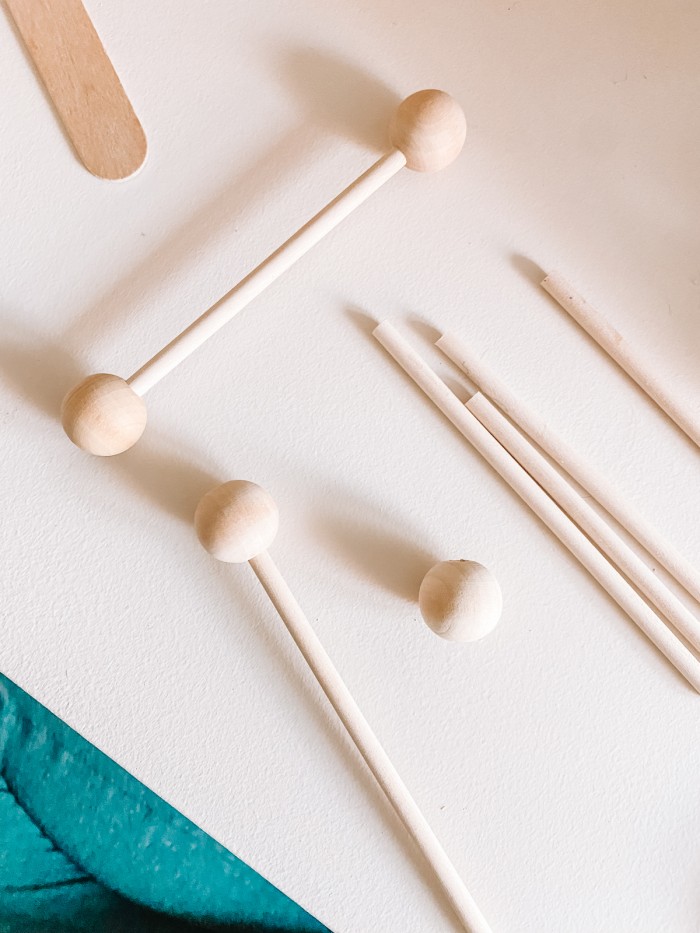
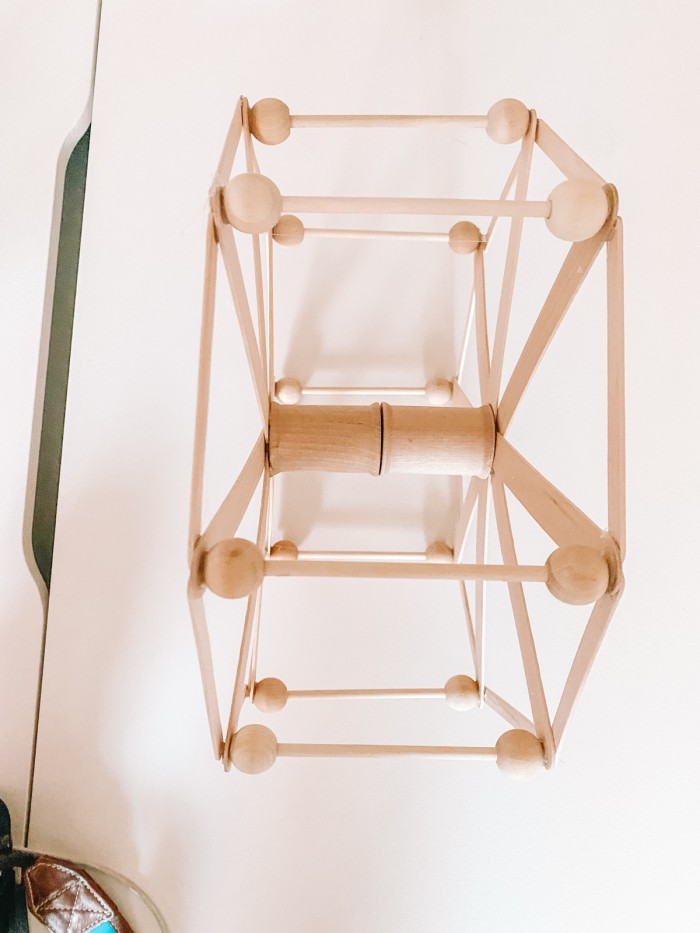
Cut dowels down to fit within the space created between your ferris wheel front and back. You’ll need eight of these pieces. Slip a wood bead over each end.
Glue the bead/dowel pieces to each popsicle stick intersection.
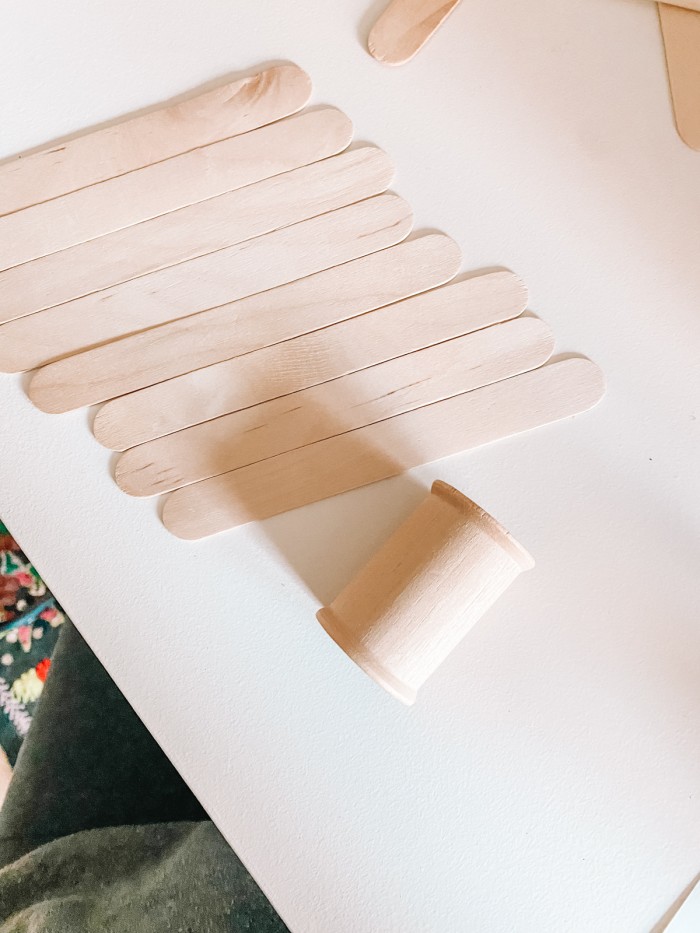
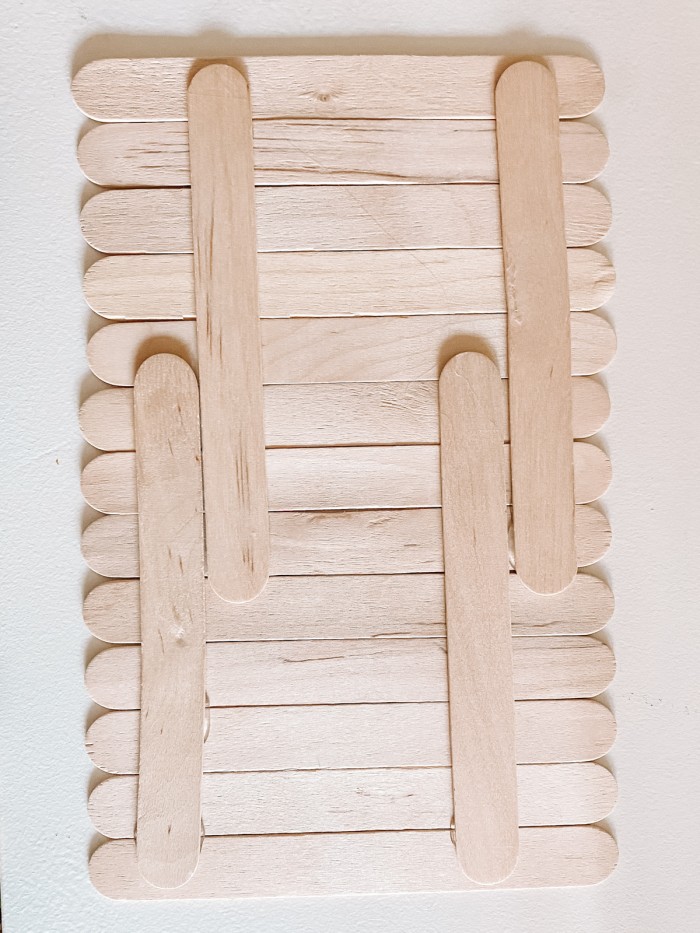
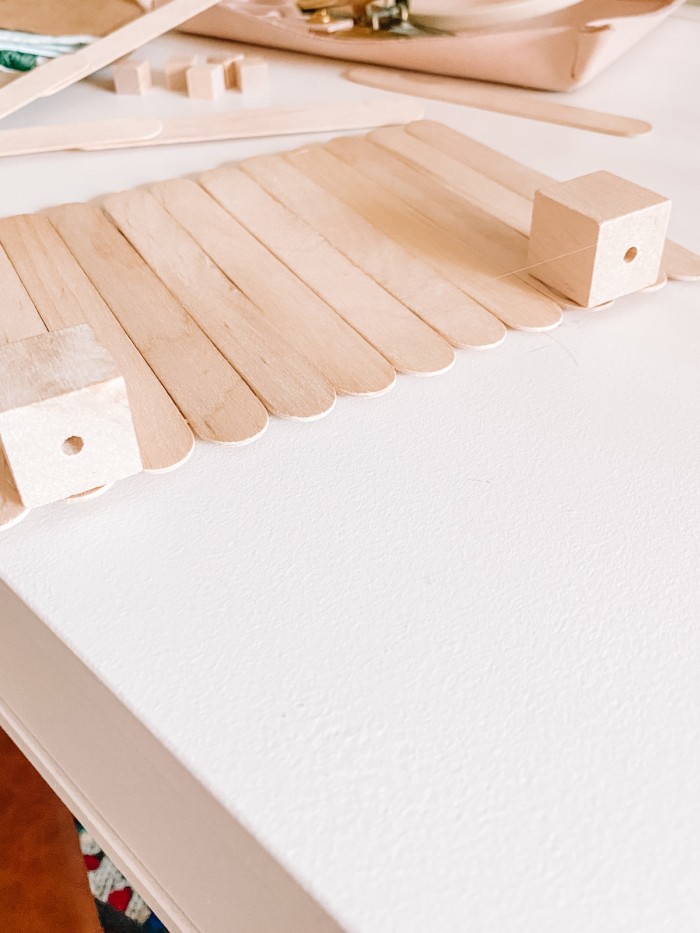
Create the base for the ferris wheel by lining up 13 jumbo popsicle sticks and gluing four jumbo popsicle sticks, vertically, on top to connect all of them.
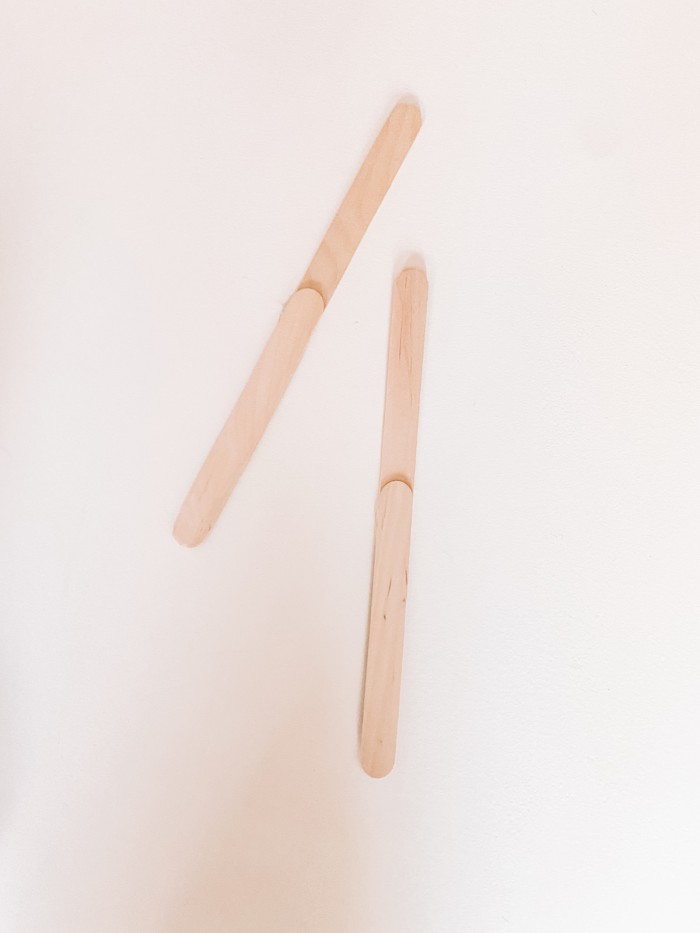
Overlap two popsicle sticks about 1-2″ and glue together. Repeat three more times.
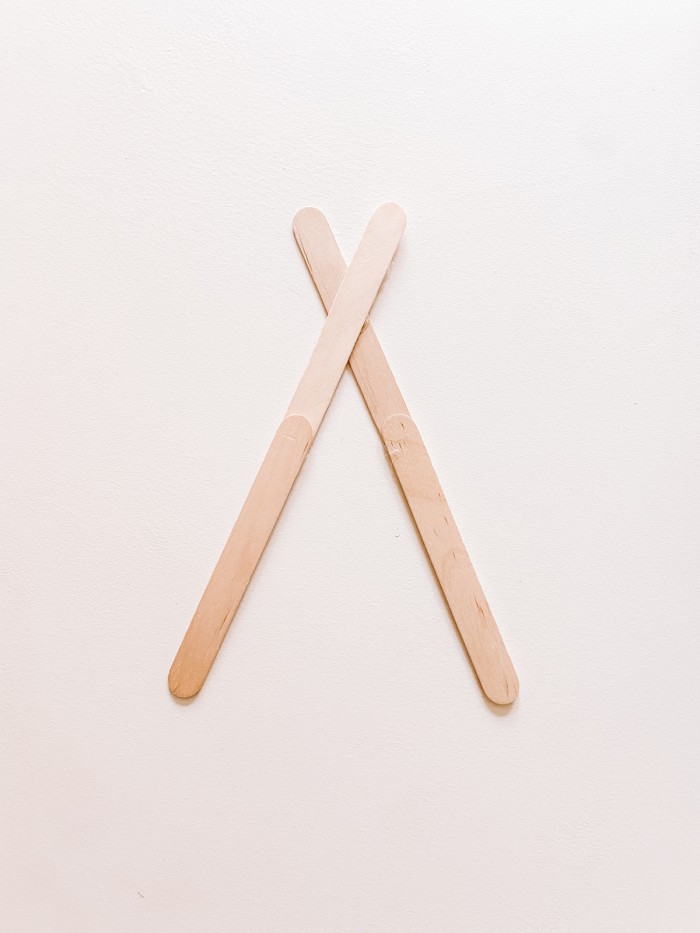
Cross to sets of these glued sticks at the top, about 2 inches down, (as shown) and glue. Repeat with the remaining set. These will be the braces for your ferris wheel.
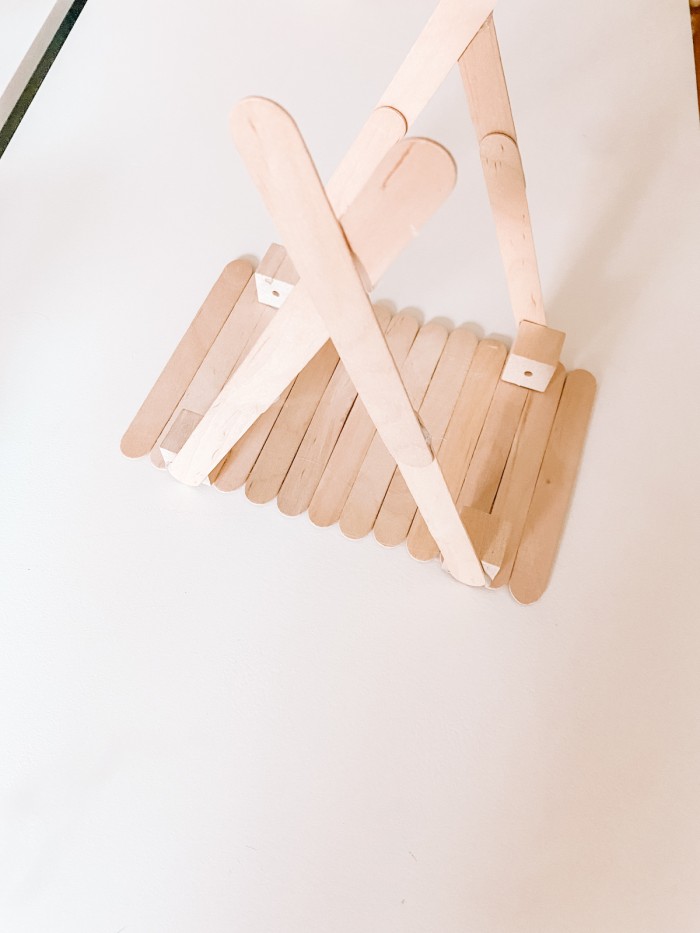
Hold the popsicle stick braces up to your base and determine where you’ll need to place your wood blocks. (These will be what you glue the braces too.) Glue the four wood blocks in place.
Then glue the braces to the outside of each wood block.
Slide a dowel through the center of the two spools and add two wood beads to each end. One will sit between the Ferris wheel and the brace, the other will sit on the outside of the brace. Trim the dowel as desired.
If you are turning this into the Pixar Pal-A-Round, leave a little extra room for adding the starburst details and do NOT glue the beads in place, keep reading below. Otherwise, place a little glue on the inside of the outer bead and slide it back on the dowel to secure it in place on the end of the dowel.
Now we’ll make the ferris wheel cars. I used this tutorial as a basis for the cars on my popsicle stick ferris wheel.
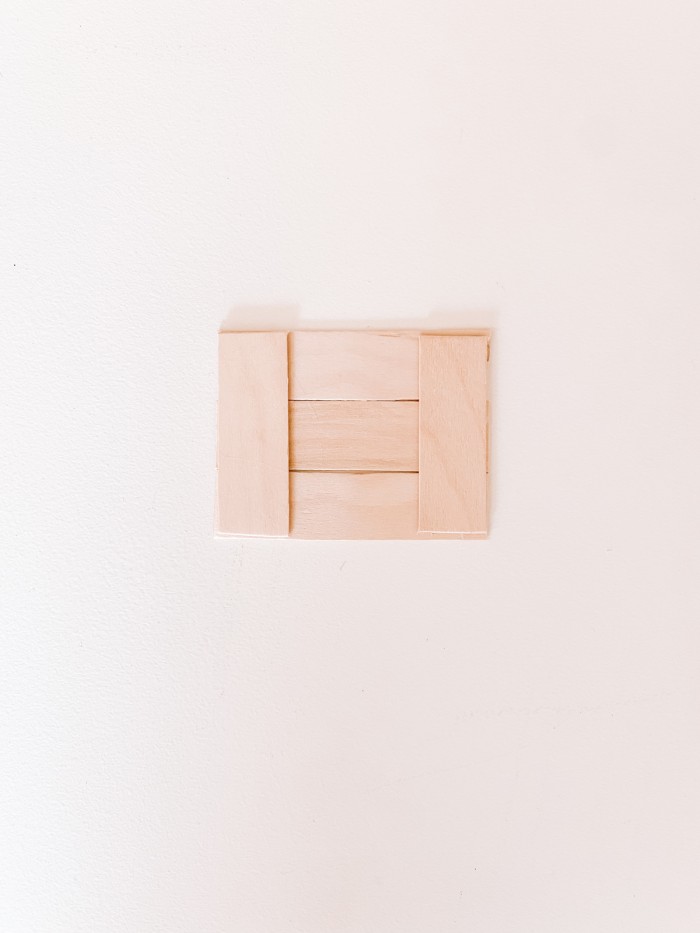
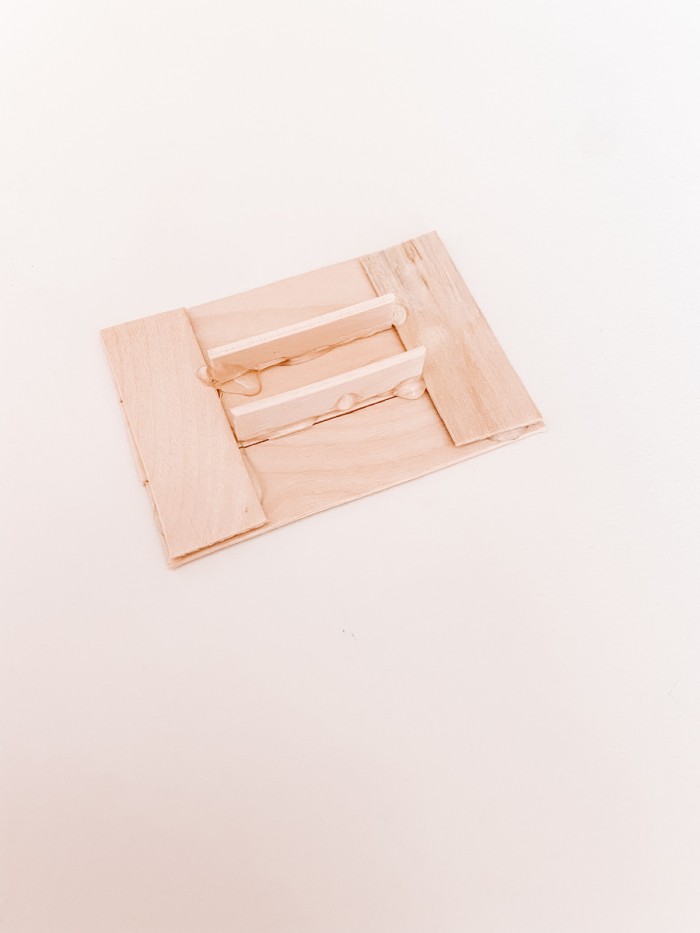
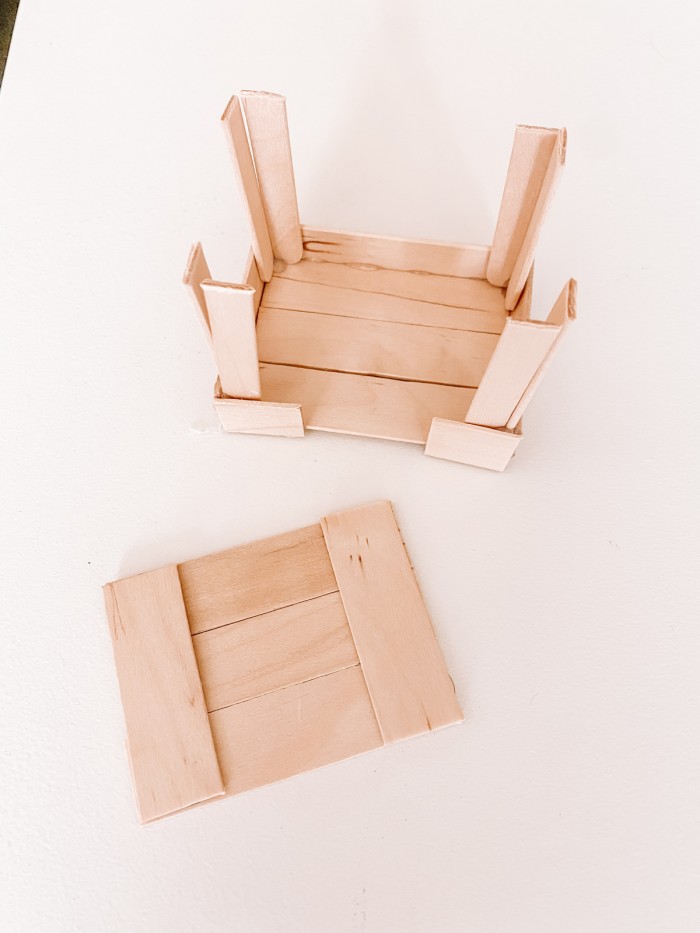
Cut three 3″ pieces from your jumbo popsicle sticks. Line them up and glue together using additional jumbo popsicle stick pieces. See above. Repeat to make a second. You’ll need two for each car, one will be the top and one will be the bottom.
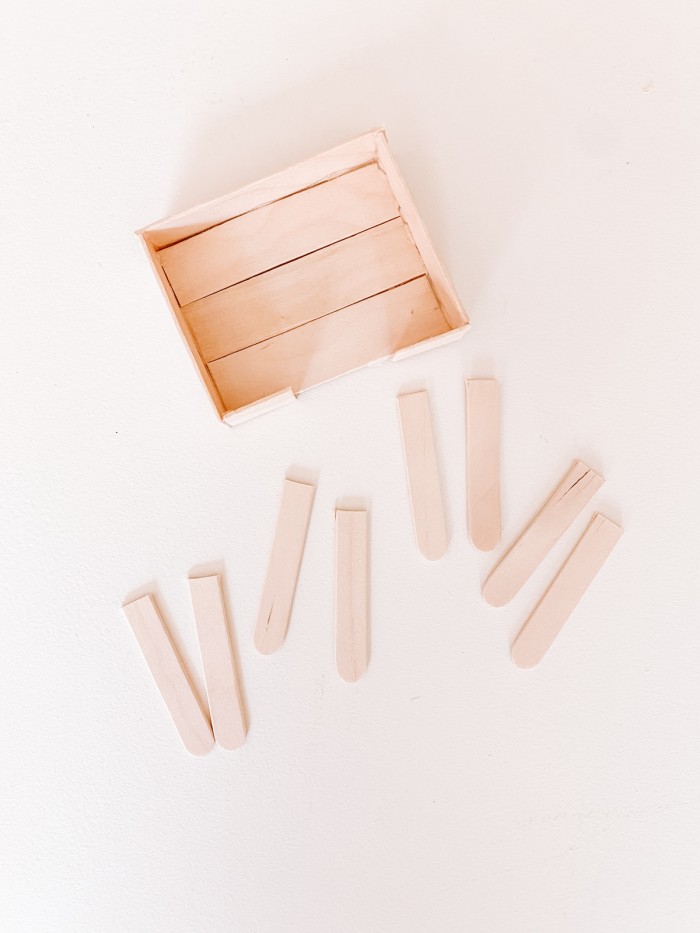
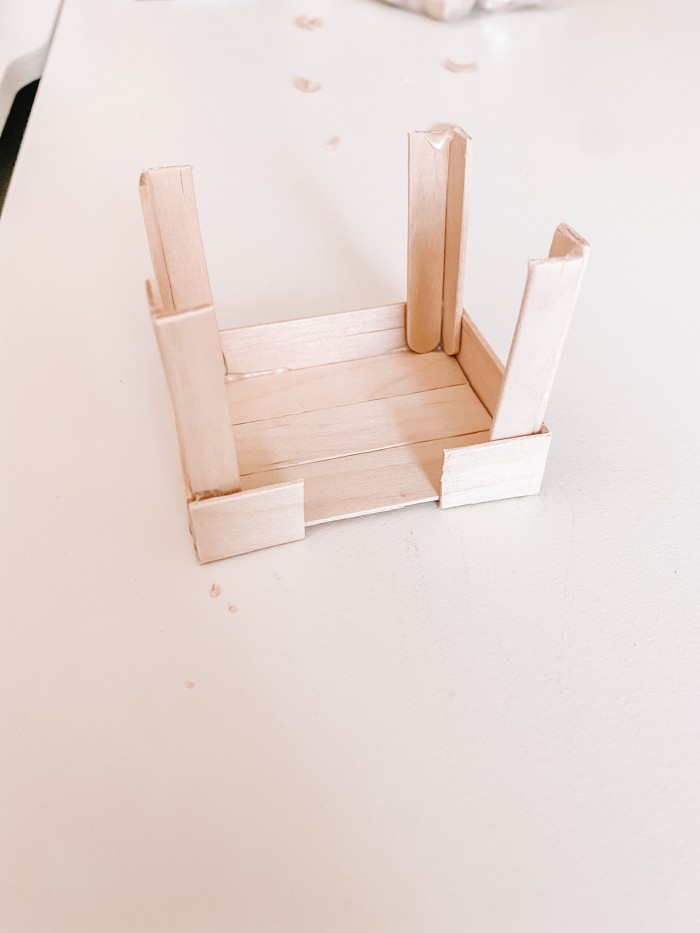
Cut down additional jumbo popsicle sticks and glue them around the bottom piece you just made. You’ll want a full back, two sides, and then two small pieces for the front that leave an opening for inserting characters (or whatever else will be riding this carousel.
*Note: Upon turning this into the Pixar Pal-A-Round, I decided to add an additional piece to the back so that I had more space to add detailing. This is not pictured here until the end of the tutorial! This is not necessary if you are just making the regular ferris wheel.
Cut four regular popsicle sticks in half.
Glue those halves into each corner of the bottom of your ferris wheel car as shown.
On the top piece you created, glue two pieces of regular popsicle sticks in the middle. This is how the car will “sit” on the ferris wheel dowel.
Repeat these steps for all ferris wheel cars, eight total.
If you’re planning to paint your Ferris wheel, do so now before going any further. If not, go ahead and slip the top over the dowel and then glue it to the bottom piece you created.
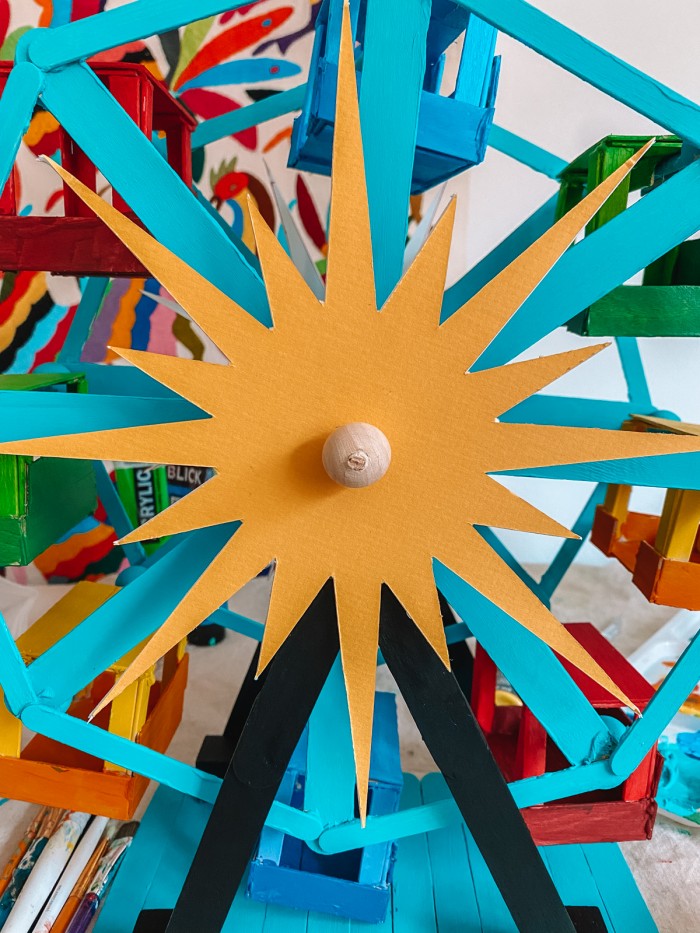
To turn this into the Pixar Pal-A-Round, paint each car. They are a mix of blue, purple, yellow/orange, green and red. The main part of the ferris wheel is teal, and the braces are black.
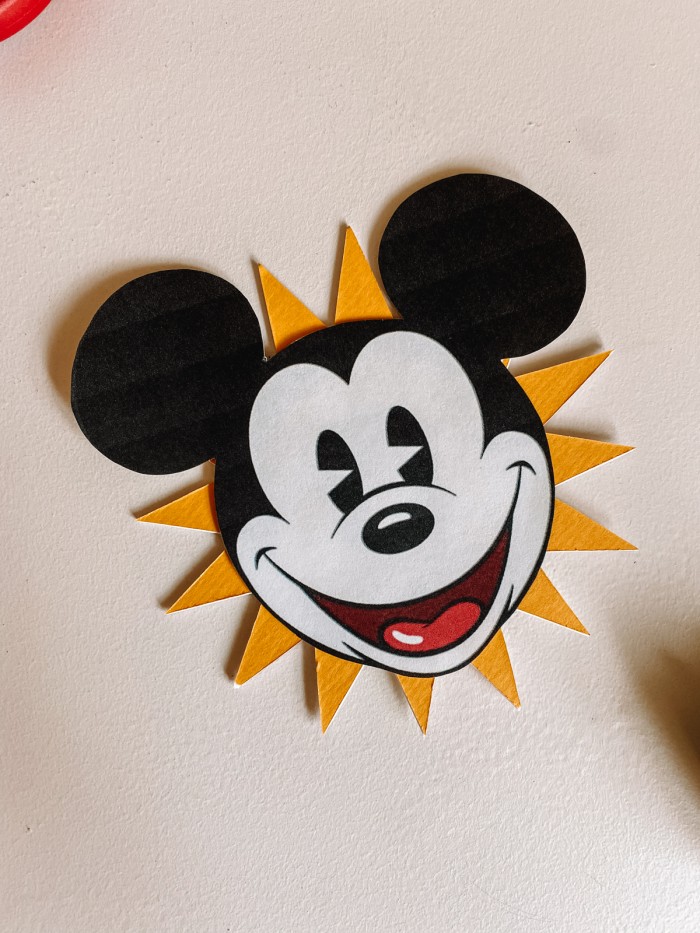
Then add the starburst shapes. Print and cut out your templates. Trace them onto your yellow mat board and cut out using a ruler and x-acto knife. You’ll need two of the larger starburst and one of the smaller. Use your awl to make a hole in the center of each, big enough to slip over the dowel.
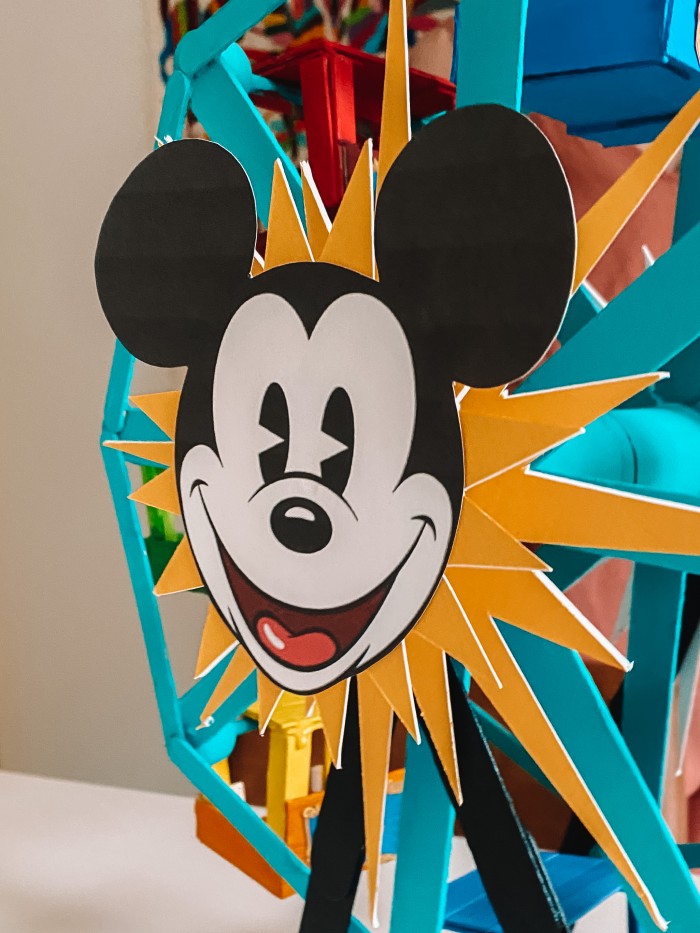
Print a Mickey face on cardstock. Cut out and glue on top of the smaller starburst. Remove the outer bead on your ferris wheel dowel and slide the larger starburst shapes on each side. Then place a bead of glue inside the bead and slide back over the end to secure.
Glue the smaller starburst and Mickey face to the end of the bead on whatever you determine to be the “front” side.
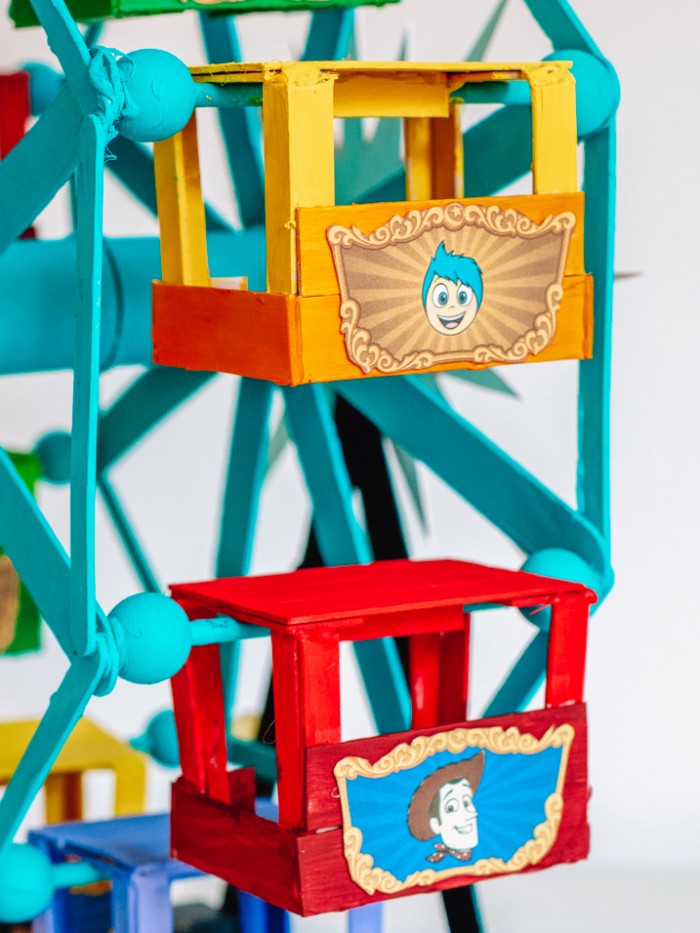
Drag the images of the Pixar Pal-A-Round character cars to your desktop and print them on cardstock. Cut around the gold edging. You may have to play around with sizing a few times to get it right for your cars!
Glue one to the back of each ferris wheel car.
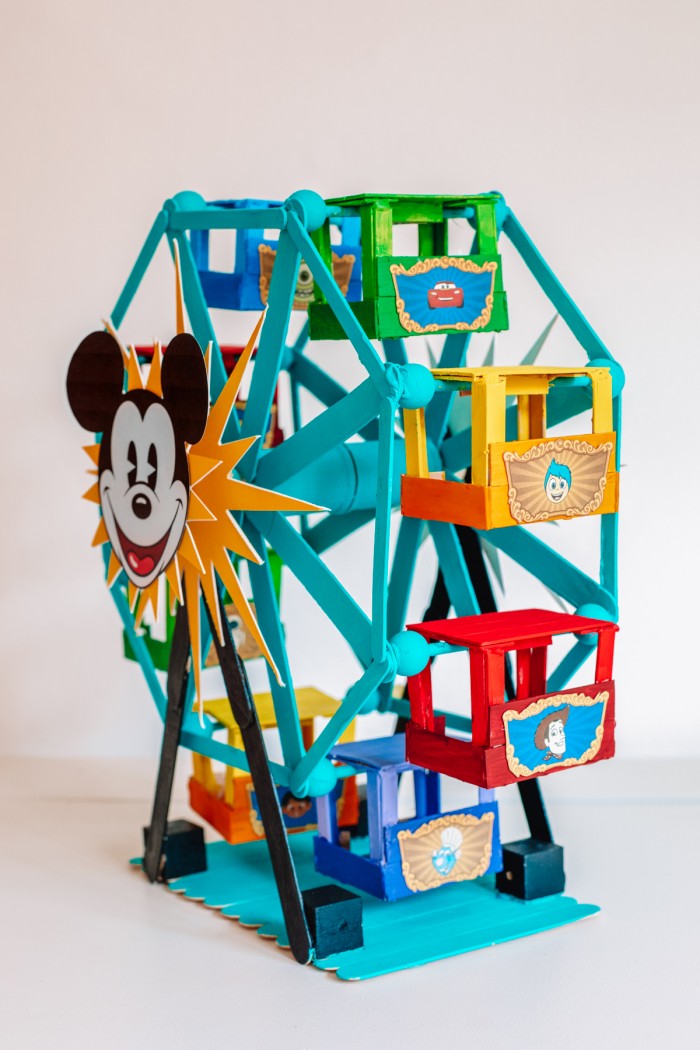
Does this popsicle stick ferris wheel work?
Yes, this ferris wheel spins smoothly by simply pushing the wheel! The cars will remain upright at all times as well, so you can have characters or dolls ride in each car, too!
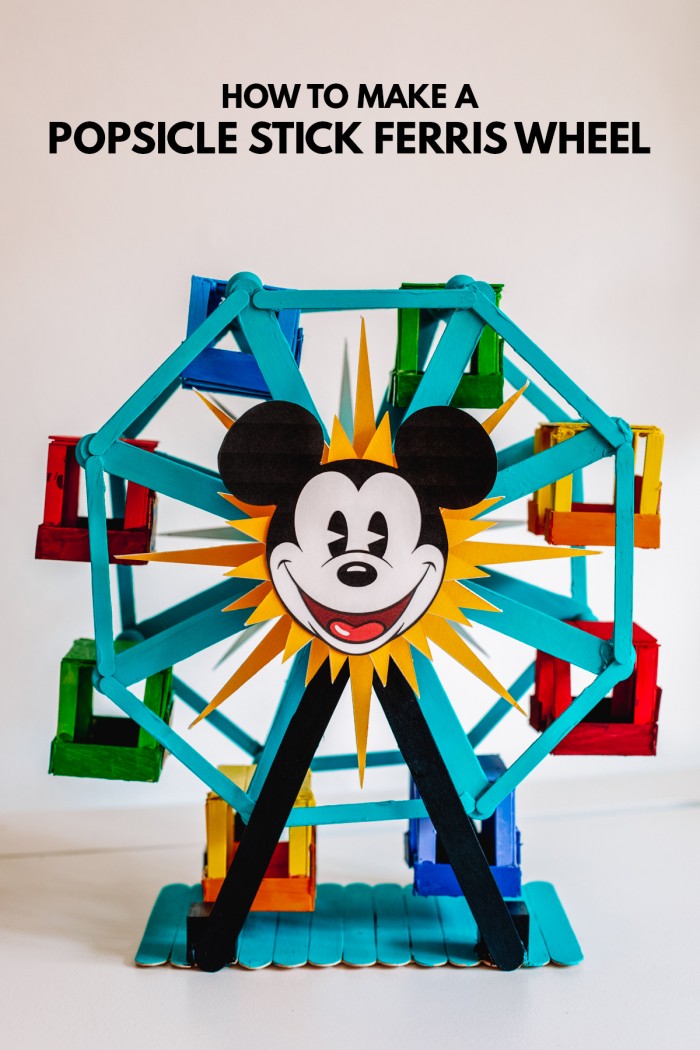
Photos by Jeff Mindell
While it may have a lot of steps, I found this project easy to put together overall! And the fact that it’s an actual working popsicle stick ferris wheel is just SO cool and wins you major points with the kiddos!
We’re going to have an entire cardboard/wood Disneyland on our hands pretty soon!
DIY Popsicle Stick Ferris Wheel
Equipment
- Scissors
- Hot Glue Gun
- Hot glue sticks
Materials
- 110 jumbo popsicle sticks
- 75 regular popsicle sticks
- 5 3/16″ wooden dowels
- 2 wooden spools
- 20 wooden beads The size should be at least 20mm, but more importantly, they must have a hole large enough to fit a wooden dowel.
- 4 wooden blocks Can be any size, 1-2"
For Pixar Pal-A-Round Version
- Starburst Printable
- Mickey face
- Pixar Pal-A-Round art
- White Cardstock
- Yellow mat board cardstock would work too, but wouldn’t be as durable!
- Ruler
- X-Acto knife
- Cutting mat
- Awl
Instructions
- Glue four jumbo popsicle sticks to one wooden spool in a cross shape.
- Glue four additional jumbo popsicle sticks on top in an x shape as shown above.
- Glue eight regular popsicle sticks between the ends of each jumbo popsicle stick. Repeat these steps to create a second ferris wheel shape.
- Glue the two spools together, being sure to align the shapes so the “crosses” match up on either side.
- Cut dowels down to fit within the space created between your ferris wheel front and back. You’ll need eight of these pieces. Slip a wood bead over each end.
- Glue the bead/dowel pieces to each popsicle stick intersection.
- Create the base for the ferris wheel by lining up 13 jumbo popsicle sticks and gluing four jumbo popsicle sticks, vertically, on top to connect all of them.
- Overlap two popsicle sticks about 1-2″ and glue together. Repeat three more times.
- Cross to sets of these glued sticks at the top, about 2 inches down, (as shown) and glue. Repeat with the remaining set. These will be the braces for your ferris wheel.
- Hold the popsicle stick braces up to your base and determine where you’ll need to place your wood blocks. (These will be what you glue the braces too.) Glue the four wood blocks in place.
- Glue the braces to the outside of each wood block.
- Slide a dowel through the center of the two spools and add two wood beads to each end. One will sit between the Ferris wheel and the brace, the other will sit on the outside of the brace. Trim the dowel as desired.
- If you are turning this into the Pixar Pal-A-Round, leave a little extra room for adding the starburst details and do NOT glue the beads in place, keep reading below. Otherwise, place a little glue on the inside of the outer bead and slide it back on the dowel to secure it in place on the end of the dowel.
- Now we’ll make the ferris wheel cars. Cut three 3″ pieces from your jumbo popsicle sticks. Line them up and glue together using additional jumbo popsicle stick pieces. See above. Repeat to make a second. You’ll need two for each car, one will be the top and one will be the bottom.
- Cut down additional jumbo popsicle sticks and glue them around the bottom piece you just made. You’ll want a full back, two sides, and then two small pieces for the front that leave an opening for inserting characters (or whatever else will be riding this carousel. *Note: Upon turning this into the Pixar Pal-A-Round, I decided to add an additional piece to the back so that I had more space to add detailing. This is not pictured here until the end of the tutorial! This is not necessary if you are just making the regular ferris wheel.
- Cut four regular popsicle sticks in half.
- Glue those halves into each corner of the bottom of your ferris wheel car as shown.
- On the top piece you created, glue two pieces of regular popsicle sticks in the middle. This is how the car will “sit” on the ferris wheel dowel.
- Repeat these steps for all ferris wheel cars, eight total.
- If you’re planning to paint your Ferris wheel, do so now before going any further. If not, go ahead and slip the top over the dowel and then glue it to the bottom piece you created.
- To turn this into the Pixar Pal-A-Round, paint each car. They are a mix of blue, purple, yellow/orange, green and red. Then, paint the ferris wheel teal, and the braces black.
- Add the starburst shapes. Print and cut out your templates. Trace them onto your yellow mat board and cut out using a ruler and x-acto knife. You’ll need two of the larger starburst and one of the smaller. Use your awl to make a hole in the center of each, big enough to slip over the dowel.
- Print a Mickey face on cardstock. Cut out and glue on top of the smaller starburst. Remove the outer bead on your ferris wheel dowel and slide the larger starburst shapes on each side. Then place a bead of glue inside the bead and slide back over the end to secure.
- Glue the smaller starburst and Mickey face to the end of the bead on whatever you determine to be the “front” side.
- Print and cut out the Pal-A-Round characters from cardstock. Glue one to the back of each ferris wheel car.
Notes
- If you’d like, go ahead and paint all your popsicle sticks before assembling. It would be easier to access everything, you just have to ensure you’ve planned out what popsicle sticks go where.
- If you have the ability to print in black and white, try doing that while testing the size of the Mickey and Pixar characters, to avoid wasting color ink!



Leave a Reply