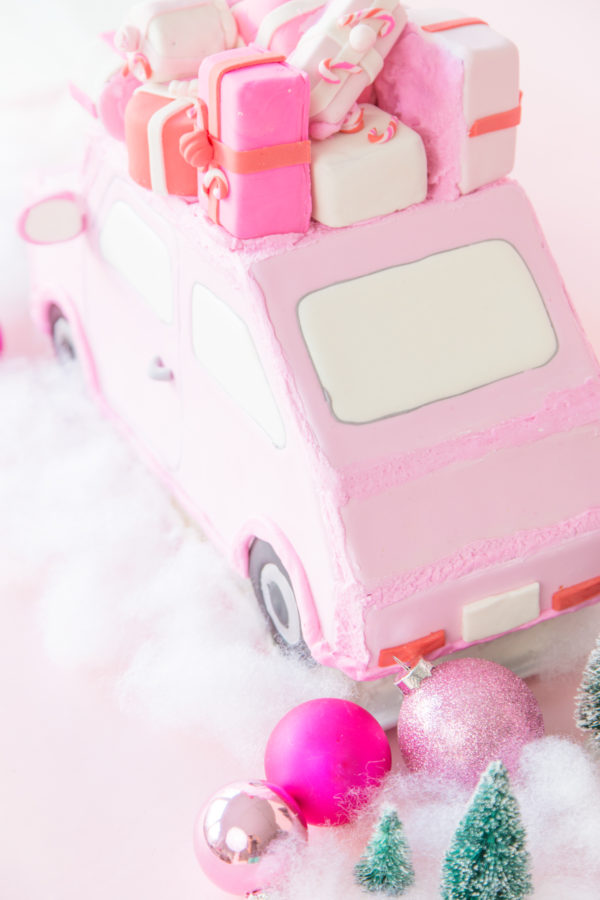
I was SO freaking excited when the SoCal Honda Dealers reached out to work together because 1) I drive a Honda (and love it!) 2) Jeff and I are obsessed with the Helpful Honda campaign and 3) I GOT TO MAKE A GINGERBREAD CAR!!!! A pink gingerbread car with presents on top. That’s truly a triple win right there, folks.
So we’re gettin’ you in the holiday spirit today in a couple ways! First, for those of you here in SoCal, I’ve got a fun event to tell you about that the Helpful Honda Guys in Blue are participating in, so keep reading! Second, I’m teaching you how to blow all the other gingerbread houses OUT of the water with this car. We’ve even got a printable pattern to make it easy peasy!
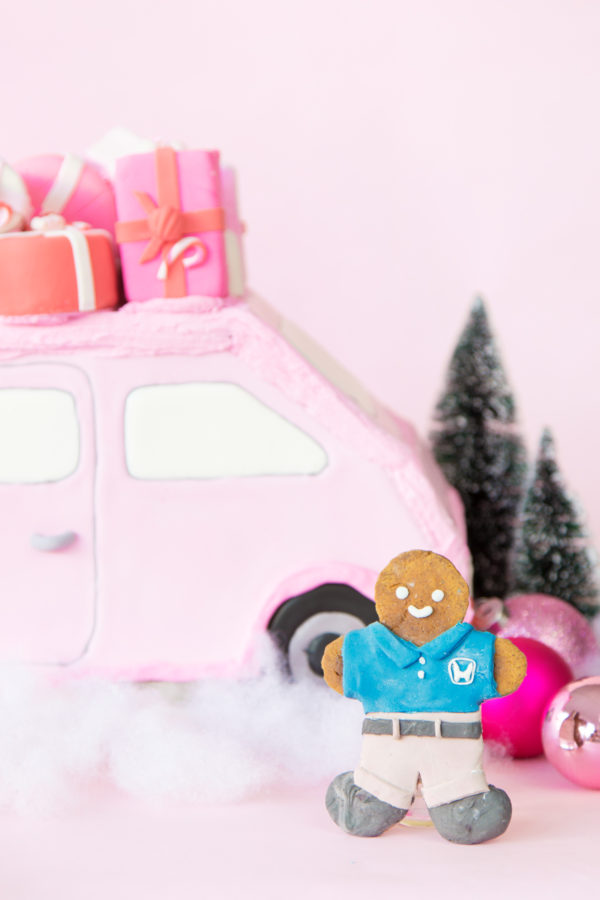
And yes… we did make a gingerbread Helpful Honda man!! Hahahahaha!!! I love him.
Let’s talk about this event first! Like I mentioned, Jeff and I are big fans of the Random Acts of Helpfulness that Helpful Honda does for people around Southern California. And, go figure, they’re keepin’ up the trend for Christmas this year! The Helpful SoCal Honda Dealers are purchasing Christmas trees for families across the LA and OC area on 12/3 and 12/4. How amazing is that!? As a “real” tree proponent myself I’m ALL for it! They’ll be giving out trees at four different lots across Southern California, and announcing the locations on their social channels. Be sure to follow along with them on Facebook here if you want to be the first to know!
Now, about this car…
DIY Pink Gingerbread Car
Ingredients
- Printable Templates
- Gingerbread
- 1 1/4 cup vegetable shortening
- 1 1/2 cup sugar
- 2 cups molasses
- 1/3 cup water
- 9 cups all-purpose flour
- 1/3 cup corn starch
- 2 tablespoons ground cinnamon
- Royal Icing
- 4 cups powdered sugar
- 3 tablespoons meringue powder
- 6 tablespoons water
Instructions
- Preheat oven to 300 degrees F.
- Cream together the vegetable shortening and sugar till light and fluffy. Add in the molasses and water. Mix to combine. Whisk together the flour, cornstarch and cinnamon. Gradually add dry mixture to the wet ingredients and mix on medium high till dough starts to come together. It will be fairly dry and crumbly.
- Wrap in plastic wrap. Let rest at room temperature for at least an hour.
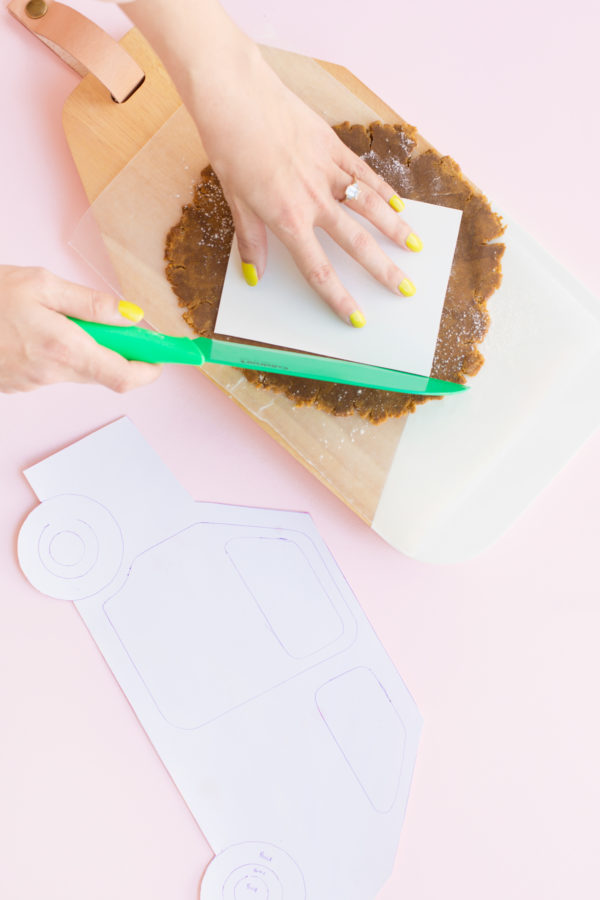
- Working in 2 or 3 batches, roll out dough between 2 sheets of parchment paper to about 1/4 inch thick and place on baking sheets. Remove top layer of parchment. Using a long sharp knife, place templates onto the surface of the dough about an inch apart and carefully cut out all the pieces needed and remove excess dough. Bake for about an hour for the smaller pieces, up to 2 hours for the large main car pieces. Keep checking every 30 minutes or so. You want them fairly hard to the touch coming out of the oven. The gingerbread will get even harder as it cools.
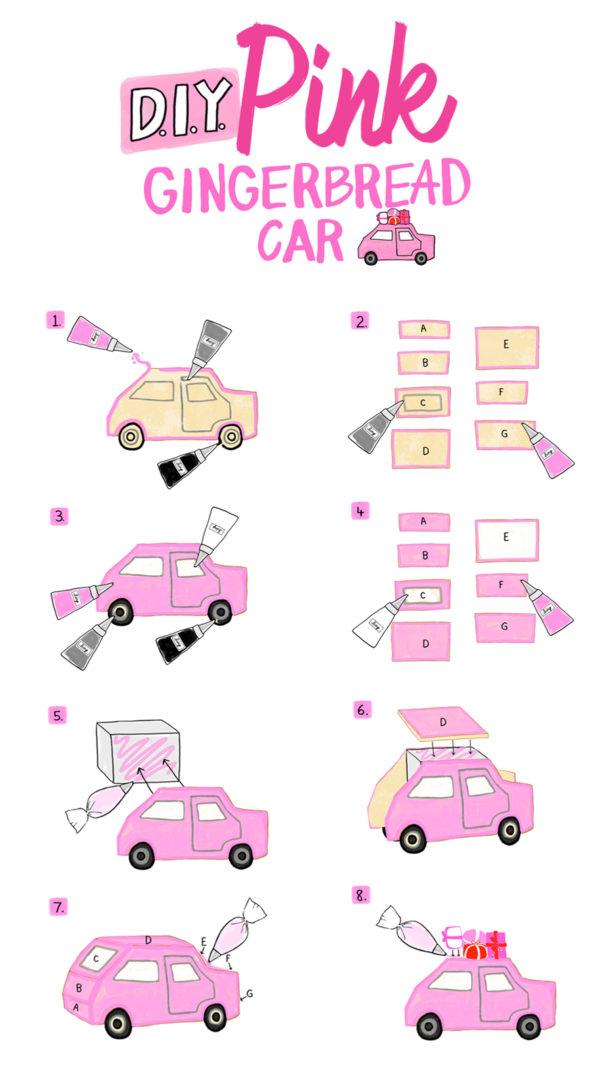
- Use a black edible food marker to draw windows and doors as guidelines for piping
- To flood and fill the cookie with icing, thin down the royal icing with a few drops of water at a time till the royal icing flows easily and settles into itself smoothly. Place thinned out royal icing into a squeeze bottle. Carefully and evenly distribute the icing on the pieces, using the tip of the squeeze bottle to guide icing around the outlines and into the corners etc. Fill the windows in with white icing. The tires with black and grey. The rest of the car with pink. Let sit overnight to fully harden.
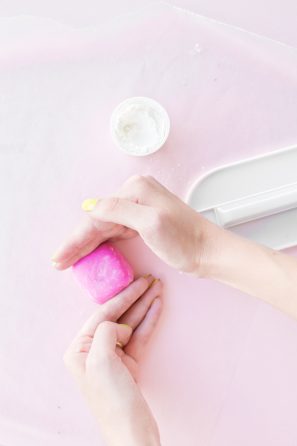
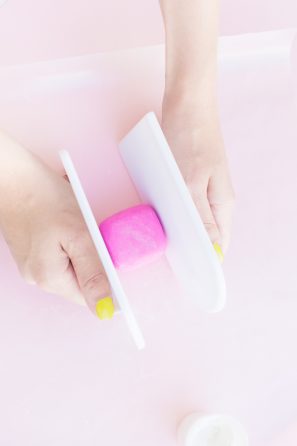
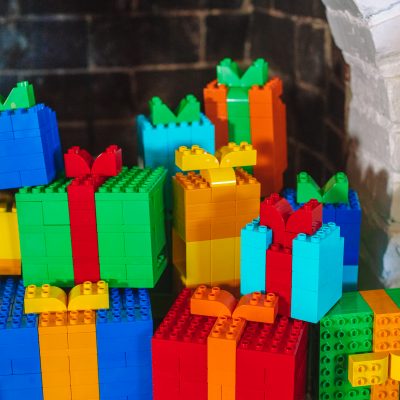
- For the fondant presents: Dust work surface with corn starch. Form fondant into a rough square or rectangular present shape. Using 2 fondant smoothers, firmly press on the top and sides to form sharper edges. Roll out a thin piece in desired ribbon color. Using a sharp knife, cut 2 long strips. Place strips over the present, using water if necessary to help it stick. To make a bow, form a small oval ring. Pinch the middle together and add a small thin piece around the middle. Let dry overnight.
- To Assemble: Use a (roughly) 5 inch wide by 6 1/4 inch tall foam or cardboard box for support. Spread a couple tablespoons of royal icing on the bottom of the support and place onto whatever surface you want your gingerbread car to be on (cake board, platter, etc.).
- Spread a thick layer of royal icing on each side of the support and press the first main car piece up against the support. Hold for about a minute till it feels secure, or prop something up against it to hold it in place. Repeat with the other main car piece, making sure the two are parallel and even with each other/
- Spread a thin layer of royal icing across the top of the support. Place the roof of the car (Piece D) on top and press down to secure . Fill any gaps with royal icing. Let this harden for about 15 minutes.
- Using thick layers of pink royal icing piped along the edges, attach the pieces starting with the two on either side of the roof (C and E). Let those set. Then go to the next pieces (B and F) down on either side, letting the royal icing harden for about 10 minutes in between. And then the last set (A and G). You can also prop something against the pieces for support if needed.
- Using more royal icing, arrange the fondant presents on top of the car and secure with royal icing.
- Make mirrors, headlights, door handles and license plates out of fondant and attach with royal icing.
- *You may need to make multiple batches of royal icing depending on how much you use.



Photos by Jeff Mindell | Recipe by Theresa Rountree | Illustrations by Katy Jones
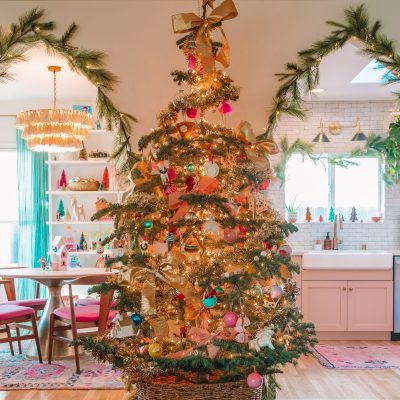
Gah! Christmas trees and gingerbread… gang’s all here!!! We had so much fun scheming up this car. It’s now patiently waiting in the studio for Christmas to arrive!!
This post was created in partnership with the SoCal Honda Dealers. All content and opinions are that of my own! Thank you for supporting the sponsors that keep the Studio DIY party going! Read more about my editorial policies here.







Gabriella says
This is 100% the cutest gingerbread DIY I have EVER seen. Snaps, y’all. Major snaps.
Kelly says
Thanks! So glad you’re loving it!
Yolonda J. Washington says
So adorable. I was just thinking of the memories I have with my late grandmother and building gingerbread houses
Kelly says
Thank you! Gingerbread houses are such fun projects, I bet that was a great time with your grandmother.
Michelle says
This is sooo cool, I love it!
https://www.makeandmess.com/
Kelly says
Yay! So glad you love it!
Jessica says
I’m not sure I’ll ever manage to do something like that but I love it x
Jessica — NinetyCo
Kelly says
You can do it! Glad you like it!
Kristina B says
Dude this is FANCY and I LOVE IT!!
Kelly says
Thanks! 💁🏼
Jalee D. says
Ooo, I’m in love! This is adorable for the gingerbread obsessed lover as myself, haha. So super sweet!! XOXO
Leah says
My first car (that I actually bought) was a Honda and it’s still my favorite to this day! Of course I might like a gingerbread version even more. Lol
Gina says
Adorbs! How many cars can you out of one batch? Thinking about making some for my little girl school class. Thanks…Gina
Max says
Thank you for taking the time to share the information.it’s very useful to me!