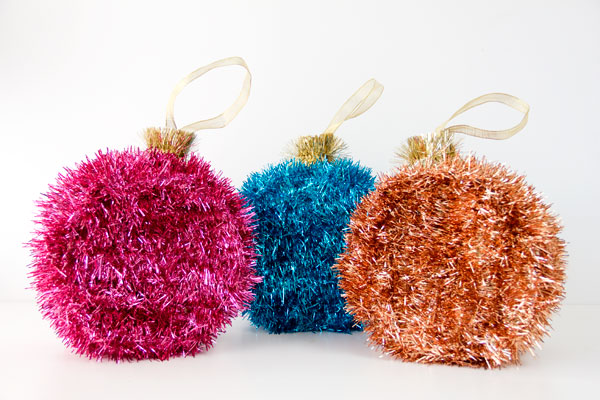
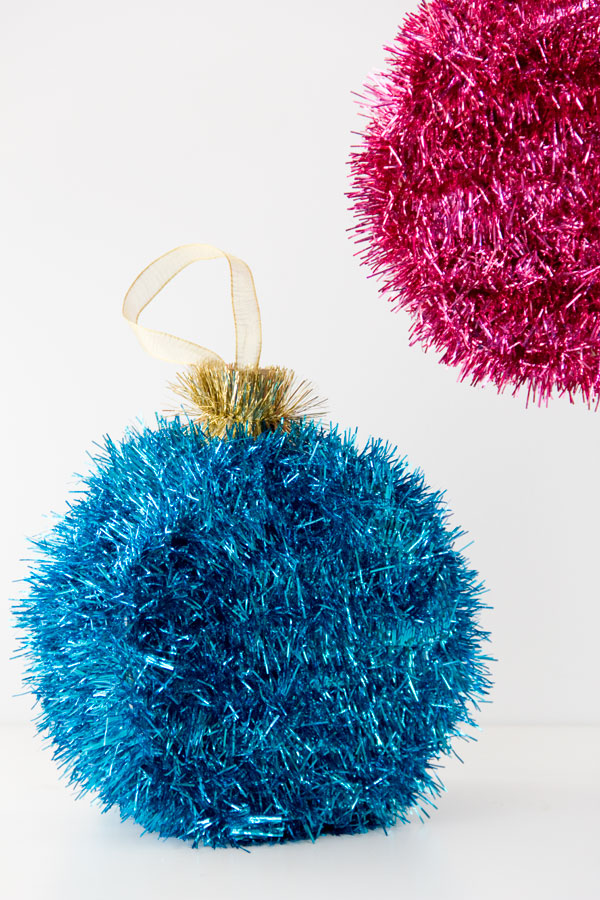
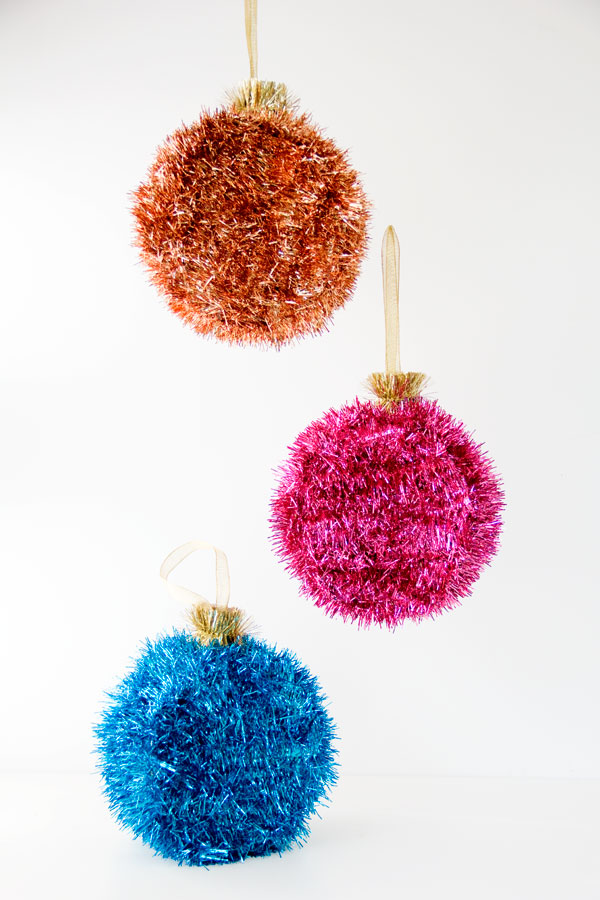
Hello and happy Monday everyone! While I was hoping to welcome you all here this morning with a brand new look for this here blog, we ran into a few setbacks and have to push it back a week. So while Studio DIY won’t be struttin’ it’s new stuff today, I have one of my favorite holiday projects of the season to share with you! Wait for it.. ornament piñatas!!! I came upon a ton of colorful tinsel garland at my local dollar store and realized it would be perfect for covering piñatas! Then I came up with an easy peasy way to make them into ornaments and BAM, piñata fun for all of your holiday parties!
Supply List:
Poster Board or Cardboard
Colorful Tinsel Garland (The garland I used is much thinner than the typical tinsel garland. I bought it at the dollar store, though I imagine you could use the normal variety too!)
Gold Tinsel Garland
Masking Tape
Hot Glue
Paper Towel Roll
Scissors
Pencil
Bowl (or other template for your shape)
Awl
Ribbon
To Make:
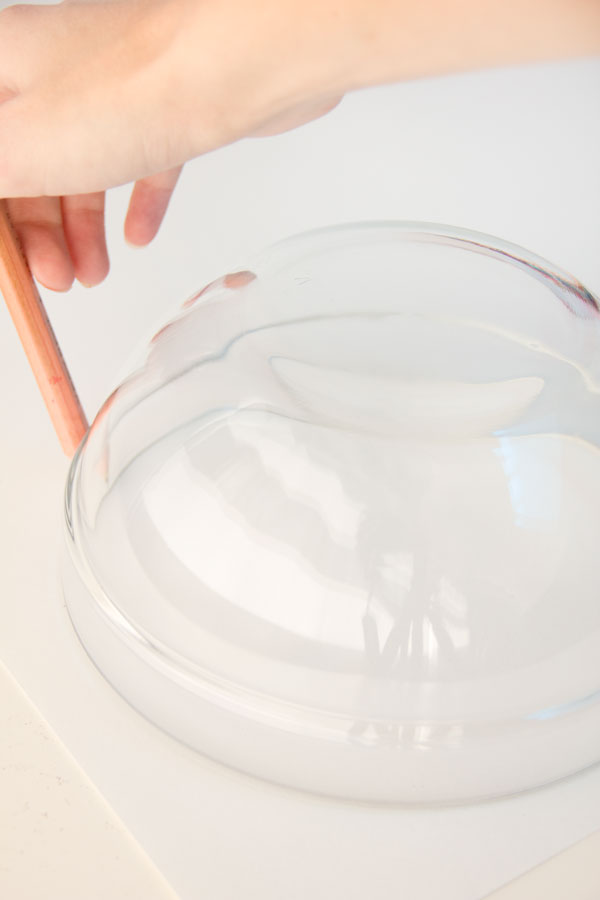
Trace around a bowl twice on a piece of poster board or cardboard and cut out to get your two circles. (You could also do this with other fun ornament shapes!) Then cut a strip of poster board five inches wide and slightly longer than the circumference of your circles.
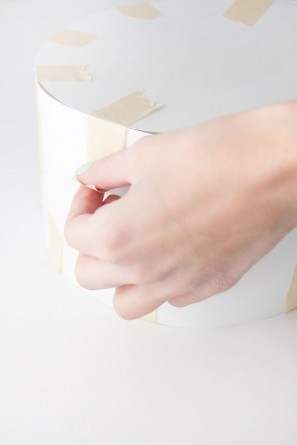
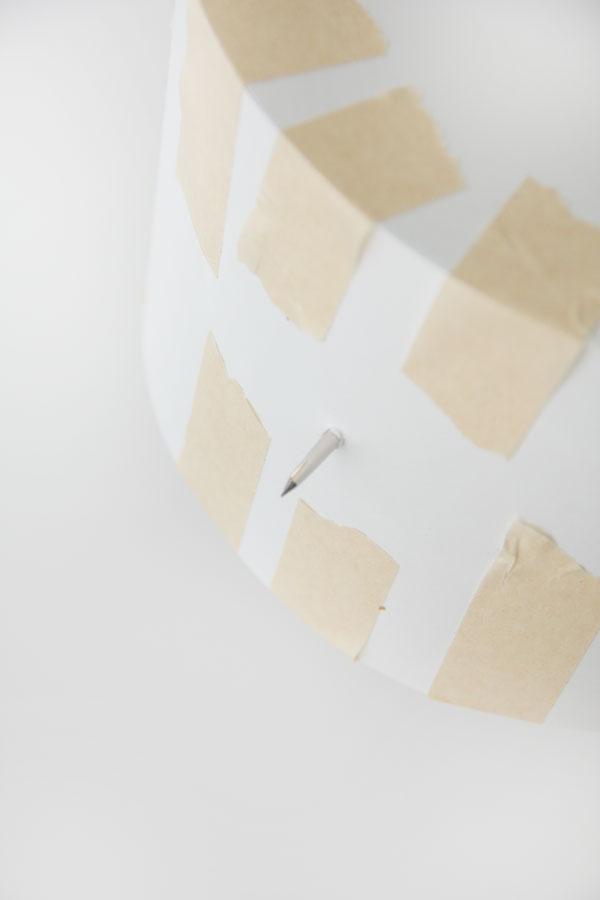
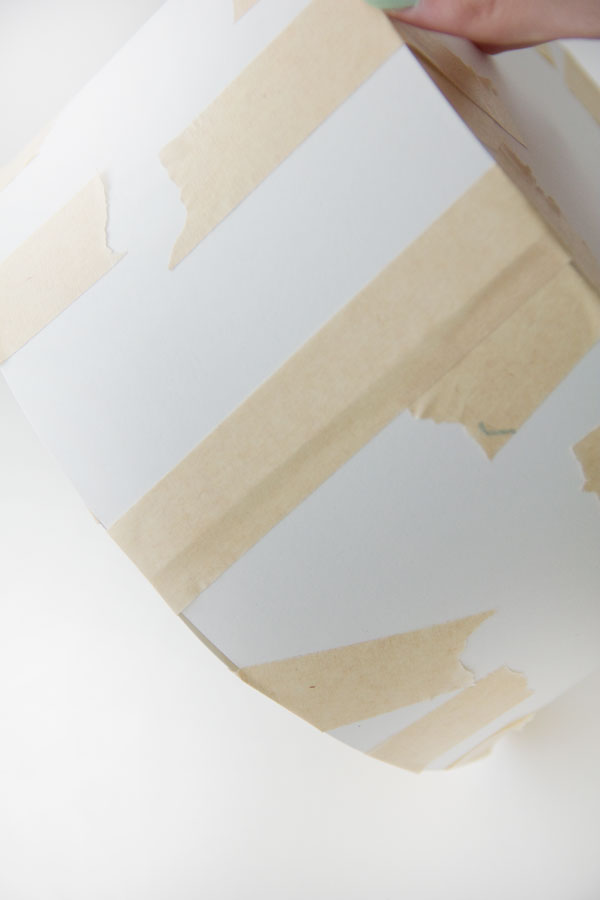
Using masking tape, tape your two circles to your strip of poster board forming a 3D disc shape. Use a lot of tape (more than you even see here, I’ve learned from experience!) to make sure it is secure. Leave a flap open where the two ends of your strip meet. Poke a hole through the opposite end from the flap with your awl.
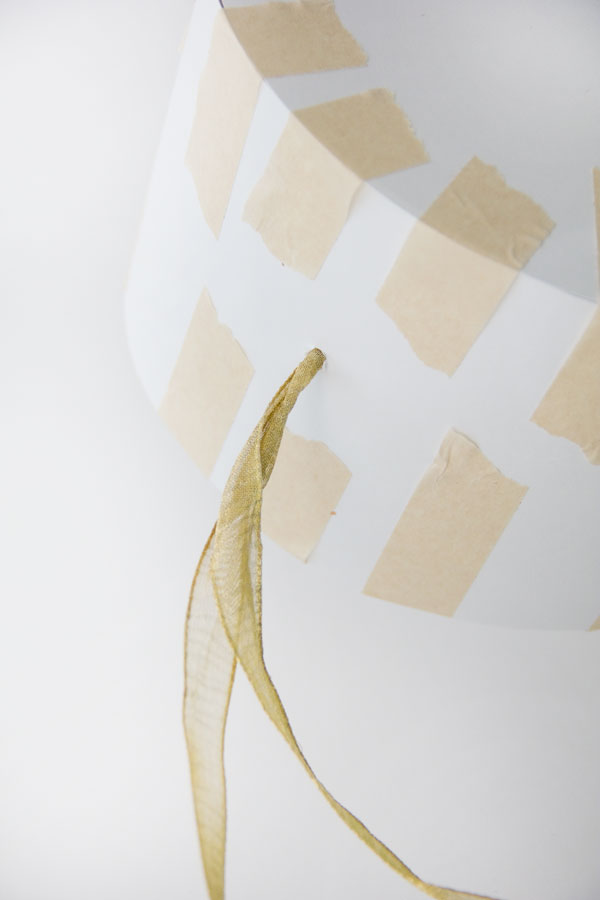
Pull a ribbon through the hole and knot on the inside to form a loop. Now you can fill your piñata with all of its goodies and seal up your flap!
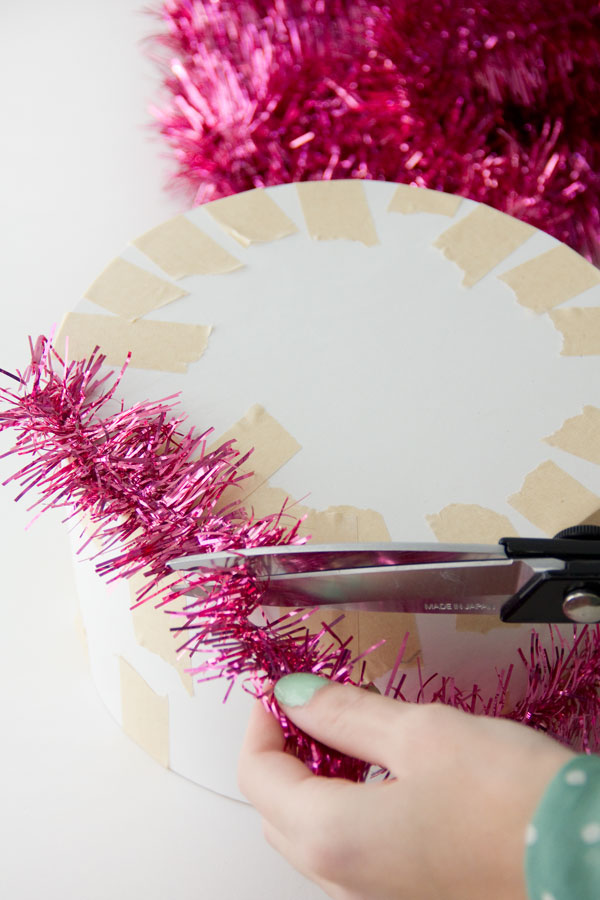
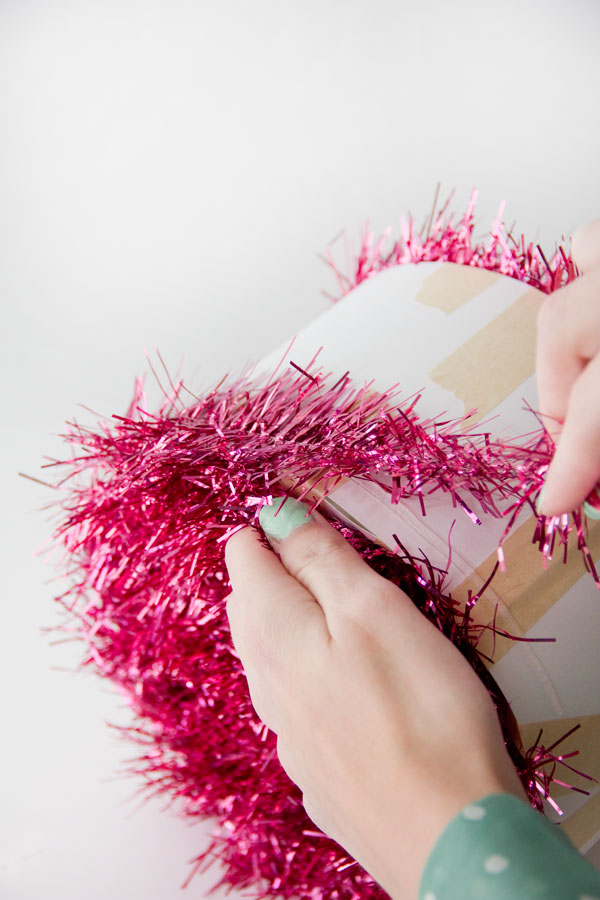
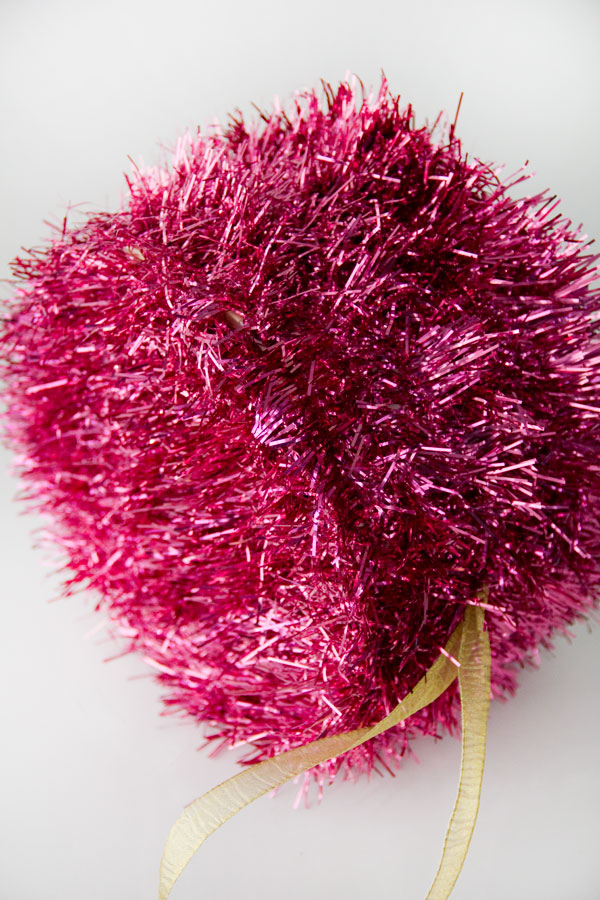
Tinsel time! Fair warning… you have to be patient, it won’t be perfect and you may get a hot glue gun burn (typical hazard when using this, right!?) but it is SO worth it! Starting on one of your circle sides, carefully run a line of hot glue down one edge of the circle and place your tinsel on top to adhere. Trim your tinsel at the end. You will continue doint this, line by line until your entire circle is covered. Each time you will have to carefully move the tinsel fringeys out of the way while you run your line of hot glue next to the last (about 1/2″ apart each time). NOTE! Some pieces of tinsel will stick to the next row of glue but this is ok. The best part about this stuff is it covers up tiny flaws and mistakes! Repeat this with your other circle side.
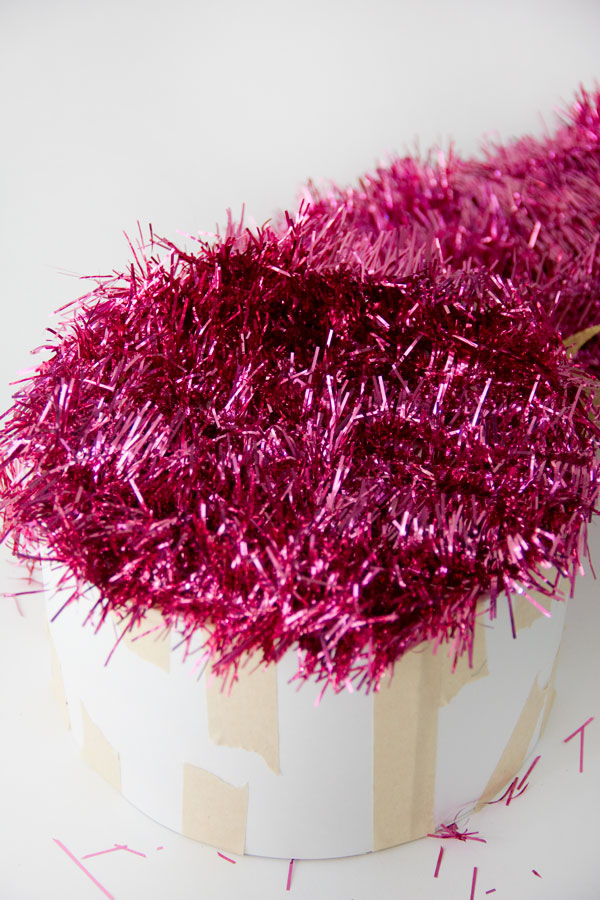
To cover the strip part you are going to work in sections. Starting at the bottom run a short line of glue around the edge and adhere your tinsel. Continue doing this, constantly running short lines of glue and wrapping the tinsel round and round until the entire strip is covered. Again, you’ll have to carefully move tinsel out of the way while you adhere the next strip but you can do it!
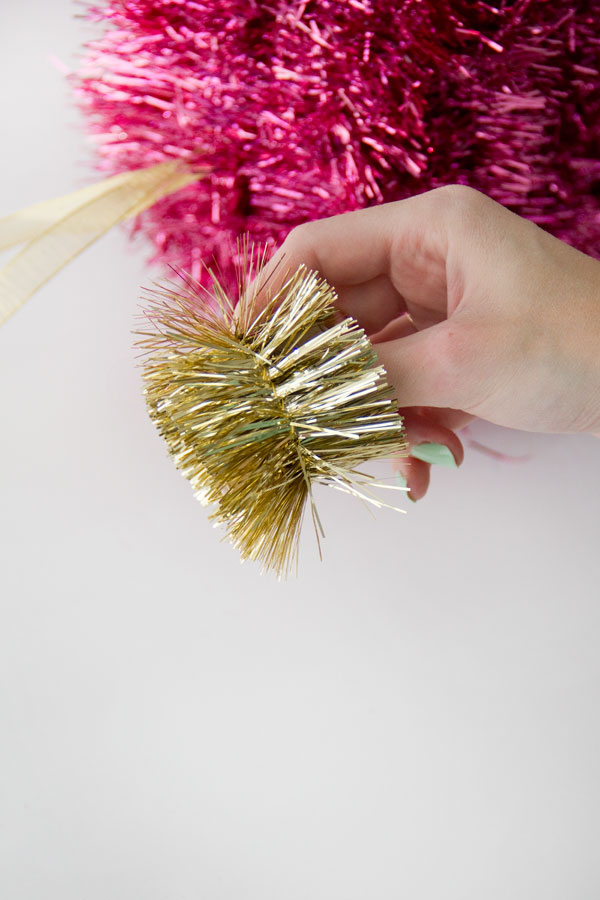
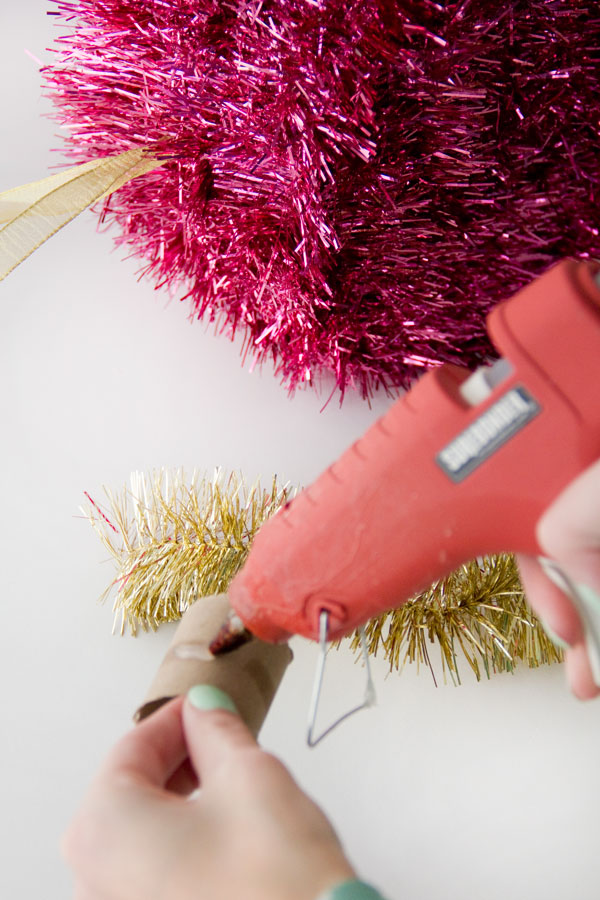
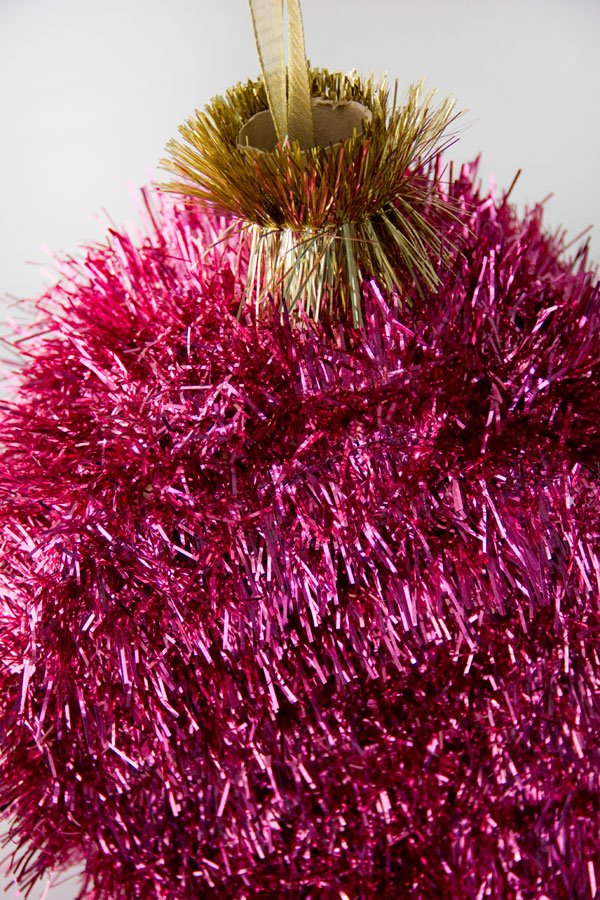
To make the gold top of the piñata, cut a piece of your cardboard roll about 1.5″ thick. Run a line of hot glue all the way around the center and glue a piece of gold tinsel all the way around.
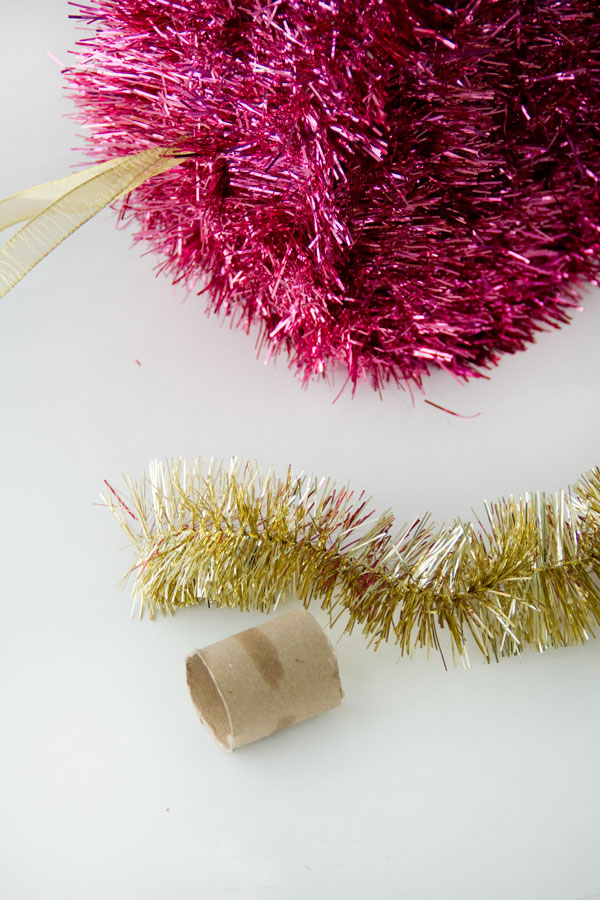
Trim and you have your top! Slip this over your ribbon and secure by taping your ribbon to the inside or hot gluing it to the base.
And then watch them get destroyed! Ha! These also would make adorable, unfilled, decorations if you don’t want to destroy them!
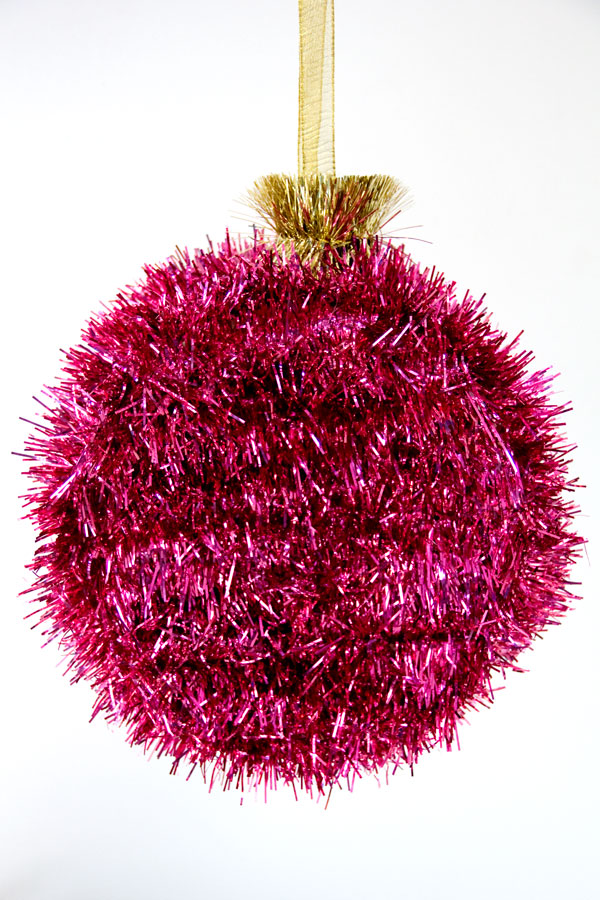
I seriously want to hang these everywhere. And I want to cover all future piñatas in tinsel, it’s so much easier than cutting a billion yards of fringe!
All Photos by Studio DIY
Looking for more DIY projects? Check out the full project gallery here! And if you’re looking for some serious holiday cheer, you can get a hefty dose of that right here.



Brenda's Wedding Blog says
pure brilliance – I LOVE these tinsel garland pinatas. I also agree that they would make great decorations not as pinatas. What a great conversation starter for parties.
icing designs says
oh my gosh kelly….these are so creative and festive!!!! love them!
Mandy Pellegrin // Fabric Paper Glue says
Now, I swear I’m not just saying this, but this might be my favorite project ever. Gah. I love this so much.
Kelly says
They’d go pretty well with those tinsel wreaths you instagrammed last night! Just saying! =)
Kelly
Debie Grace says
Very clever! Would love to do this!
Chloe Moon says
These are so cool! I love how you can use all the funky colors!! =)
Ergo – Blog
Melissa says
What a fab idea, Kelly! I love how these look!
Elli @studio34e says
So creative idea!!Wow girl is awesome!! I was looking for something intresting and unique to do this Christmas!I will definately try pinatas ornament!Thank you for sharing!:)
xxx
Elli
Cyd says
Kelly! These are brilliant!
Kelly says
Thanks Cyd!!
Claudia says
They are very pretty!!! Thanks for sharing this xoxo
Joanne says
I can’t get the other images to open in any browsers so I can see each step. Can you send me the images and instructions to my email? thanks.