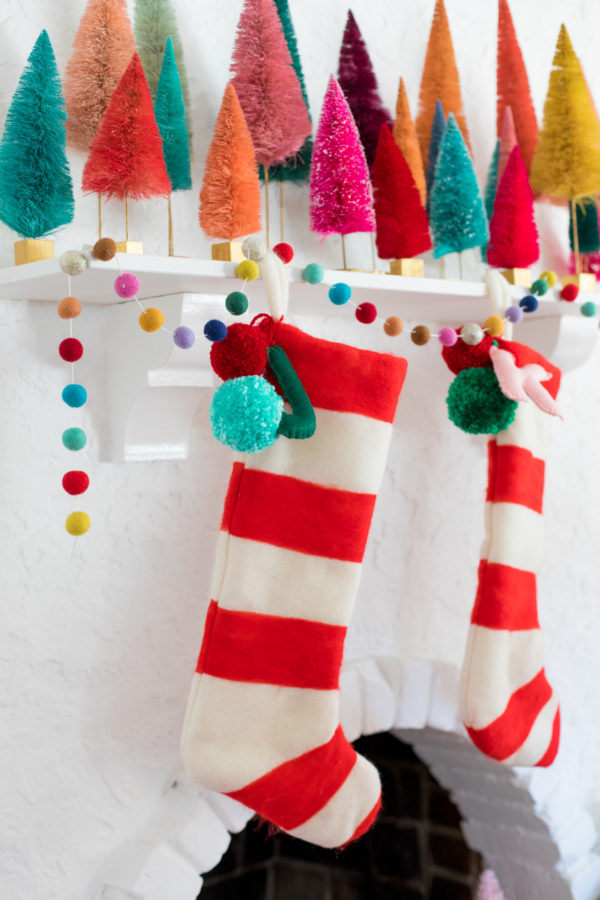
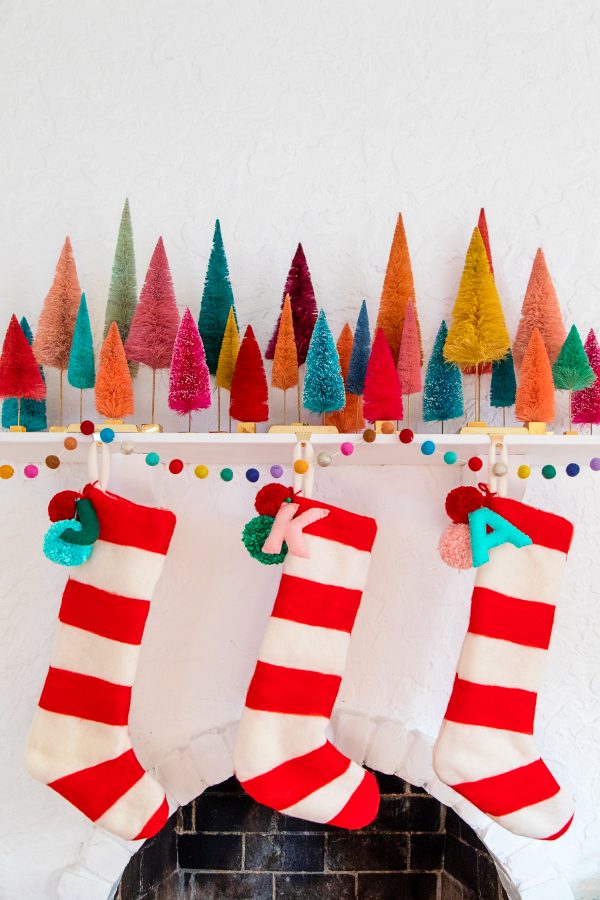
Last year, I spent the better part of the holiday season figuring out how to make my dream stockings. Red, striped, felted wool stockings. Ones that we’d hopefully have forever. After MANY failed attempts and causing my entire house to smell like a barn (hint: Wet felting is NOT my thing! haha!), I finally figured it out and I couldn’t be happier with how they turned out. Thank you to all of you who followed and supported me in my long journey to this point. LOL! Anyway, today I have the tutorial for you if you want to make your own!! I don’t have a ton of step photos because I didn’t know if they were actually gonna work when making them, but I did my best to illustrated a tutorial for you regardless. Here we go!!
DIY Felted Stripe Christmas Stockings
Total Time: 3+ Hours Per Stocking
Supplies
Large sheet of paper (or a paper grocery bag), to use as a template
White/Cream Wool Felt (About 2 yards, if you are lining the stocking with felt too)
Red Wool Roving
Needle Felting Mat
Needle Felting Tool
Sewing Machine
Pins
Scissors
9x12" Sheet Felt in Contrasting Color (For the letter, optional)
Yarn in Desired Colors
Pom Pom Maker
Embroidery Needle
Embroidery Thread
Stuffing
Directions
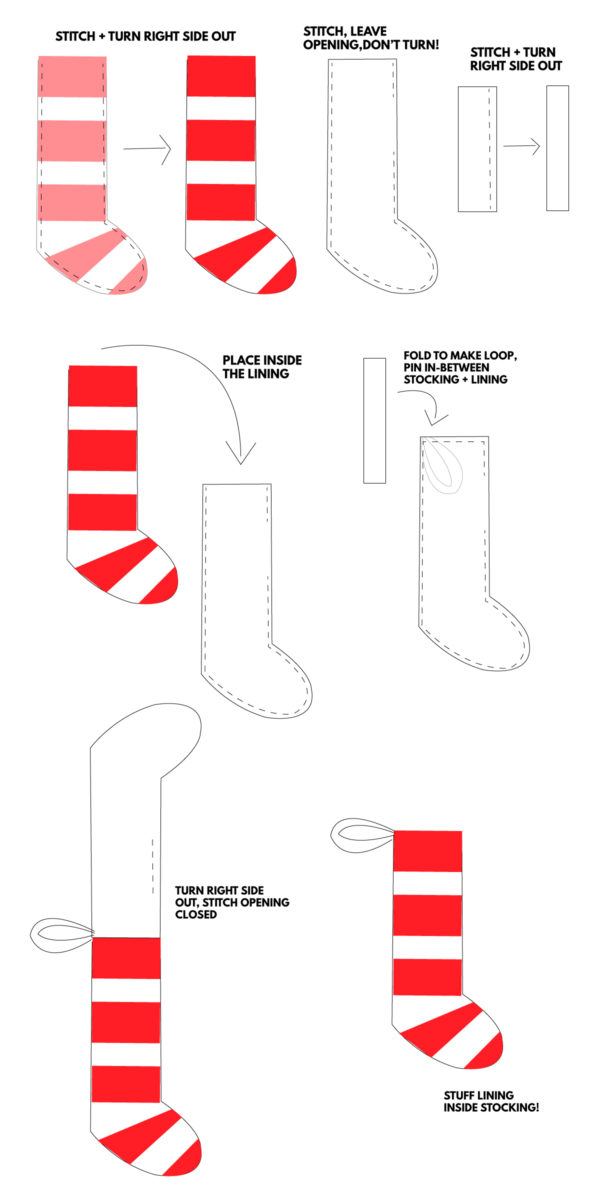
1. Cut out a stocking shape from the paper/paper bag to use as your pattern. It should be 1/2" bigger on all sides than you want your final stocking to be. You can find lots of patterns online, if you'd like. I just freehanded mine!
2. Use the template to cut out four stocking shapes from the felt (two for the outside, two for the lining). Also cut out a 2" by 8" rectangle. Set two stocking pieces and the rectangle aside.
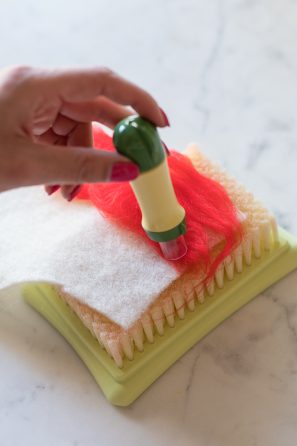
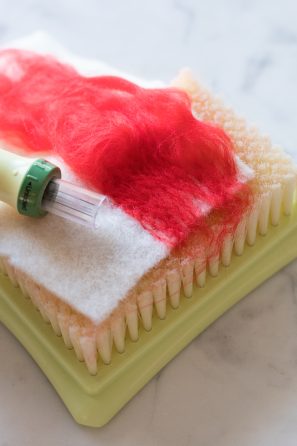
3. The other two are the ones you'll felt! Lay the top corner of one stocking shop on top of the felting mat. Pull a small piece of red roving off and lay that on top of the stocking, wherever you want the first stripe to begin. (the very top, if you want it to look like mine!) Use your needle felting tool and punch it repeatedly over and over and over onto the roving. You'll see it starts to "adhere" to the wool. That means it's working! Repeat until when you scratch your nail along it, nothing comes off. Then you'll add another piece of roving and continue doing the same process across and down the wool felt until you have the size stripe you'd like. Each of mine were about 3" thick.
4. Repeat with several other stripes going down the stocking. You can see where the foot of the stocking is, I did a few different varieties, one where the stripe gets wider at one point, and one where it's relatively the same size.
5. Now repeat with the second stocking shape, being sure you felt the OPPOSITE side. As you make this stripes on this one, use the completed striped piece to measure each one so the stripes line up when stitched together. It might not be perfect and that's ok!
6. Now put the striped sides of each stocking piece together and stitch using a 1/2" seam on your sewing machine. Leave the top open of course! Along the curve of the foot make little clips into the inseam (it will help it lay flatter when turned). Turn right side out.
7. Take your other two stocking pieces and stitch those together as well, but on this leave a 4-5" opening on one side! This will be your lining!
8. Take the rectangle you previously cut and fold it in half, lengthwise. Stitch with a 1/2" inseam all the way down the side where the long edges meet. Turn right side out. This is the loop your stocking will hang from!
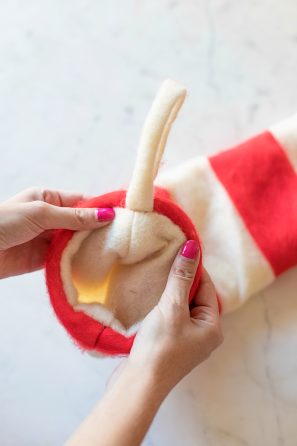
9. Leave the lining stocking with wrong sides OUT and place your striped stocking (right sides facing OUT) inside the lining. In between the two, pin the loop you created. It should be pinned on the back (heel) side of the stocking as shown! Pin the whole top together now.
10. Stitch around the entire top with a 1/2" inseam.
11. Use the hole you left in the lining to turn the entire stocking right side out. Then stitch that opening together (you can use a machine or hand stitch it with a slip stitch! I usually hand stitch.
12. Stuff the lining inside the striped stocking and VOILA! You have a stocking!!!
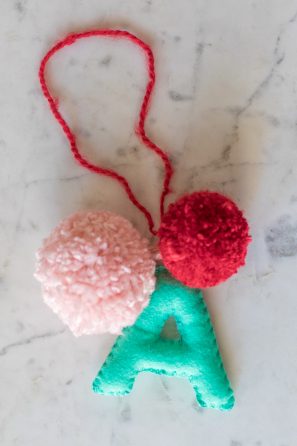
13. To make the pom poms, follow the instructions on your pom pom maker. I made two different sizes for each stocking. Leave the piece you use to tie the pom pom together long, you'll hang your letter on this later!
14. To make the felt letters, cut out two identical letter shapes from felt.
15. Hand stitch the two together using a blanket stitch. Stuff before closing up the last few stitches!
16. Thread the long piece of yarn from one of your pom poms through a needle and stitch through the top corner of your letter to attach. 17. Tie on to the loop on your stocking!
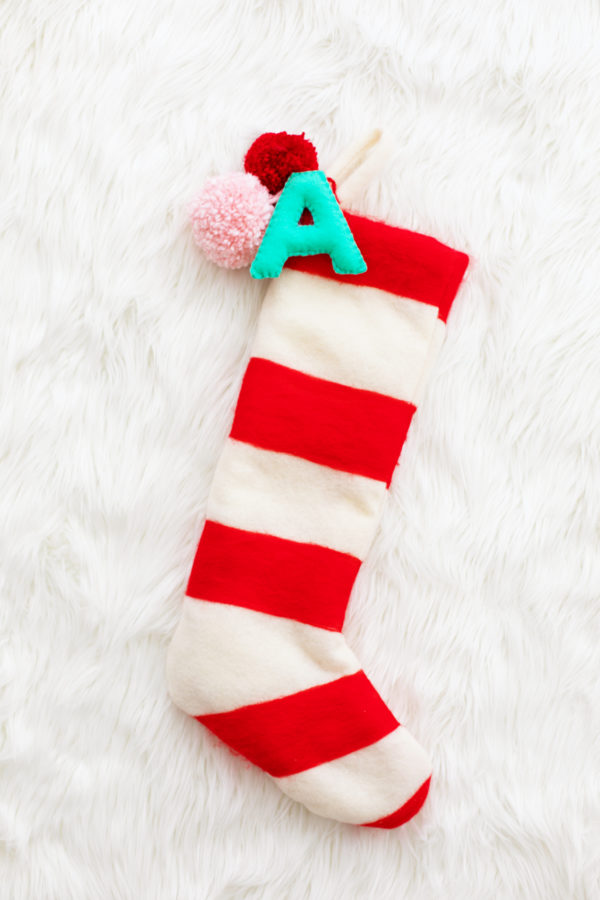

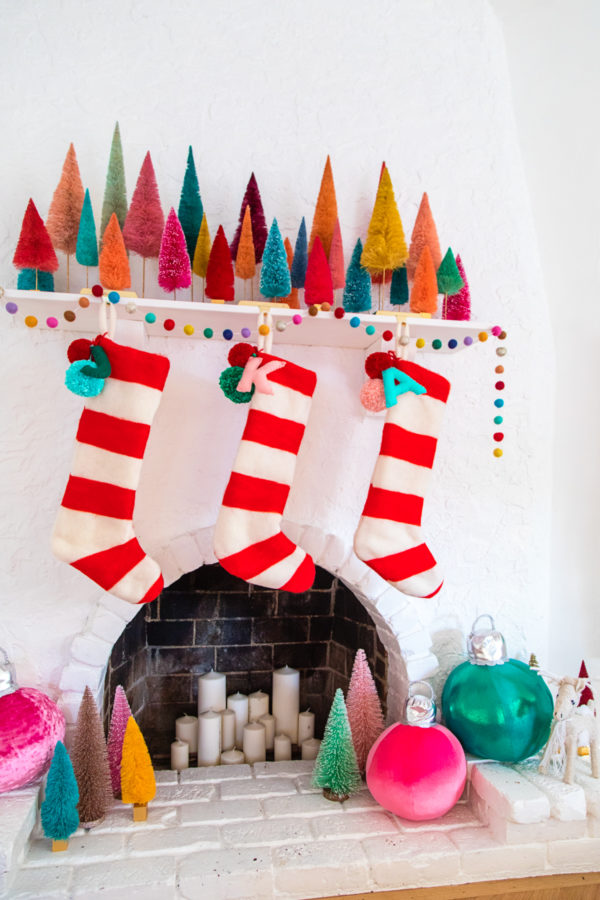
Photos by Jeff Mindell
I bought enough wool and roving to make a BUNCH more as our family grows. Eeeeee!! So excited. Feel free to ask any questions below if I left something out! =)


Amy Cluck-McAlister says
Oh my gosh, they turned out so good! The whole fireplace looks amazing. You’ve probably already seen, but Target totally ripped off your ornament pillows this year. I knew they were yours as soon as I saw them.
Elizabeth says
LOVE the whole scene! Can you post source links for the bottle brush trees, Pom Pom garland and giant ornaments? Thanks!
syair togel sgp says
when i see this, i will remember when my mom give me gift same like this
Larissa says
I’d love source links for all the items too please!!
Elena Gouge says
Hi! I love these so much. I’m going to try to follow this diy to make our family stockings! Is this for one stocking only? Just trying to make sure I buy enough supplies for five stockings. 🙂
Lian says
Hi! Did you use 100% wool for the white felt? My craft store only had a felt that’s a mix of wool and rayon; it looks similar to the felt you used in the sample needle felting photo but your finished stockings look different! I’m halfway through a stocking and the red needle felting seems much thicker than the white area. Is this normal? Help!
Nicole M says
Hi! I’d love to know where you got the bottle trees from!