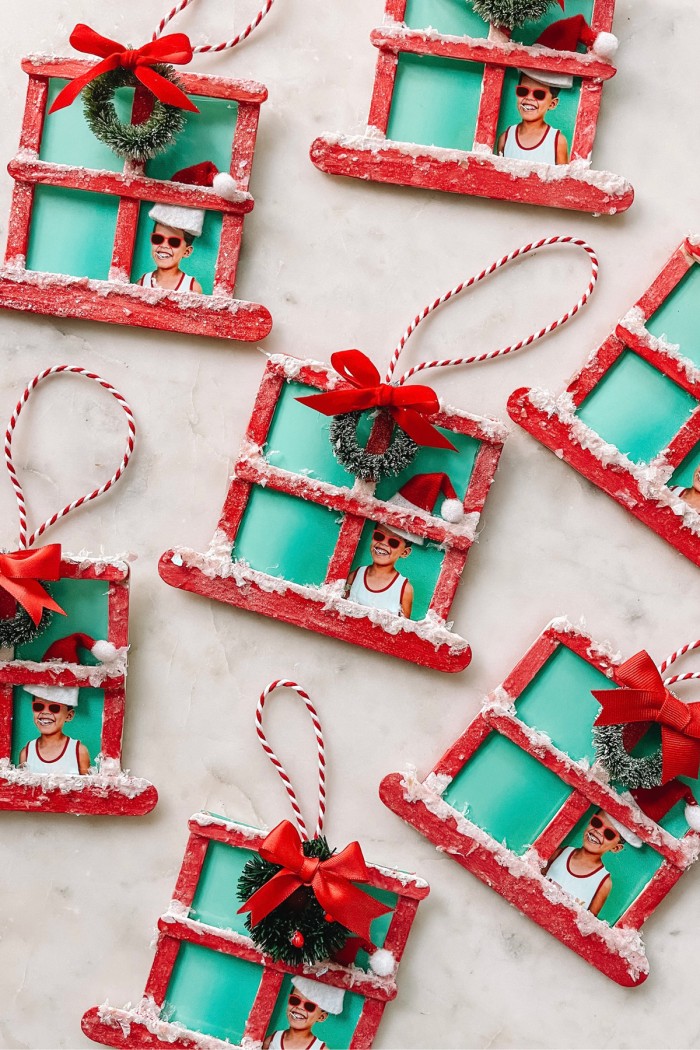
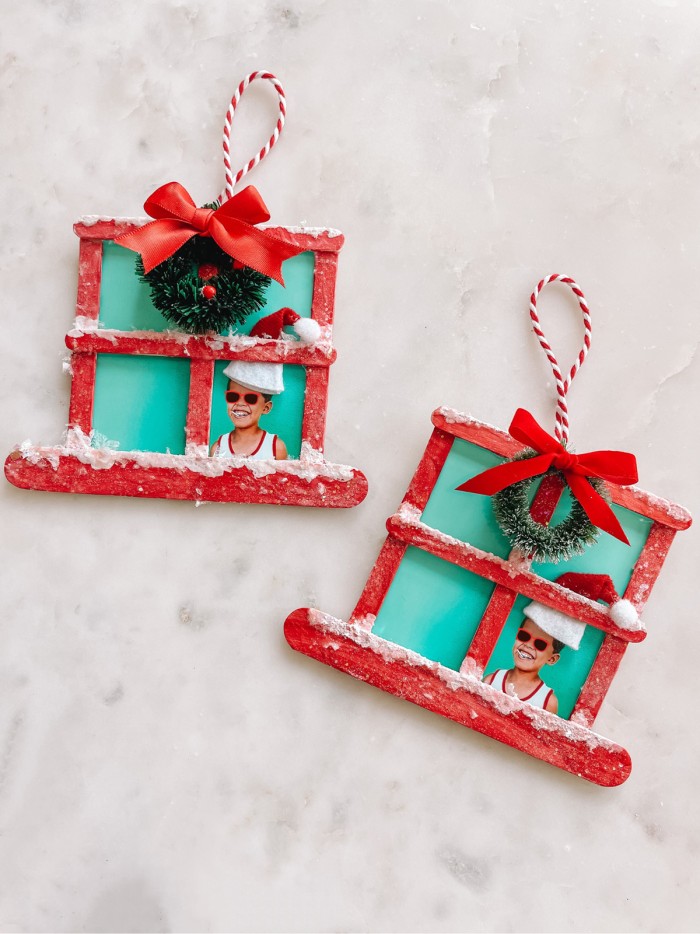
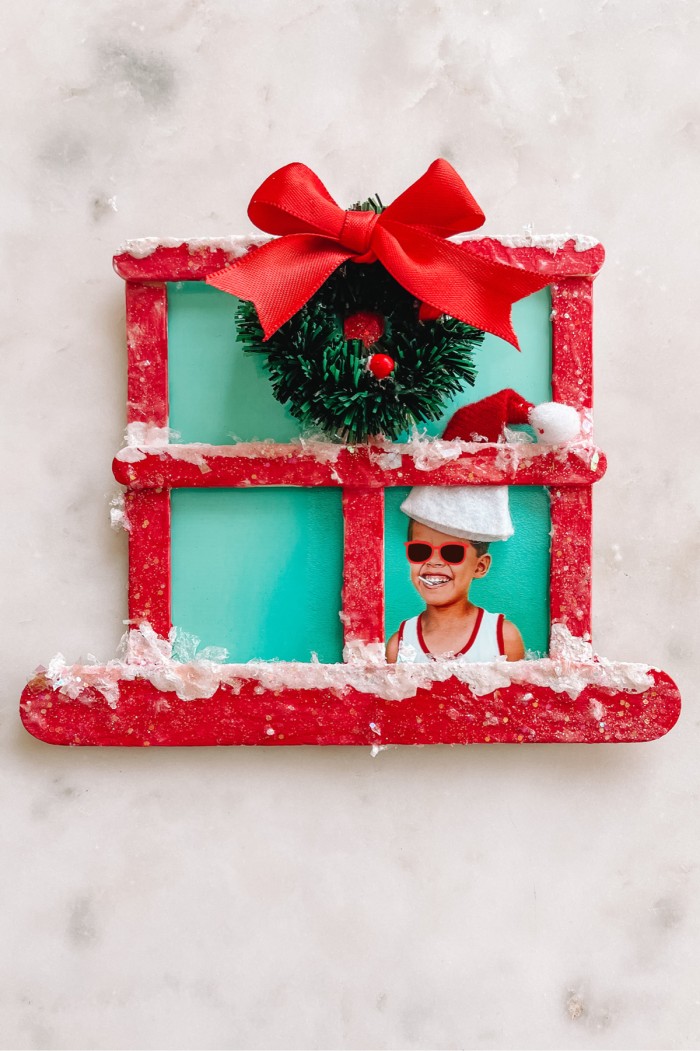
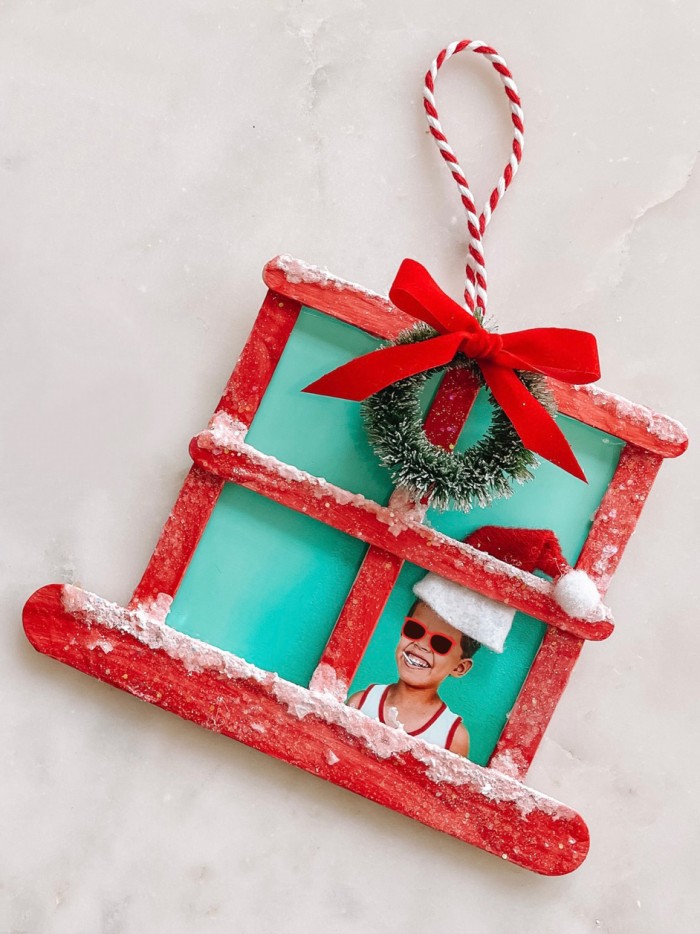
We send annual “Ornament Grams” to the grandparents and other close family and friends from our son. It’s a fun way to get him involved in creating a gift for someone, and I love the idea of having a collection of handmade ornaments throughout the years! Popsicle stick ornaments are always a favorite for their ease and affordability and this year we created these Christmas window popsicle stick ornaments!
I always like to include a photo because I personally find photo ornaments from my and my husband’s childhoods to be the ones I’m most excited to put on the tree each year. These are great for a wide range of ages and you can tailor the tasks they have depending on how old they are! Here we go.
Getting the Kids Involved
I think it’s important to involve kids in gift giving and holiday crafting. With this ornament, kids can be involved in many aspects depending on their age:
- Have the youngest toddlers just do the painting!
- Preschoolers can paint and add glitter
- Elementary students can paint, add the white trim and glitter. Plus add the decorations!
- Older kids can do the whole thing on their own if you use regular glue instead of hot glue!
Supplies You’ll Need
- Popsicle sticks (5 per ornament)
- Jumbo popsicle sticks (1 per ornament)
- Hot glue gun (for adults use only!)
- Paint and paintbrushes (In any colors you choose, plus white)
- White iridescent glitter (I like to use a mix of fine glitter and chunky glitter)
- Iridescent faux snow
- Mod podge
- 4×6 photos OR photos and solid color cardstock to glue them to
- Mini craft wreaths, Santa hats, ribbon or other decorations
- Twine
- Felt (optional, for baking)
Step-by-Step Popsicle Stick Ornament Instructions
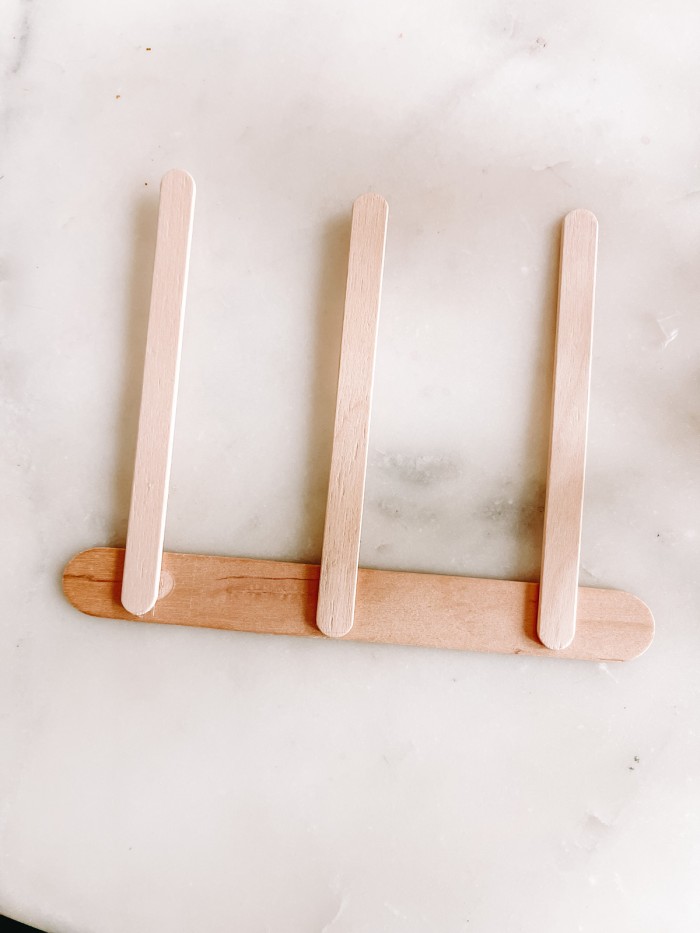
- Hot glue three popsicle sticks, evenly spaced, to a jumbo popsicle stick.
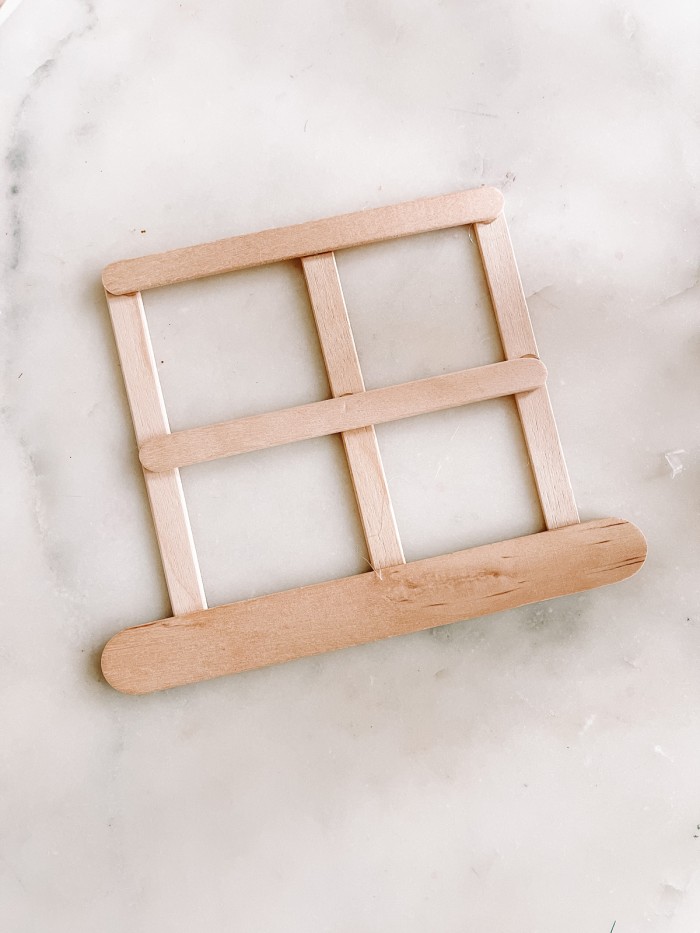
- Flip over and glue two popsicle sticks, horizontally, over top of the three vertical popsicle sticks.
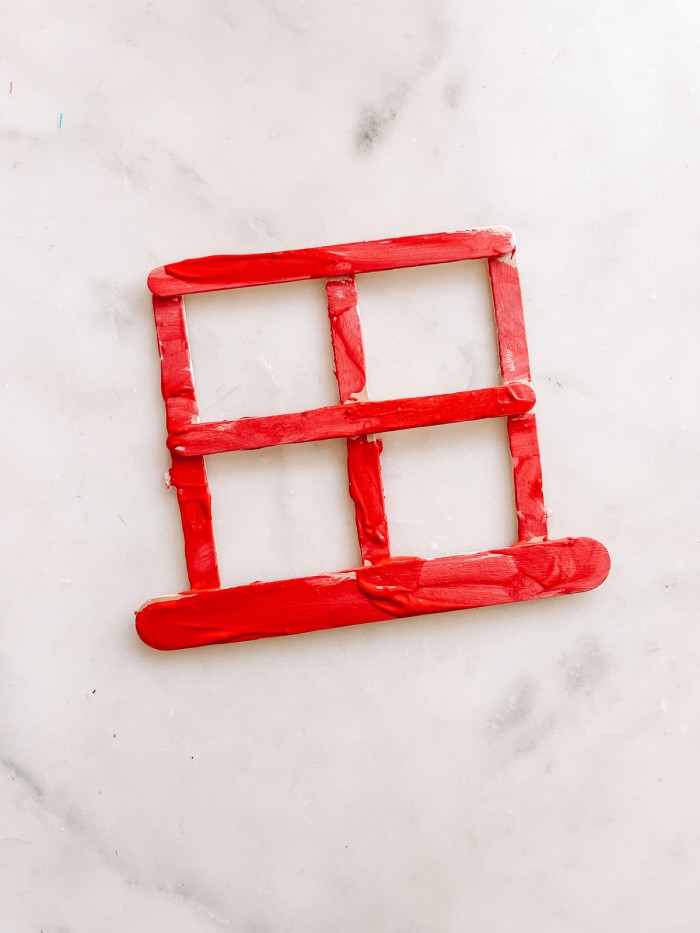
3. Let the kids paint the popsicle stick windows however they please. Let dry completely.
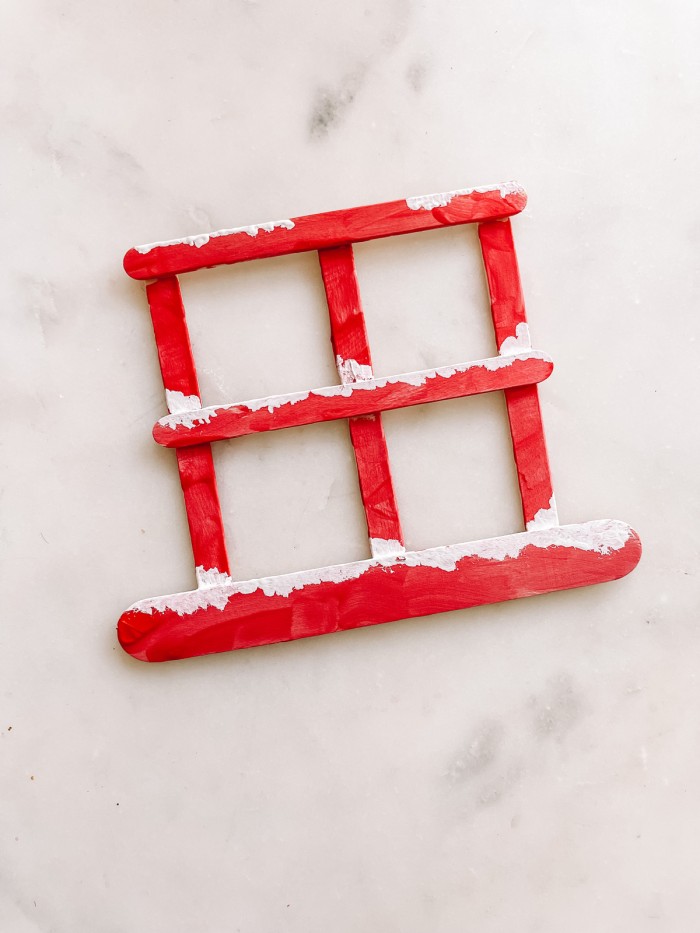
4. Paint the top of the bar across the window, and the window sill white. This will act as a background so the white glitter and snow pops. Let dry.
5. Cover the white paint with Mod Podge. Let the kids sprinkle the glitter and snow on top. Shake off excess. If desired, you can then add Mod Podge and glitter to the rest of the window. Let dry!
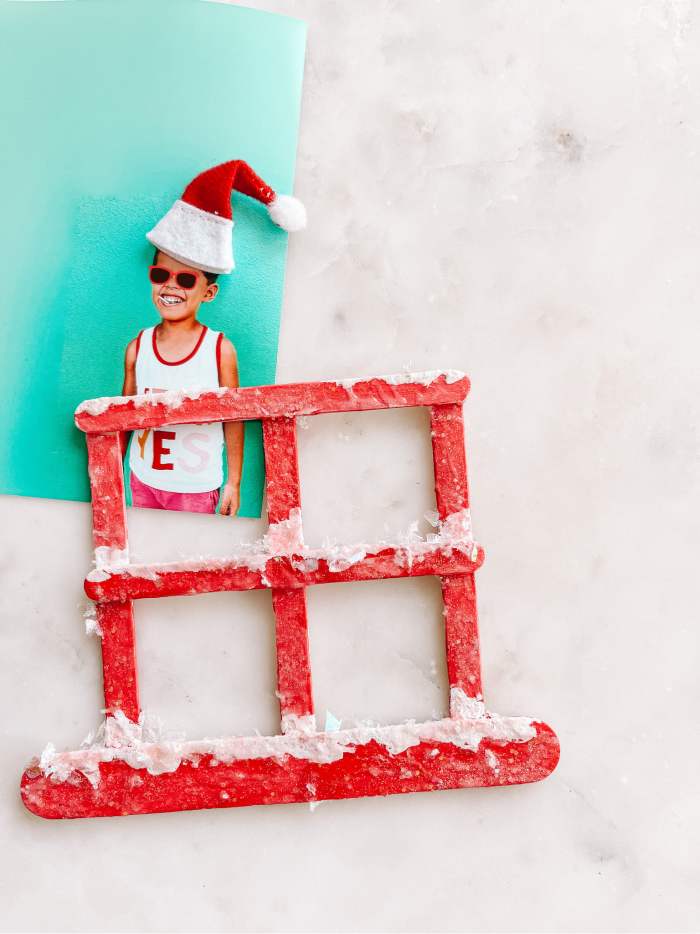
6. Add Santa hat to photos, if desired.
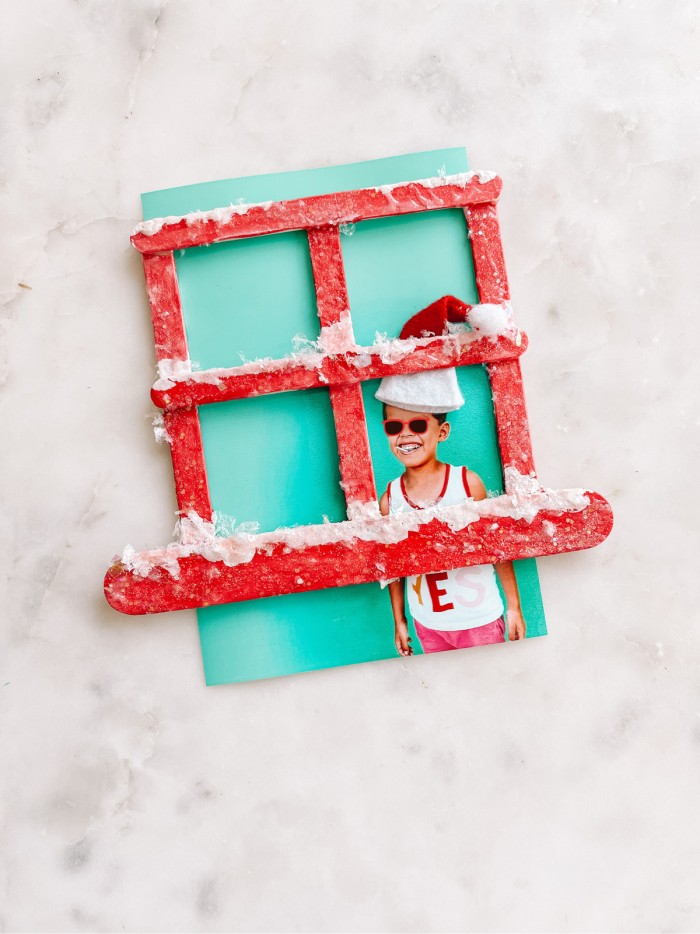
7. Hot glue the photo to the back of the window. If you’re not using a 4×6 photo, you can cut out the photo of your child and glue it to a solid color background. Then glue that to the window. Trim excess paper so it fits within the window.
8. Glue the wreaths or other decor to the front of the window as desired.
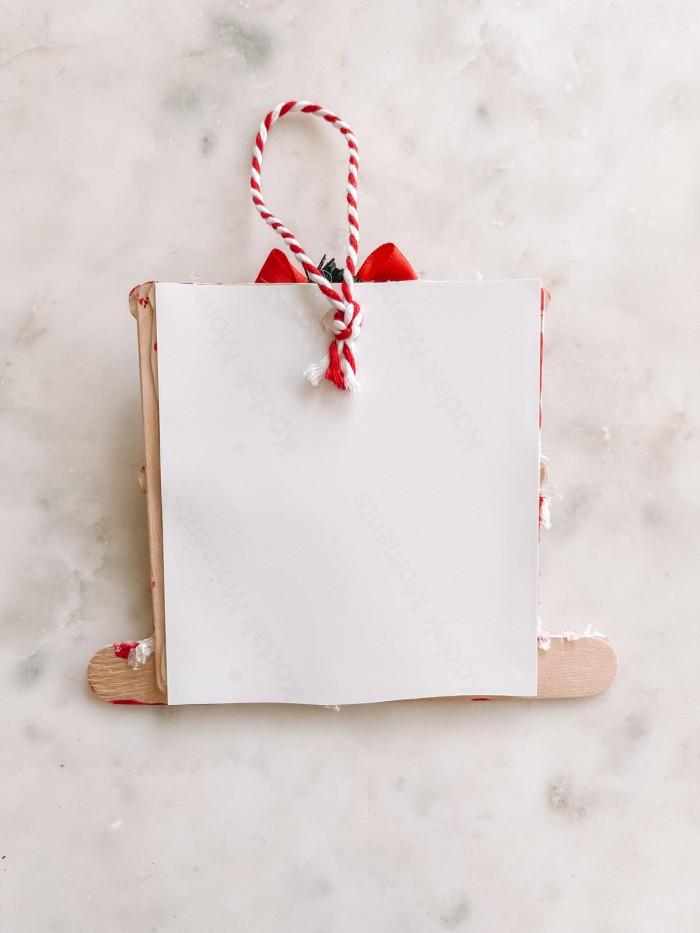
9. Cut a piece of twine and tie to make a loop. Glue the knot to the back of the photo.
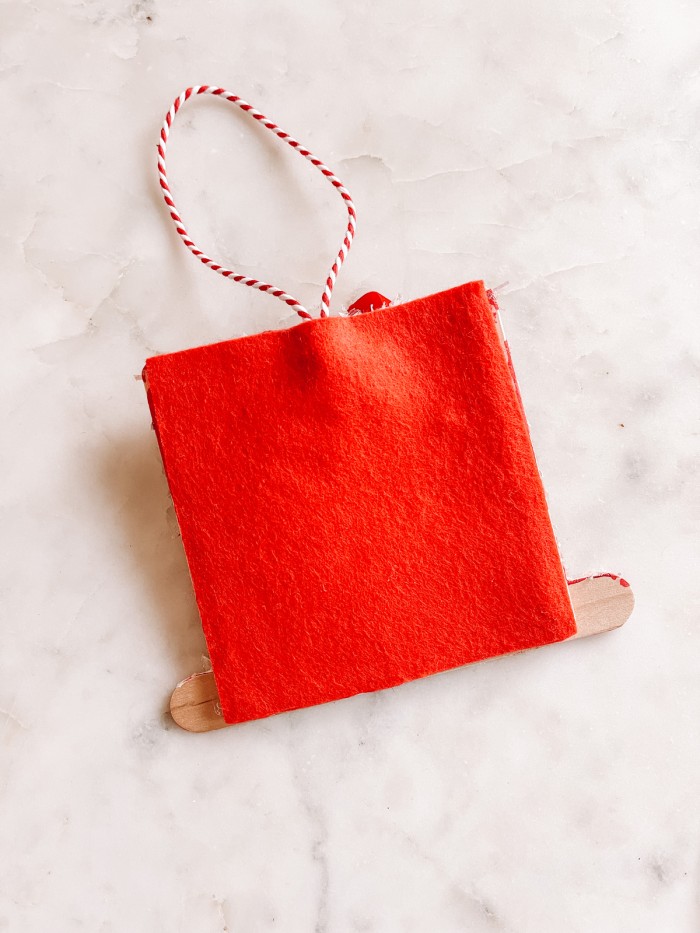
10. Cover the back of the photo with a piece of felt. This isn’t necessary, but helps give the back a clean look.
Send An “Ornament Gram”
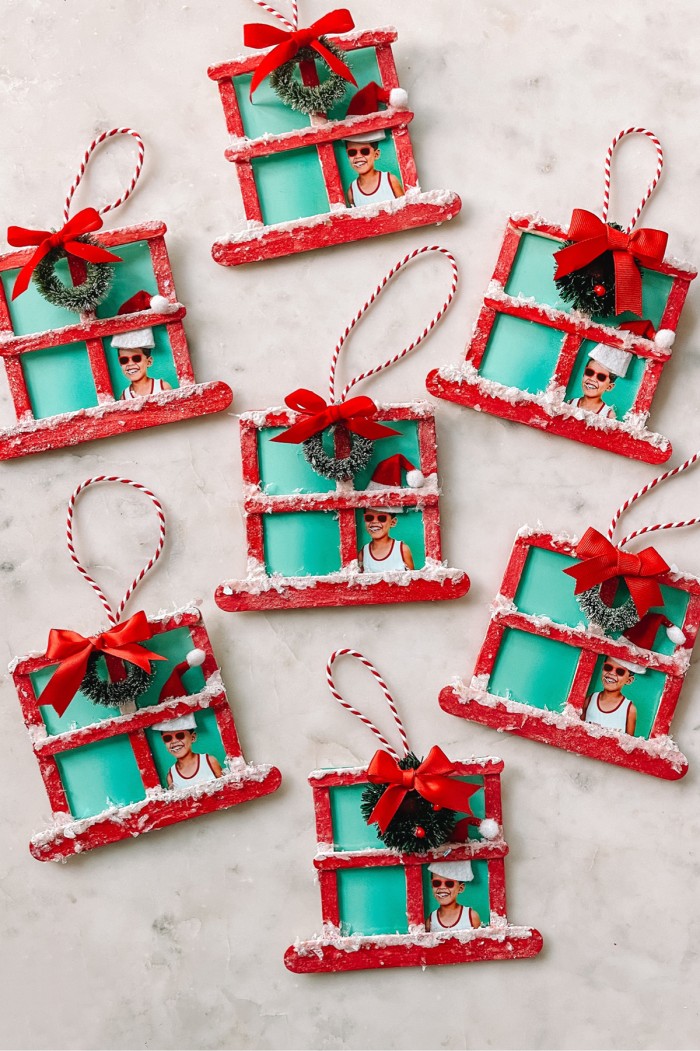
Consider making and gifting an ornament with your children every year to gift to grandparents and other family members. Don’t forget to add the year and their name to the back of the ornament before gifting!
We package ours in reusable drawstring muslin bags, which the kids can also decorate.
More Ornament Crafts to Try
- DIY Popsicle Stick Gingerbread House Ornaments
- DIY Rudolph Ornaments
- DIY Circus Animal Cookie Ornaments
I hope you and your family have fun creating these sweet ornaments!




Amanda O says
Super cute. I will be doing this with my assisted living residents this month to give to their families and/or keep! Thanks for the idea!