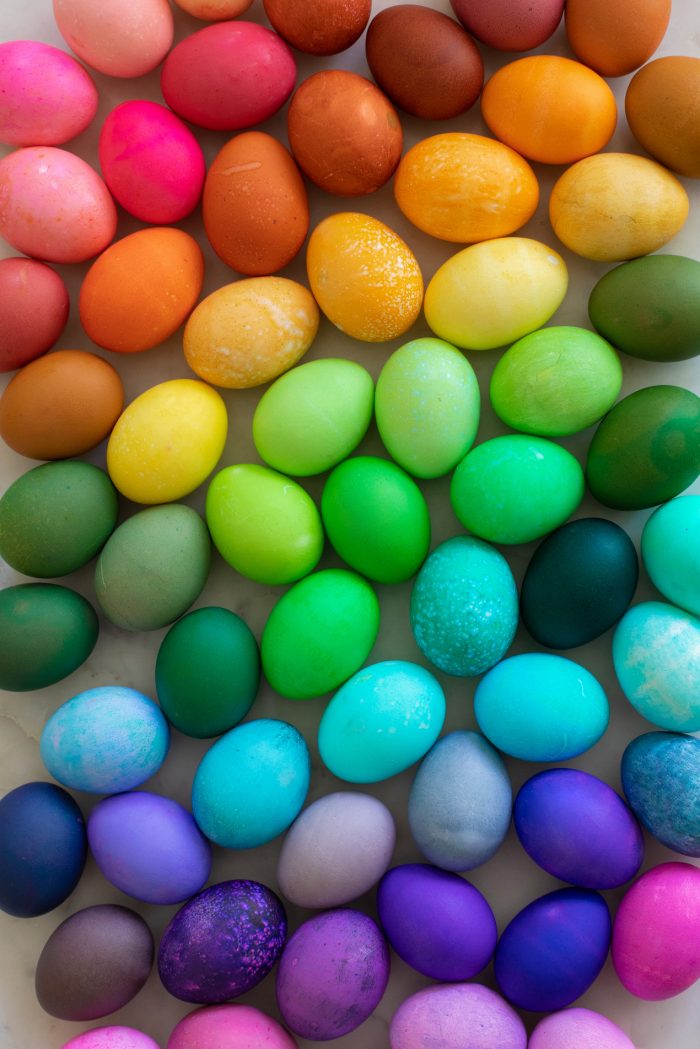
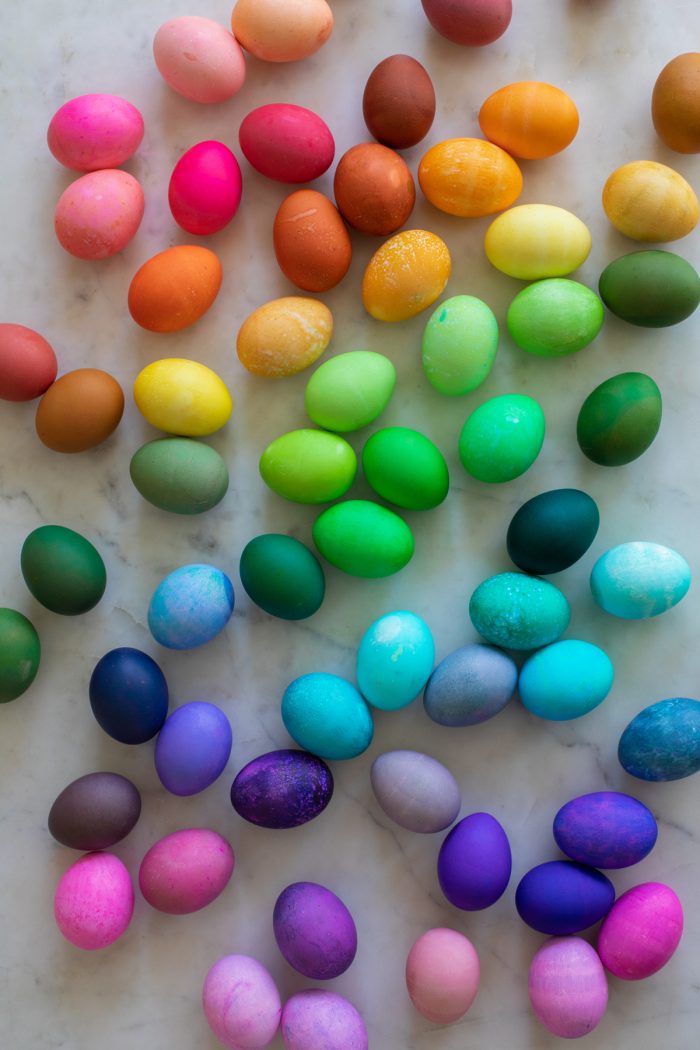
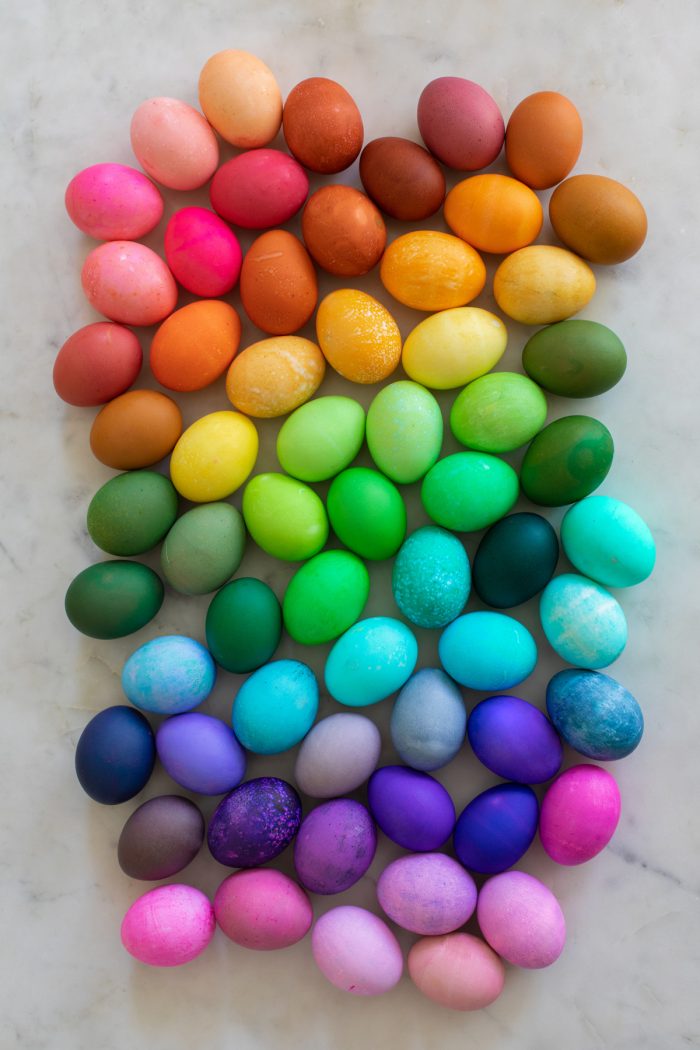
Just like Easter baskets, dyeing Easter eggs is a childhood Easter tradition for many, but did you know you could easily dye eggs with just food dye and vinegar from the grocery store!? Today, I’ll walk you through the steps and exact formula for how to dye Easter eggs with food coloring to create over 40 different shades!
And that’s just the beginning, You can take the formulas I share below, along with other tips for how to dye and dry eggs, and build on those to create infinite hues!
Instead of using an expensive Easter egg dying kit that runs out quickly, just pick up a set or two of food dye and wow your family or host an Easter egg decorating party!
Supplies for Egg Dyeing
Here’s what you’ll need to dye Easter eggs over 40 colors!
- Eggs – You can use white or brown eggs, raw or hard boiled.
- Food Coloring – Primary Dye and/or Neon Dye, learn more about why this food coloring is the best below!
- Vinegar – Just your standard white vinegar from the pantry works! You’ll need 1 tsp per dye color.
- Hot water – You can boil it, but getting hot water from the sink works just fine! You’ll need 1/2 cup per dye color.
- Glasses or Bowls – One for each color
- Slotted spoon or whisk – For placing and removing eggs from the dye
What Food Coloring Should I Use?
All food coloring is not created equal. You’ll find there are two types: liquid food coloring and gel. However, the “gel” types seem to vary quite greatly.
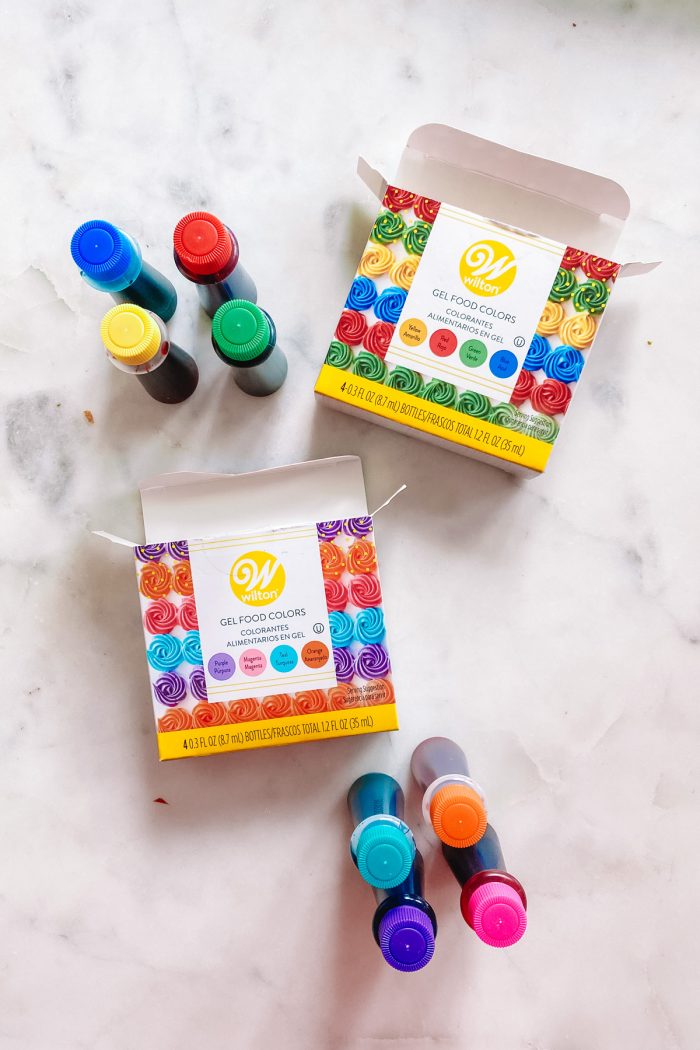
However, the Wilton food coloring gels worked perfectly and that is what I chose to use, you can usually find it at Amazon, Target, craft or grocery stores. I used both their standard pack and their neon pack to create the colors you see in this post.
Food Coloring I Used: Standard Colors | Neon Colors
Regular liquid food coloring from any grocery store works great as well. However, the colors tend to only come in the “standard” colors of blue, red, yellow and green. Luckily, you can still make a ton of the colors below with just those!
I found other gel food coloring, the kind that comes in small white tubes, not ideal for dyeing as it did not dissolve as well in the water and vinegar mixture. So avoid those if possible!
Hard Boiling & Preparing Eggs for Dyeing
You don’t have to hard boil your eggs to dye them, but if you’re doing so with kids I’d certainly recommend so. Much less messy if any crack!
To hard boil, place a dozen eggs on the bottom of a large saucepan and add water, covering the eggs. Bring the water to a boil over medium heat. Once boiling, cover and remove from heat. Let sit for 10-12 minutes and then remove from the pot and rinse or soak in cool water.
If you have the time, dipping the eggs in a diluted vinegar “rinse” before dyeing them can help the dye adhere better and more evenly. I noticed this helped more with some colors (like blues and purples) and was unnecessary with others. If you’re not picky, you can skip this step.
But remember, eggs are natural and not all of them will dye perfectly regardless! You can see in the photos here that some had variations when dyed and others dyed perfectly and smoothly. I love the mixture, personally!
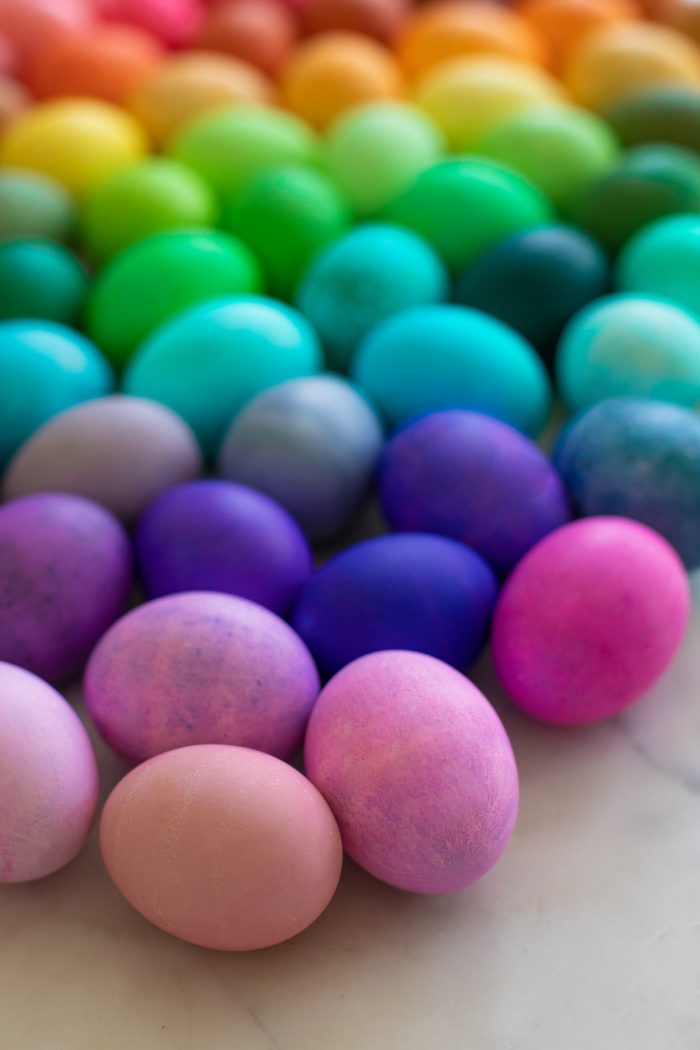
How To Dye Easter Eggs
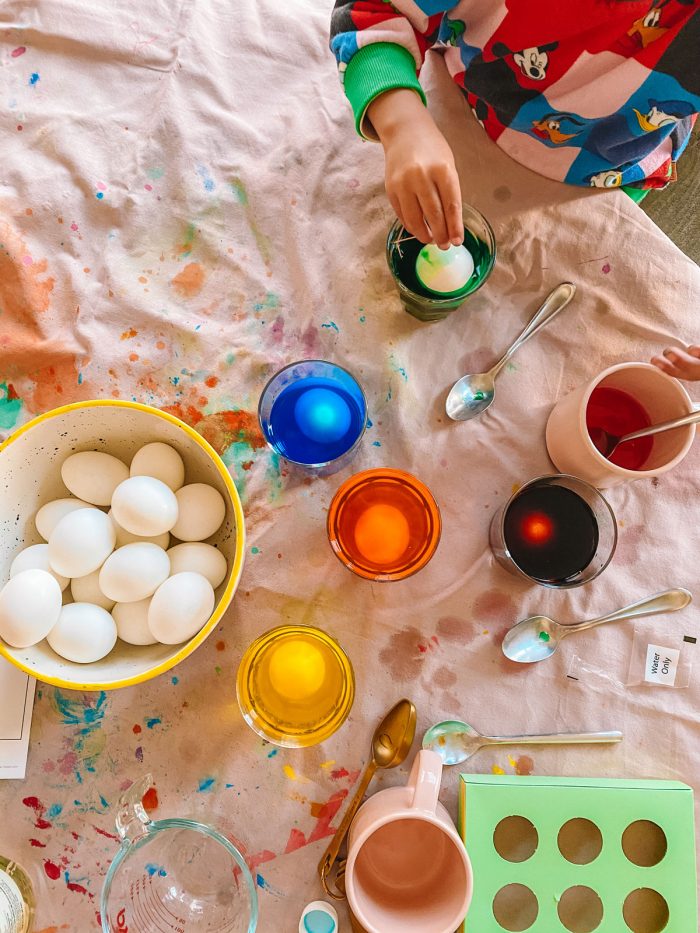
- Combine 1/2 cup of hot water and 1 tsp white vinegar in a cup.
- Add food coloring as desired, see our guide below for exact formulas for over 40+ colors! Stir well.
- Carefully place egg into dye. Leave in for the amount of time listed on the color formula you chose!
- Remove and place on a drying rack or upside down egg carton.
Remember, you can use one dye to do a few eggs, and then add additional food coloring to it to create new colors without having to start completely from scratch!
Follow the instructions below which include how long to leave each egg in to achieve the various colors. Of course, you can vary these times, as well as the color combinations, to create even more of a color spectrum with your eggs!
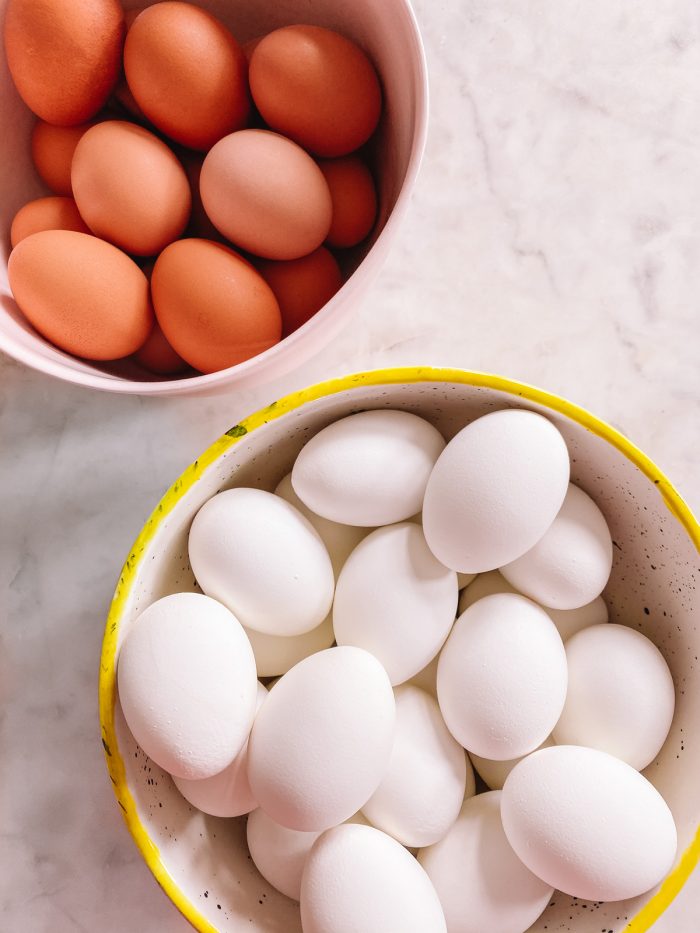
Can I Dye Brown Eggs?
While your colors will be more limited, you can absolutely dye brown eggs along with white ones! The colors will be deeper, jewel tones and they are beautiful.
Brown eggs tend to have much more varied hues (i.e. lots of different shades of brown) to begin with, so that will mean that the formulas I share for brown eggs below may vary in the results they produce, depending on the shade the egg started. With brown eggs, be sure to frequently check the egg as the dye hue is developing!
Any brown eggs that were dyed are noted in the formulas below in this post!
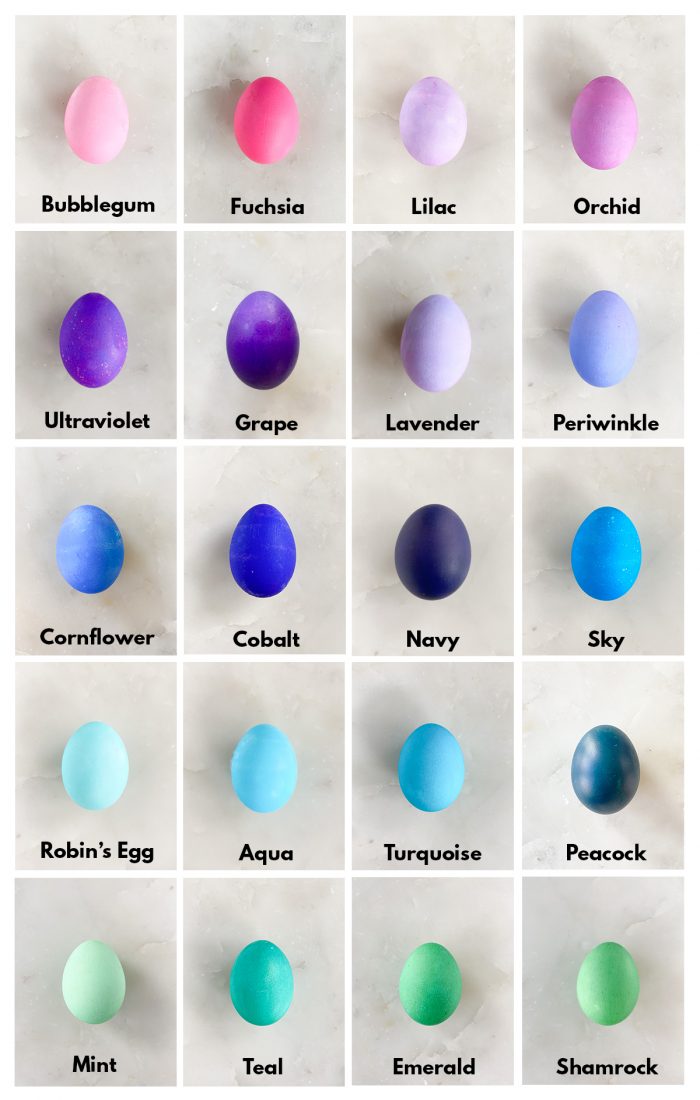
Dyeing Eggs: Pinks, Purples, Blues, Greens
Below are the formulas for how to make pink, purple, blue and green dyed eggs.
Pink & Purple Easter eggs:
- Bubblegum – 5 drops pink, 30 seconds or less
- Fuchsia – 5 drops pink, 3 minutes
- Lilac – 5 drops pink + 5 drops purple, 30 seconds or less
- Orchid – 5 drops pink + 5 drops purple, 3 minutes
- Ultraviolet – 5 drops purple, 3 minutes
- Grape – 10 drops purple, 5 minutes
- Lavender – 5 drops purple, 30 seconds or less
Blue Easter Eggs:
- Periwinkle – 5 drops blue + 5 drops purple, 30 seconds or less
- Cornflower – 5 drops blue + 5 drops purple, 3 minutes
- Cobalt – 5 drops blue + 5 drops purple, 5 minutes
- Navy – 5 drops blue + 5 drops purple, 5 minutes (Brown Egg)
- Sky – 5 drops blue, 3 minutes
- Robin’s Egg – 5 drops teal, 30 seconds or less
- Aqua – 5 drops blue, 30 seconds or less
- Turquoise – 5 drops teal, 3 minutes
- Peacock – 5 drops blue, 5 minutes (Brown Egg)
Green Easter Eggs:
- Mint – 5 drops teal + 3 drops green, 30 seconds or less
- Teal – 5 drops teal + 3 drops green, 3 minutes
- Emerald – 10 drops teal + 10 drops green, 3 minutes
- Shamrock – 5 drops teal + 10 drops green, 3 minutes
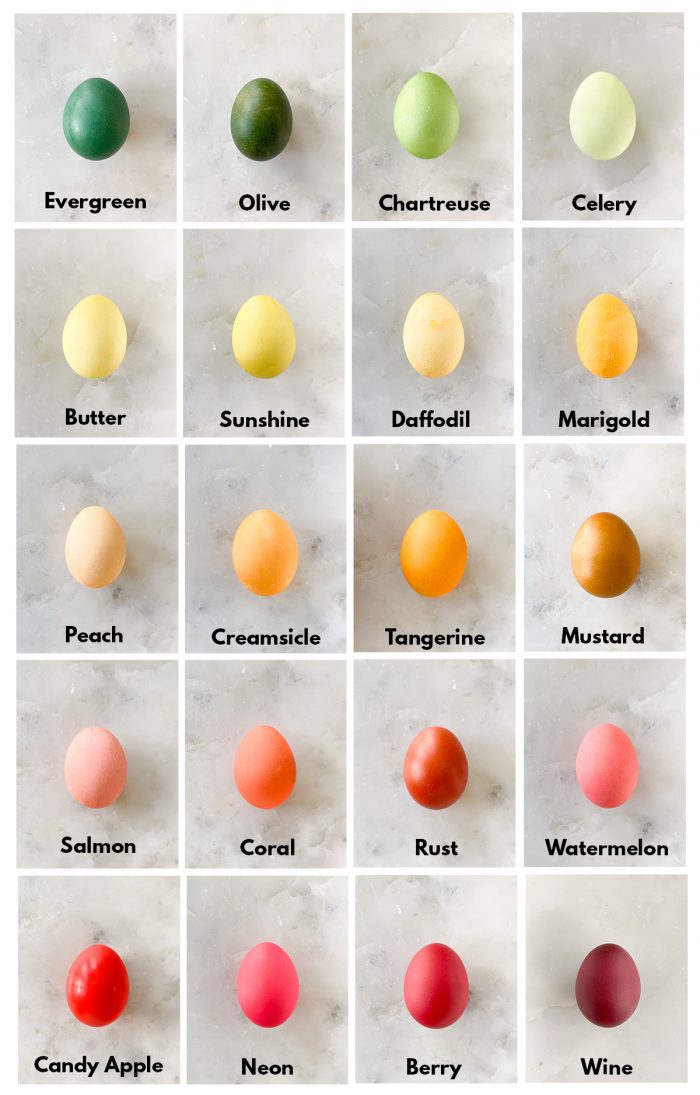
Dyeing Eggs: Greens, Yellows, Oranges, Reds
Below you’ll find the formulas for how to dye eggs green, yellow, orange and red.
Green & Yellow Easter Egg Dye:
- Evergreen – 5 drops teal, 5 minutes (Brown Egg)
- Olive – 10 drops green, 5 minutes (Brown Egg)
- Chartreuse – 5 drops green, 3 minutes
- Celery – 5 drops green, 30 seconds or less
- Butter – 10 drops yellow + 3 drops green, 30 seconds or less
- Sunshine – 10 drops yellow + 3 drops green, 3 minutes
- Daffodil – 5 drops yellow, 30 seconds or less
- Marigold – 5 drops yellow, 3 minutes
Orange Easter Egg Dye:
- Peach – 5 drops orange, 30 seconds or less
- Creamsicle – 5 drops orange, 3 minutes
- Tangerine – 5 drops orange + 5 drops yellow, 3 minutes
- Mustard – 10 drops yellow + 3 drops green, 5 minutes (Brown Egg)
- Salmon – 10 drops yellow + 5 drops red, 30 seconds or less
- Coral – 10 drops orange + 5 drops red, 3 minutes
- Rust – 10 drops orange + 5 drops red, 5 minutes (Brown Egg)
Red & Pink Easter Egg Dye:
- Watermelon – 5 drops red, 30 seconds or less
- Candy Apple – 10 drops red + 5 drops yellow, 5 minutes
- Neon – 5 drops red + 5 drops pink, 3 minutes
- Berry – 5 drops pink, 3 minutes (Brown Egg)
- Wine – 5 drops pink + 5 drops purple, 5 minutes (Brown Egg)
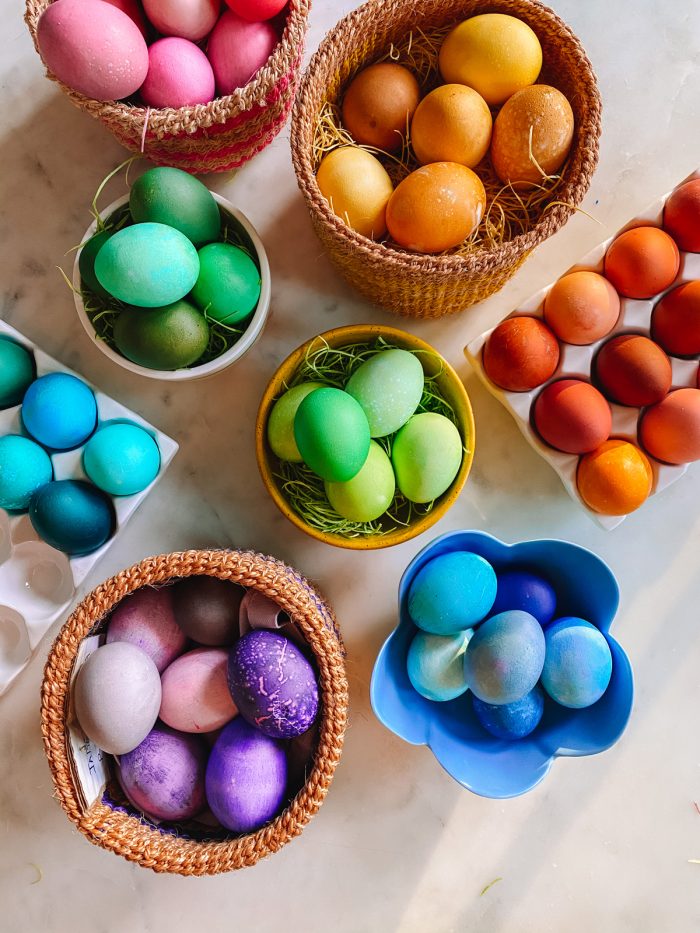
Print a Color Formula Guide!
Want all of the above in a printable format to use while you’re decorating? You’re in luck! I put together a quick cheat sheet for every color formula I shared. You can download it below for free!
Click here to download & print the free printable egg dyeing guide!
Tips for Drying the Eggs After Dyeing
Figuring out how to dry your eggs evenly after dyeing can be tricky. If you leave any part of the egg “sitting” in it’s dye, like if you put it back in the carton or in an egg tray, the color will not dry evenly. Here’s a few ideas for drying eggs so you can prevent that:
- Gently patting down with a rag: This is what I typically do, but you have to be willing to sacrifice a towel or two to a rainbow of dye. It does remove a bit of the color but I found for the most part, the color stayed quite vibrant and this was a quick and efficient way to dry them.
- Cooling Rack: If you have a cooling rack for cookies and baked goods, set your eggs on there. You do run the risk of a grid pattern on one side of your egg.
- Toothpick “stand”: If you have a piece of styrofoam headed to the trash, stick a bunch of toothpicks in it and place your eggs in-between the toothpicks to hold them up while they’re drying
- Upside down egg carton: I don’t love this method, as I find they don’t dry very evenly, but you can flip your egg carton upside down and dry your eggs in the spaces in the carton.
What Do I Do With My Dyed Eggs?
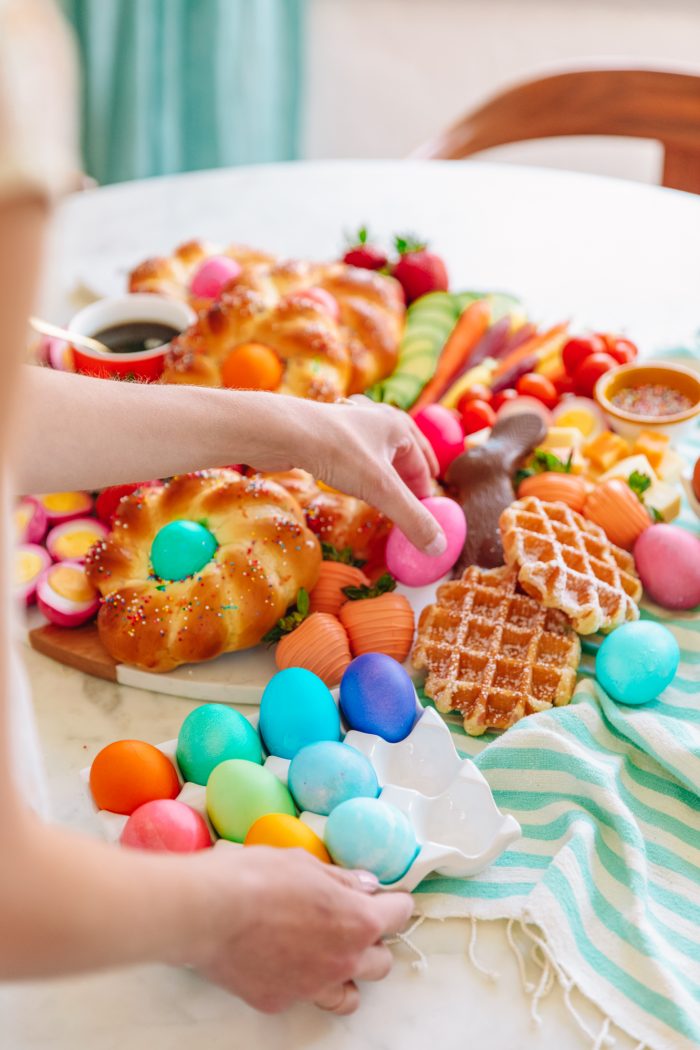
Wondering what to do with all these beautiful eggs you’ve dyed? Try incorporating them into a beautiful Easter brunch board, complete with Italian Easter Breads!

Photos by Jeff Mindell
Other Ways To Decorate Eggs
Want more creative ways to decorate Easter eggs? Here are some other fun ideas, like using paint, temporary tattoos and even sprinkles to decorate eggs!
- DIY Sprinkle Easter Eggs
- Burger Easter Eggs
- How To Make Celebrity Easter Eggs
- DIY Pineapple Easter Eggs
Happy decorating!



Katie says
Do you have a source for the speckled bowl with the yellow painted rim? I love it!!
Kelly says
I actually painted it at one of those Color Me Mine pottery places!!!
Dawn says
Will you share some ideas of how you use the eggs after you dye them?
Sarah says
I was soooooo excited to dye eggs after seeing this post. As in I prepped 4+ dozen eggs to dye, I was so excited. But this did not work as advertised. Yes, some eggs were dyed and look pretty, but the rich jewel colors all came out much brighter and lighter. I tried olive, mustard, rust, and peacock none of which look like the pictures shown. Unless there is a secret not listed please don’t get your hopes up on matching those pictures.
Kelly says
Hi Sarah! I’m sorry you were disappointed in the outcome. All the ones you mentioned that didn’t turn out are done with brown eggs (noted in parentheses in the post and printable). Since brown eggs have a much wider variety of color to begin with (some are really light, some dark), it’s harder to get the exact color pictured. I noted that in the “Can you dye brown eggs?” section. But I hope you still had some fun!!
Kate says
This post is absolutely amazing, and I will return to it year after year!! It’s so incredibly comprehensive, the photos are beautiful, and it totally saved our Easter crafting today when I had nothing but brown eggs, vinegar and food coloring at home. No store-bought kit needed! Thank you, Kelly!!!!
Brooke says
I was just thinking today, can’t we just use food coloring? (I’m an avid baker so idk why I never thought of this before😆) Then came across this post. Absolutely beautiful eggs, colors are amazing. The fact that you took such time and put together this amazing post with the formulas etc, I didn’t even have the chance to try out the ones i wanted because I have 3 young kids who just bear pawed them all anyway. Maybe we will have to do a non-Easter egg coloring day another time. I just wanna keep looking at the pretty colors in your pics 😉 Thanks again for the hard work! Have a great Holiday