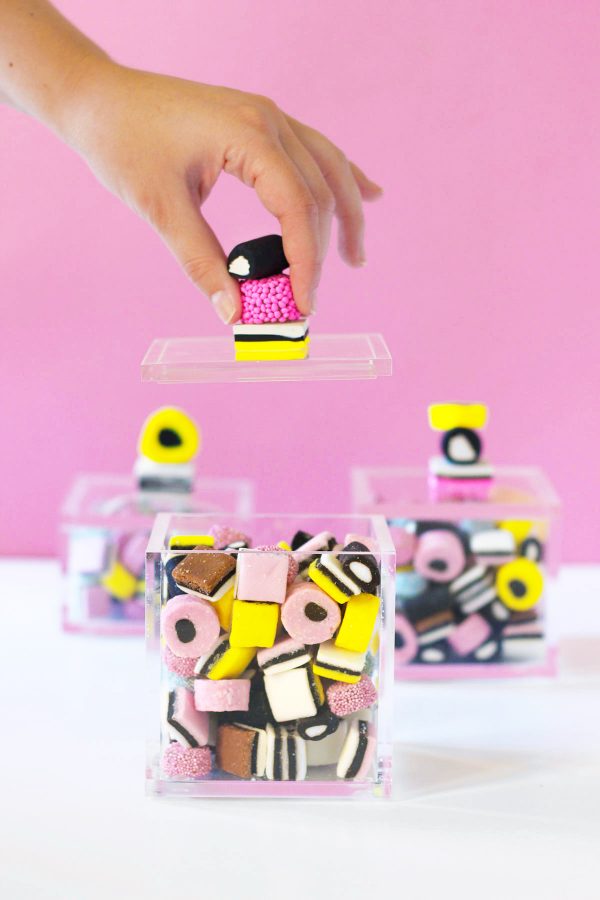
Hey friends! Hannah from Homemade Banana here again and today I’m comin’ at you with one of those projects that popped into my head in the middle of the night and just makes me super happy! It’s easy, colorful, useful (you can store stuff in it!) and pretty—all the markings of a great DIY project, if you ask me.
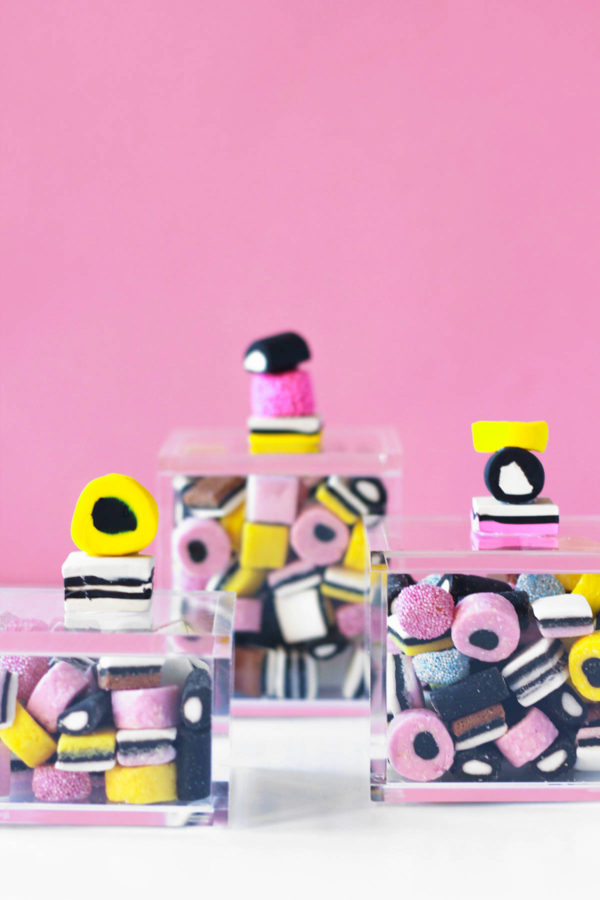
Despite not being a big licorice lover myself (just keeping it real), I’ve always been super inspired by the playful colors of those old-school licorice allsorts, so I decided to create my own allsorts out of clay and then use them as pretty little handles atop some acrylic candy boxes. It’s like a more modern, funkier take on the candy dishes my grandma always kept around her house when I was a kid. Like I said, this project is super fun to make and can be done in about the time it takes to watch a Game of Thrones episode, so let’s get started, shall we?
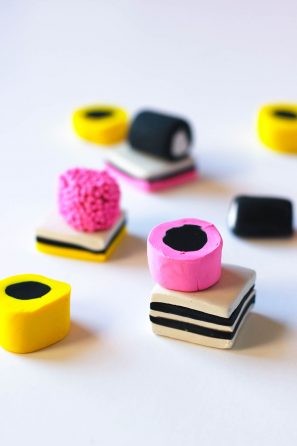
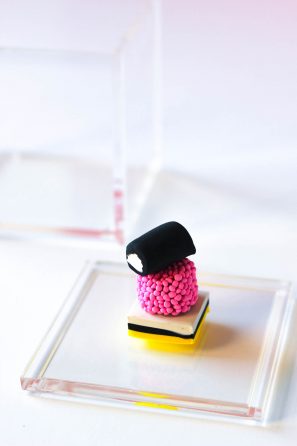
DIY Allsorts Candy Boxes
Total Time: 1 hour 30 minutes
Supplies
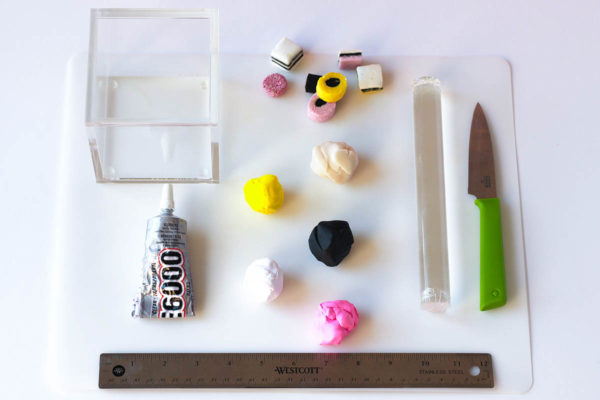
Sculpey Clay in white, pink, yellow, black, and transparent
E6000
Clay Rolling Pin
Ruler
Knife
Clear Acrylic Boxes
Directions
1. Preheat the oven to 275°, or whatever the directions on your clay call for.
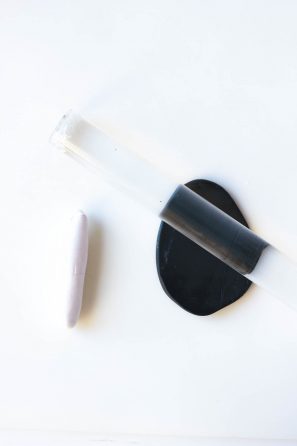
2. There are generally three types of allsorts: wrapped wheels, stacked squares and sprinkle jellies. We’ll start by making the wrapped wheels. Take a small ball of black clay and roll it out until it’s about ⅛” thick. Then, take a small ball of white clay and roll it into a log that’s about ½” thick.
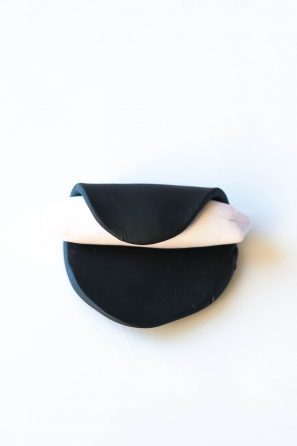
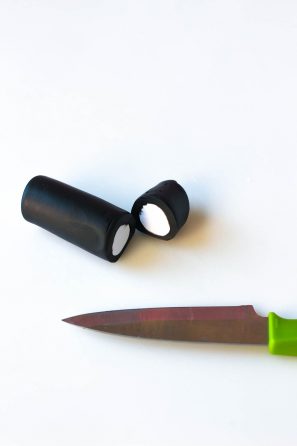
3. Wrap the black clay around the white clay, then roll the whole thing gently with your hands until the white clay is full encapsulated by the black clay. Use a sharp knife to trim off the ends, then cut a 1” long piece of the log and place it on a baking sheet. This is the general method you’ll use for all of the wrapped wheels—you can create a variety of color combinations and widths to suit your liking.
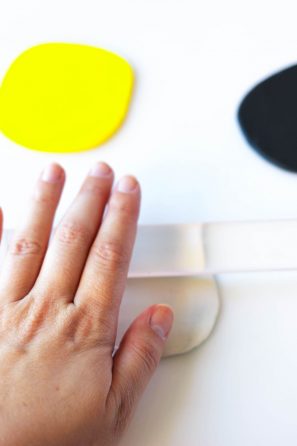
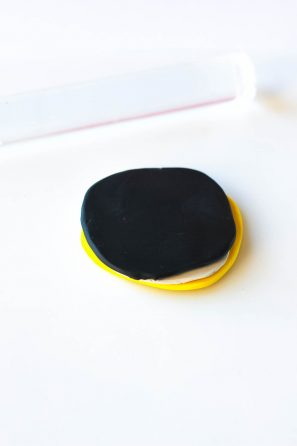
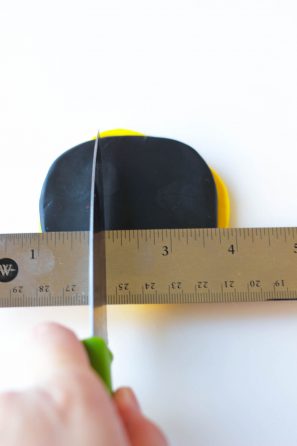
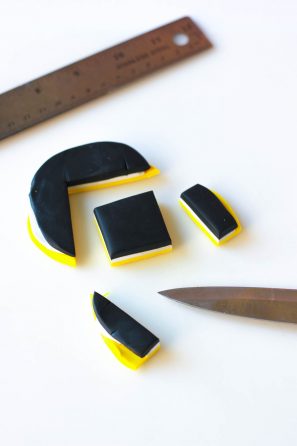
4. Next we’ll tackle the stacked squares. Use a rolling pin to roll balls of black, white and yellow clay until they are ⅛” thick. Stack the circles of clay and press lightly to ensure they’re nice and stuck together. Using a ruler as a guide, take your knife and cut a square that’s 1 ¼” x 1 ¼”. Place on a baking sheet and repeat with different colors as you like.
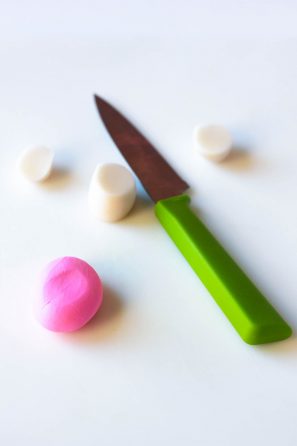
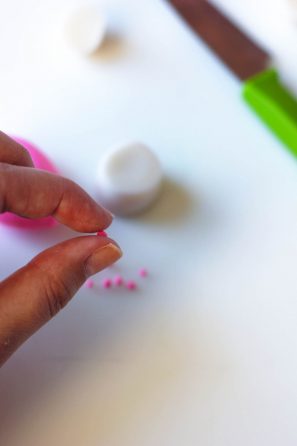
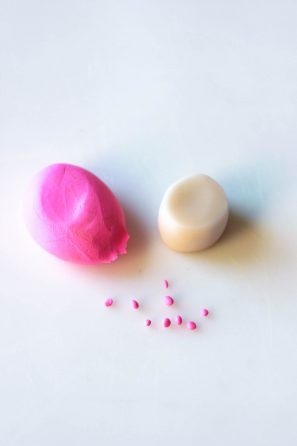
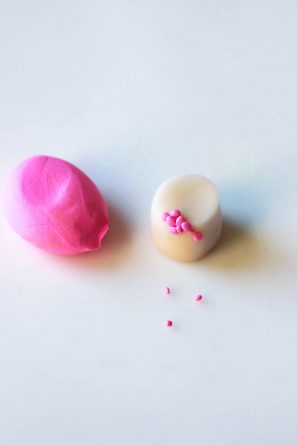
5. Finally, the sprinkle jellies! For this one, you’ll grab a small ball of transparent clay and roll it into a log that’s about ¾” thick. Trim off the ends and slice off a piece that’s ¾” wide. Next, grab some pink clay and start pinching off little pieces. Roll the little pieces into sprinkle-sized balls and gently press them into the transparent clay until the whole thing is covered. Place on your baking sheet with the rest of your delicious creations!
6. Bake according to clay package instructions. If you’re using Sculpey, that means 15 minutes per ¼”, so about 45 minutes for these guys. Let cool.
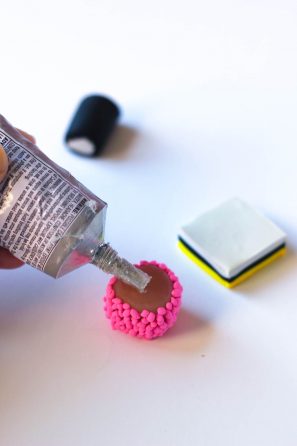
7. Once your clay candies are nice and cool, it’s time to get stackin’. Use E6000 to glue two or three pieces of clay candy together, then glue the stack to the lid of your candy box to create the prettiest handle you ever did see.
8. Let the whole thing dry then fill with the candy of your choice!
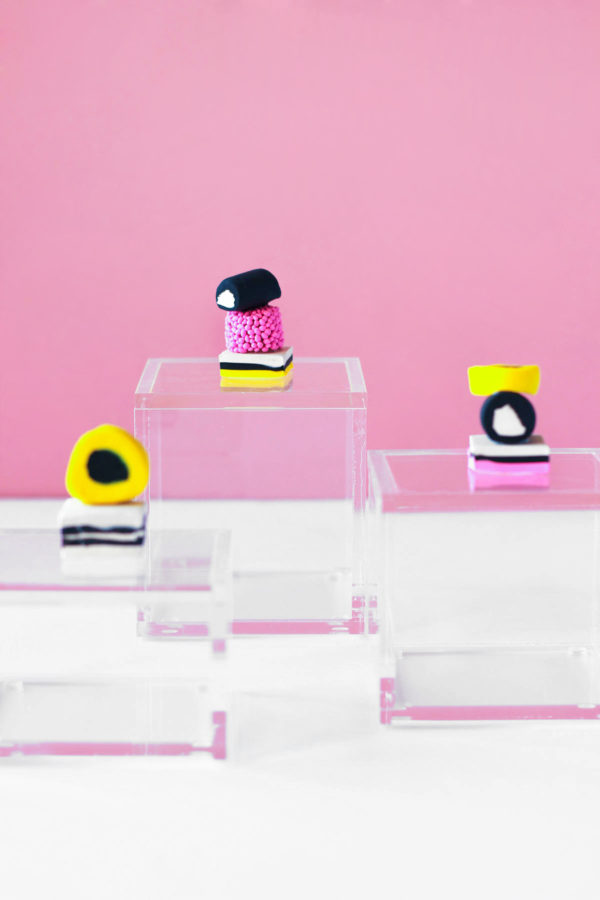
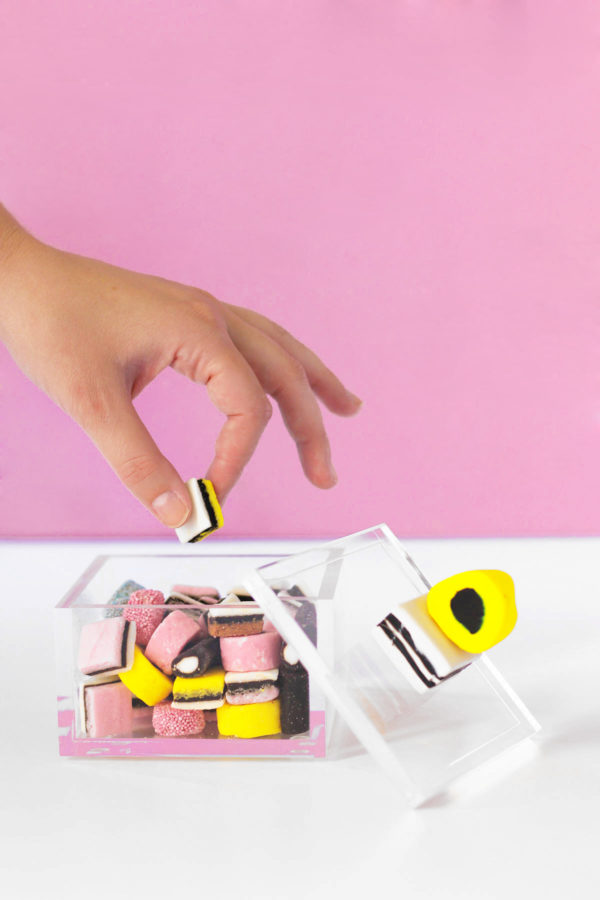
Photos By: Hannah Cross
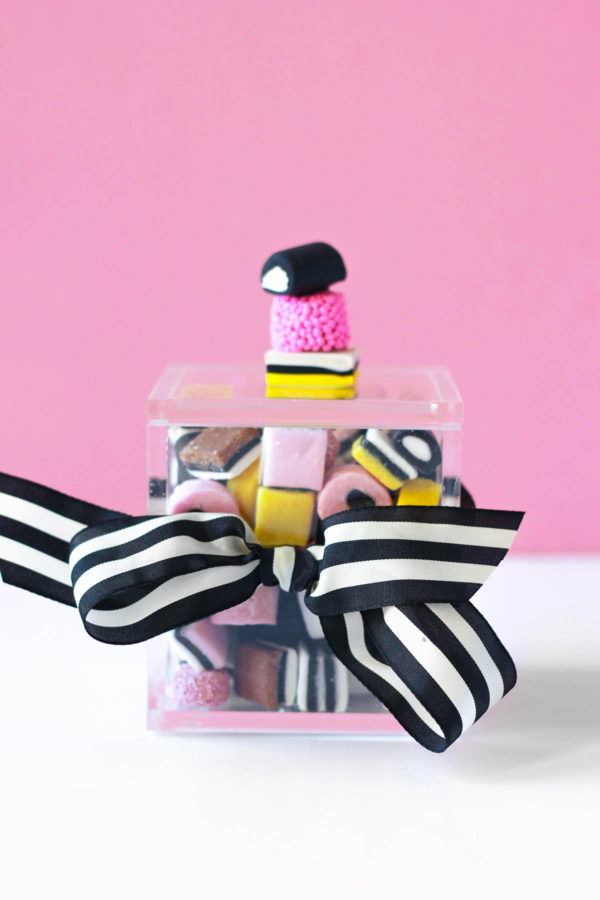
Once you’ve eaten all your candy, these boxes would also be a great place to store cotton balls, lip glosses and other household sundries. Or, tie a big bow around the whole thing (before going to town on the candy, of course) and give it as a hostess gift!
PS A Sprinkle Pill Paperweight!


Michelle says
They look like a piece of art, even when you don’t fill them with candy! So cool!
https://www.makeandmess.com/
Hannah says
Thanks, Michelle! They do look rather statuesque, don’t they? 😀
Paige Flamm says
These are so cute! You did an awesome job!
Paige
http://thehappyflammily.com
Hannah says
Thank you so much, Paige! I’m so glad you like them! 🙂
Rebecca says
These are adorable! Functional, and a perfect statement piece.
Rebeccaetc.blogspot.com
Hannah says
Thanks, Rebecca! I do love a piece of decor that makes a statement AND serves a purpose. 🙂
run 3 says
What a fun idea! Thank you for the tutorial!
unblocked games at school says
Chocolate Box Makeover: Another option for those big leftover hearts? Practice your calligraphy skills and design some one-of-a-kind present parcels for next year. (via Studio DIY)
run 3 unblocked says
What a cool idea! Thanks for sharing the tutorial!
stephen curry wallpaper says
love this tutorial, its very cool, thanks
baby shower ideas says
we are really enjoy this tutorial, awesome! thanks
basketballlegends says
The naps look delicious.
happywheelsgeek says
Looks so colorful, I love it 🙂
flappybird says
Oh, I just love candy, this post is for me =D
Runner 2 says
It looks both creative and delicious
basketballlegends says
This looks so delicious, I can almost taste it 😀
fireboyandwatergirl5 says
I would love to see these candy boxes with different color selection
az says
Your articles share a lot of details about how to make cakes. I find them very interesting and would love to try.
Brian says
So there is new Wano Arc in OP and I’m so excited and impressed with it…
Darling says
I hate it when young families break apart, they usually have no idea what they want from life at an early age.
Cordelia Pryor says
Make sure that you have the correct date and time, if it shows the wrong date fix it and the browser will work again.
Hedwig Riggins says
I have done research on this subject, I know what I’m talking about, you can trust me on this issue.