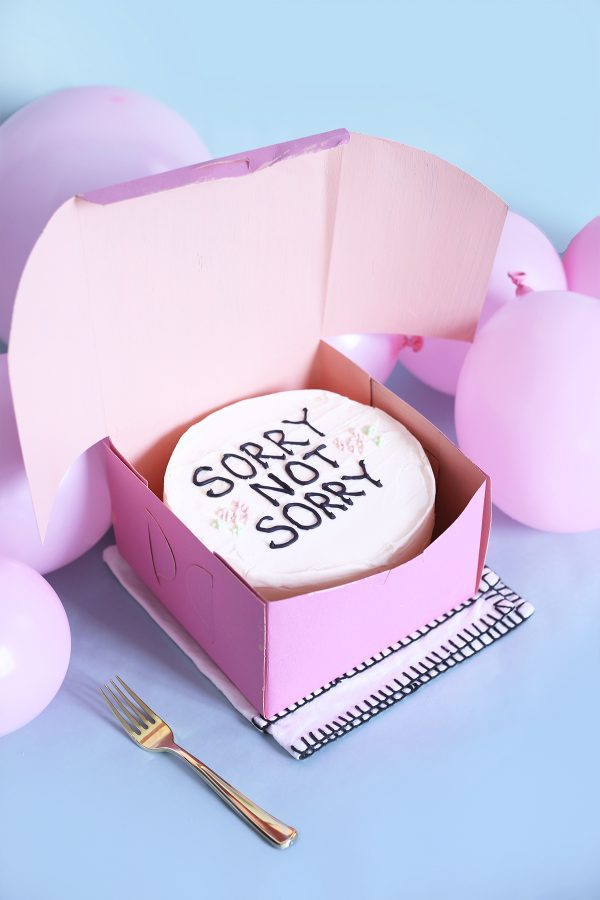
Hey everyone! I’m Erin from Hey, EEP! back with another dessert idea that I really hope you enjoy! I’m a firm believer that you don’t need a special occasion for cake. Anything is a good excuse: small victories, big days, a new frenemy, you name it! So if you’re also on team constant-caking, I have an idea that you can use for literally everything!
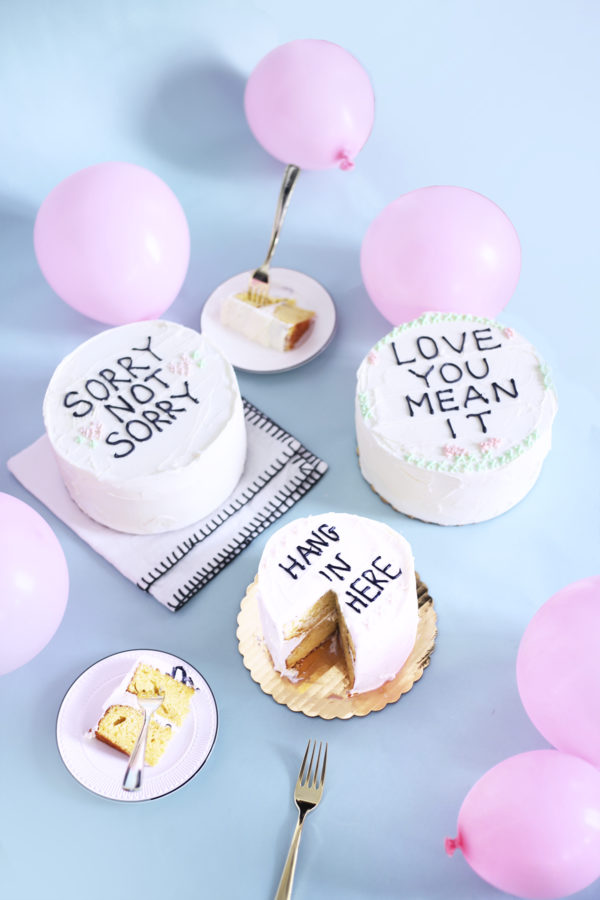
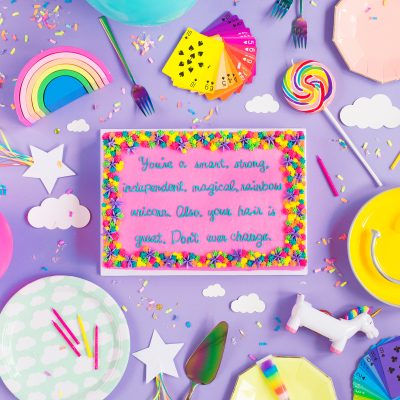
Today I’d love to show you how you can make a cake that looks just like those cheeky cross-stitch designs you see on Pinterest and Etsy. They’re funny, short and so darn cute. I love the ones that say something a little dirty or mean but the words are surrounded by, like, a million pretty flowers lol It reminds me of my grandma—sweet but sassy!
But there’s nothing granny about these cakes! First, I’d love to show you how I doctor cake mix to taste like an amazing cake from the bakery. You won’t believe how simple it is! Seriously, these swaps will change your life.
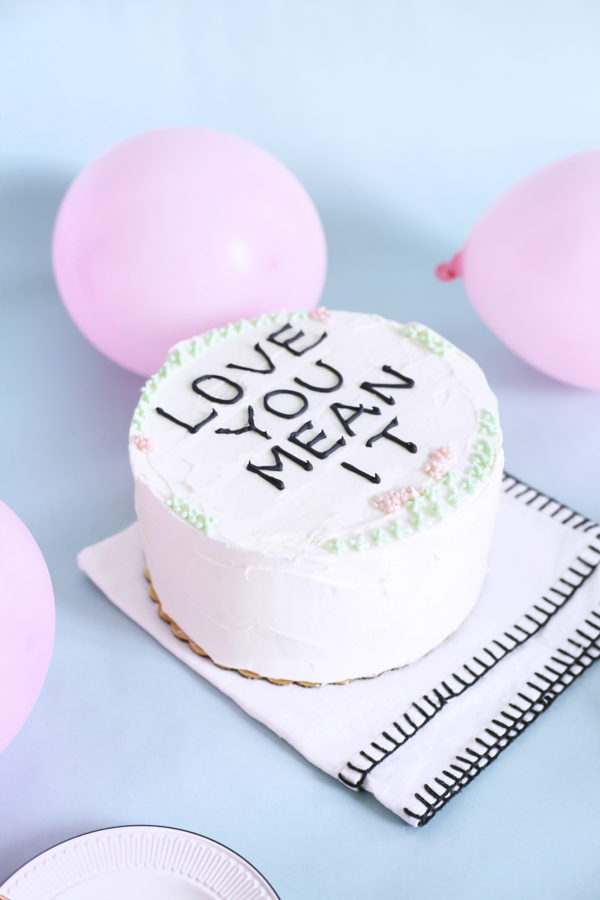
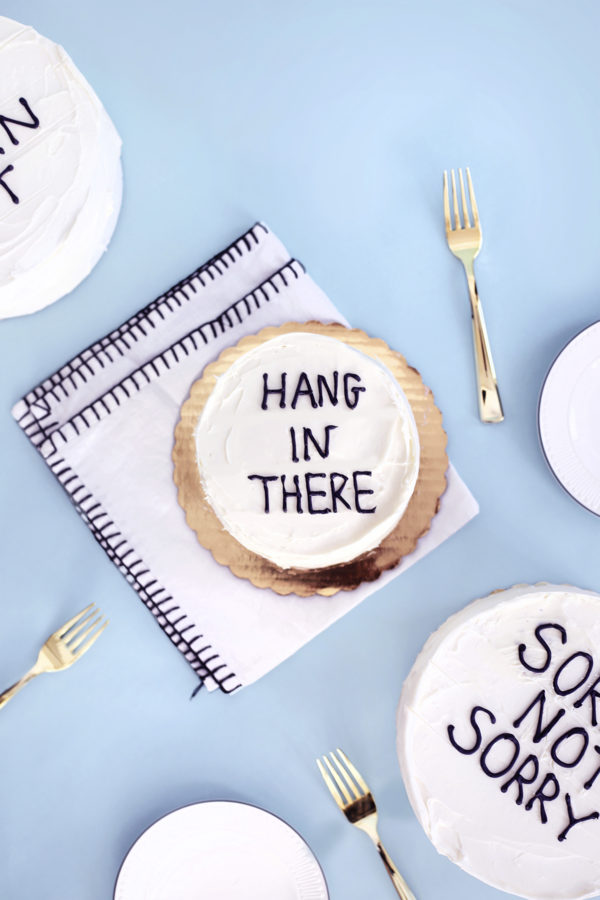
Next, we’ll make some cute designs! I love making cakes but I’ll admit, I’m not the neatest decorator. Tiny, intricate, perfect designs just aren’t for me. But the best thing about a “cross-stitch” cake is that you don’t need any special skills. All you need to do is make an X. That’s it! Use a few Xs to make a heart or line them up to make a rope or a flower. Once you master the X the sky’s the limit!
DIY Cross Stitch Cakes
Ingredients
- Nonstick cooking spray for the pans
- 1 box cake mix
- 3 to 4 large eggs
- 1 teaspoon vanilla extract
- ¼ teaspoon salt
- Whole milk
- Melted butter cooled slightly
- Vanilla frosting for decorating
- Food coloring for dying
Instructions
- Spray 2 (8-inch to 10-inch) cake pans with nonstick cooking spray and preheat the oven as the cake mix box directs.
- Prepare the cake mix is the label directs, replacing the water with whole milk and the oil with melted butter. Add 1 more egg than the label directs. Add the vanilla and salt; mix until smooth.
- Divide the batter among the prepared pans. Bake as the label directs. Let cool in the pan 2 to 3 minutes, then run a knife along the outside of the cake pans and invert onto a cooling rack to cool completely.
- Place 1 cake on a plate or cake stand; top with some frosting. Add the remaining cake and press down gently. Cover the entire cake with a thin layer of frosting. Refrigerate until firm, this is your crumb coat (or rough coat) of frosting. Cover with another layer of frosting until smooth.
- Dye some frosting different colors using food coloring. Divide among piping bags fitted with a small round tip. Use the frosting to write your saying and decorate in a cross-stitch pattern by making a pattern with X shapes.
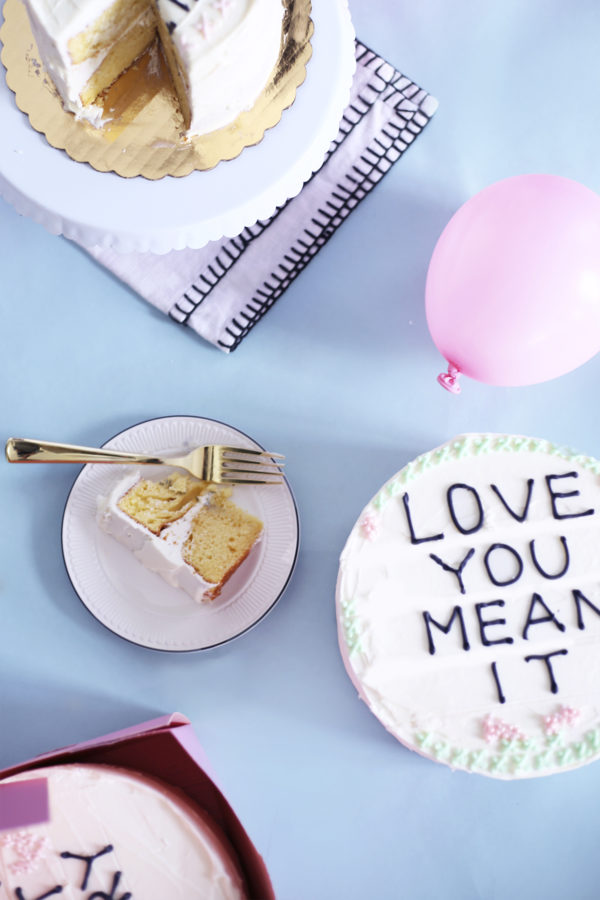
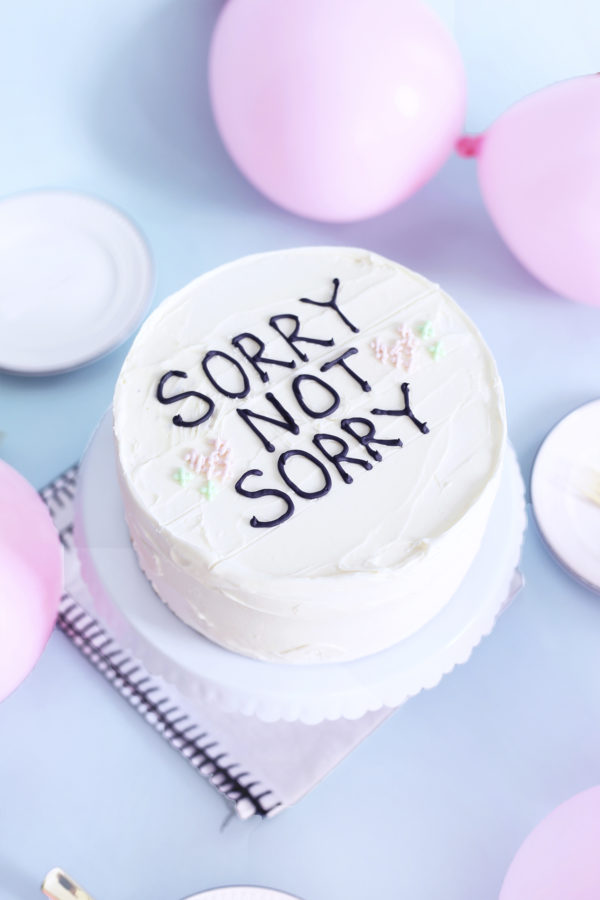
Erin Phraner | Hey, EEP
I’m dying to know, what would you write on top of your first cake? Would you make one for yourself or do you have a saying in mind for a friend? As for me, I have an ADULTING SUCKS cake in the oven for a friend who’s really trying her best lol 🙂 everyone needs a little sweetness now and then!



Michelle says
What a cool idea, they look super! I really don’t know what I would write on my cake, maybe “Cake understands” or something like that! And then I would eat it alone!
https://www.makeandmess.com/
les says
a new frenemy!!!!!!!!
best reason ever, lol!!!
everyone would have cake everyday and honestly, i think it would make everyone happy.
its a win win!
love this!
Sophie says
I love this! Have you seen Drake on Cake? It’s an Instagram account this reminds me a lot of.
http://www.goldclutter.com
Emily says
Hahaha 🙂 I really enjoyed what’s written on these cakes 🙂
kanchipuram sarees says
Hahaha 🙂 I really enjoyed what’s written on these cakes 🙂