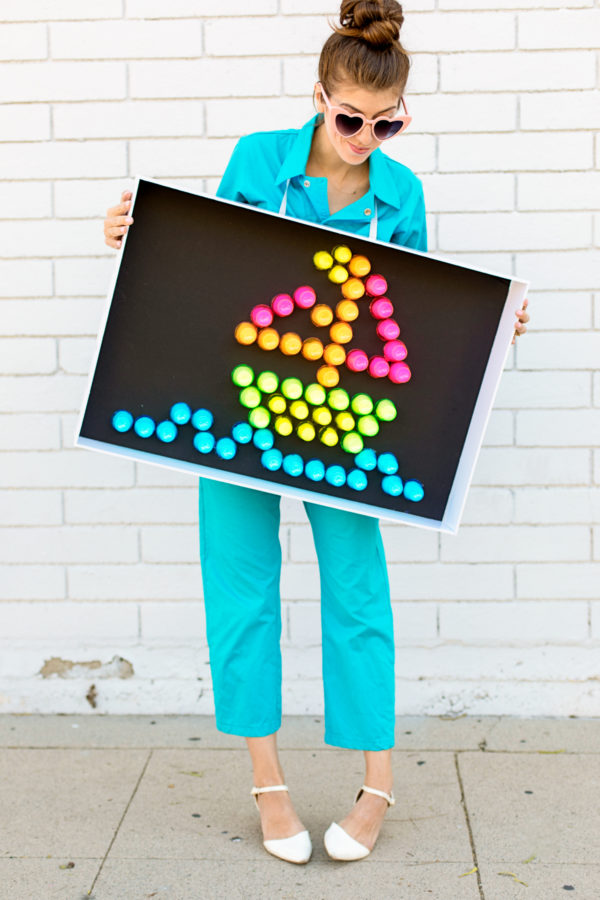
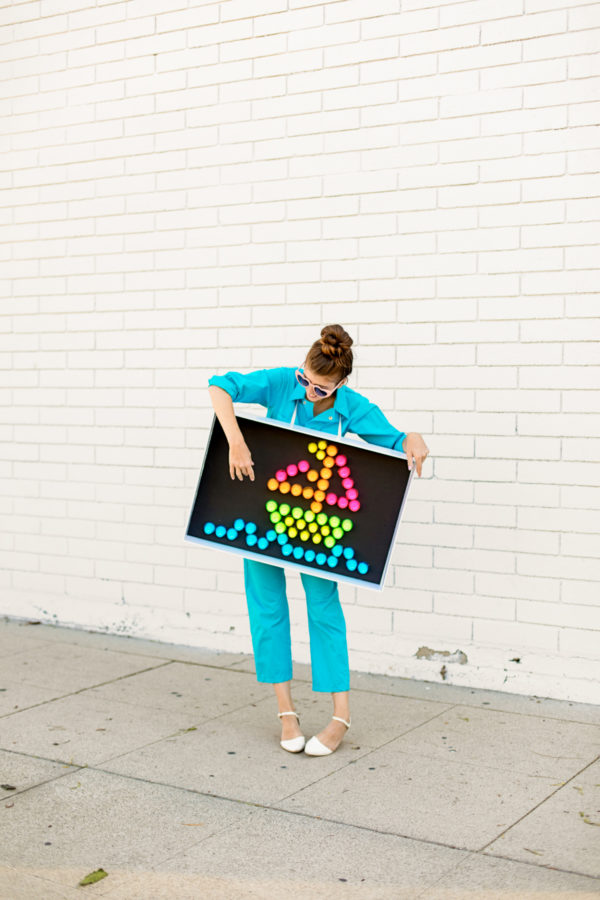
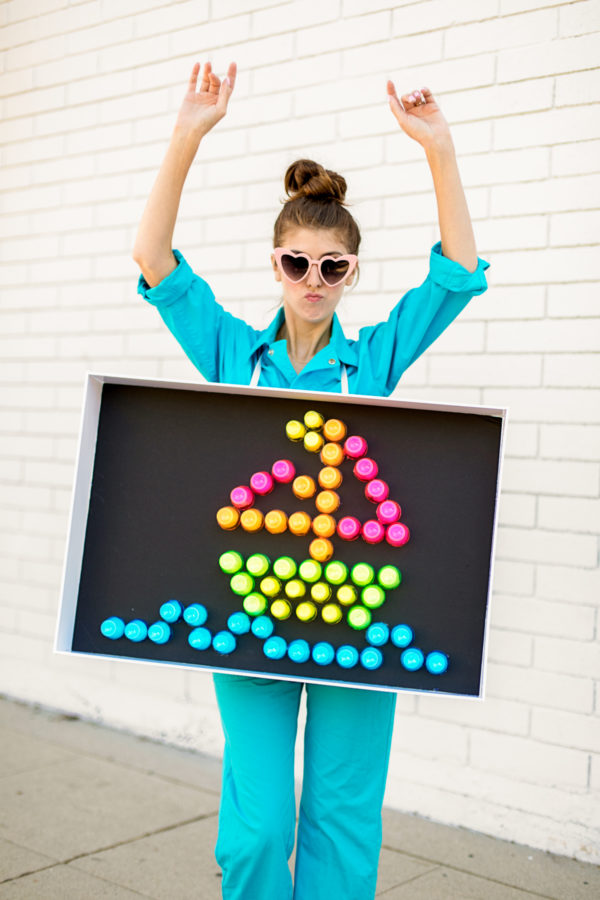
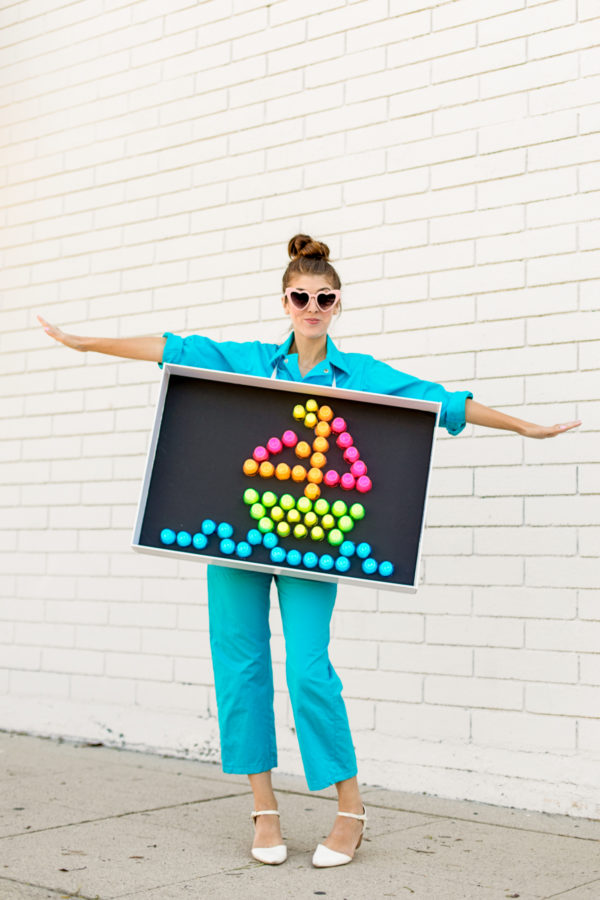
I don’t know that there are words to explain my level of addiction to Lite Brite when I was a kid. It was hands down my FAVORITE activity. I know I’m not alone, right? RIGHT!? Well, with this DIY Lite Brite costume you can re-live your childhood fave in super-sized version!! And the best part of this is… there’s NO actual lights involved. No batteries, nothing crazy. Those “lights” you see up there? They’re SHOT GLASSES, stuffed with a secret ingredient you probably already have in your bathroom that’ll make those colors really pop.
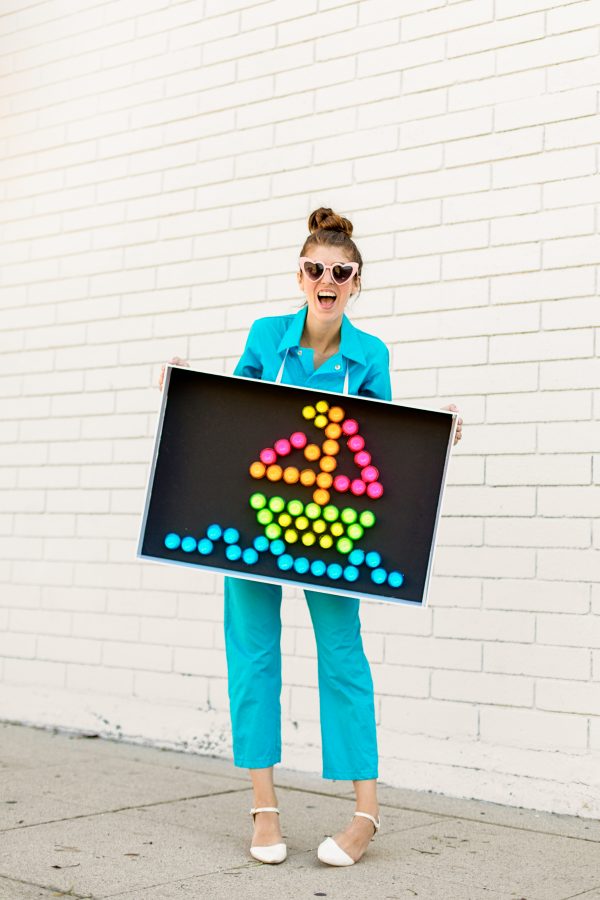
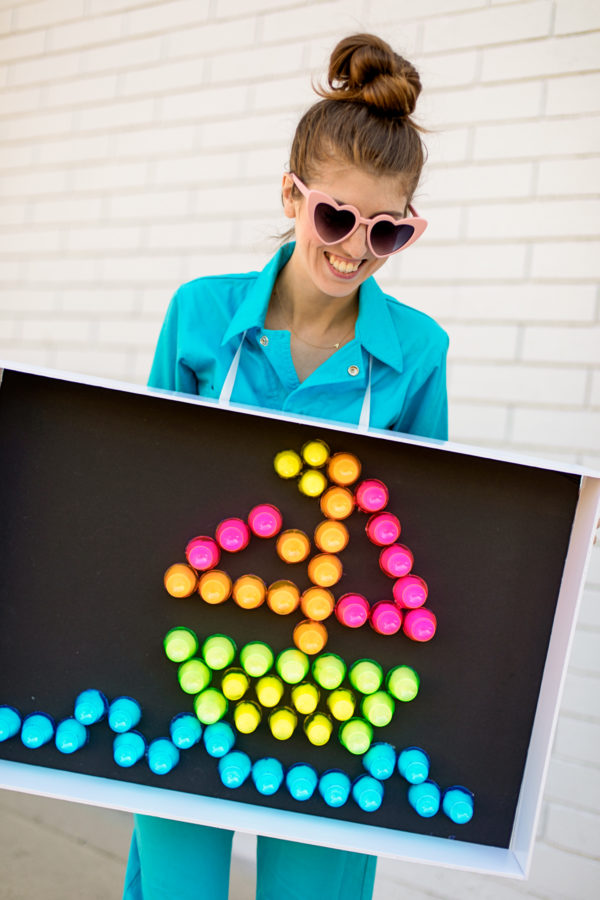
Supplies Needed
- Black 20×30″ Foam Core
- White 20×30″ Foam Core
- Neon Shot Glasses (We used primarily this pack but the yellow from this pack because I wanted ALL the colors. They are slightly different sizes, but it’s barely noticeable on the final product!
- Cotton Balls
- Hot Glue
- Craft Knife
- Yard Stick
- 1/2″ Elastic
Step by Step Lite Brite Costume Tutorial
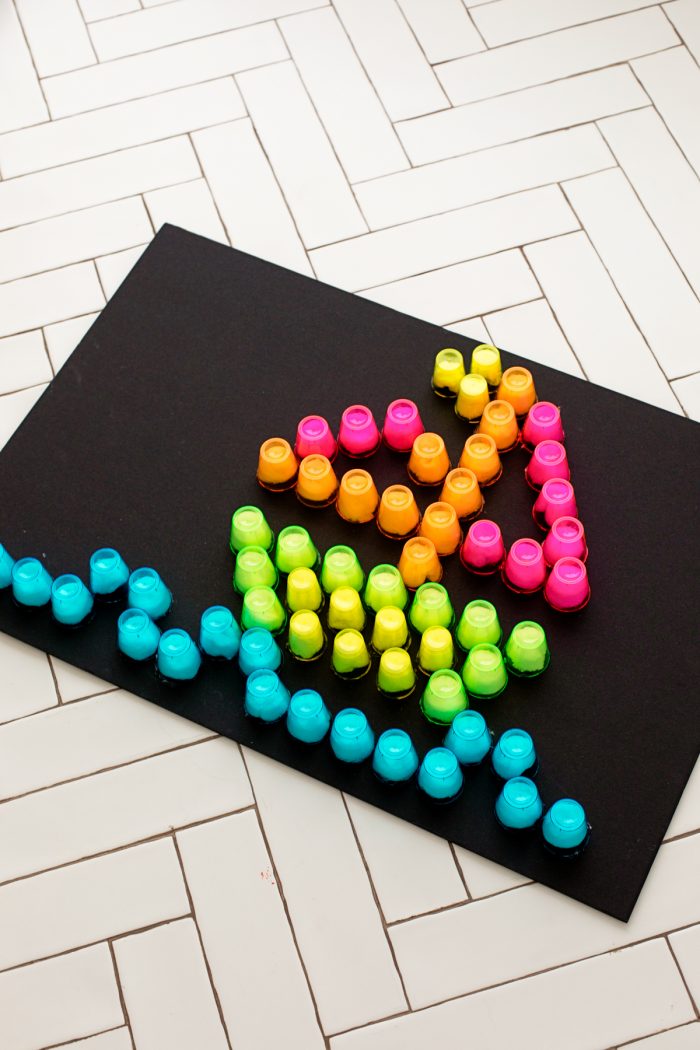
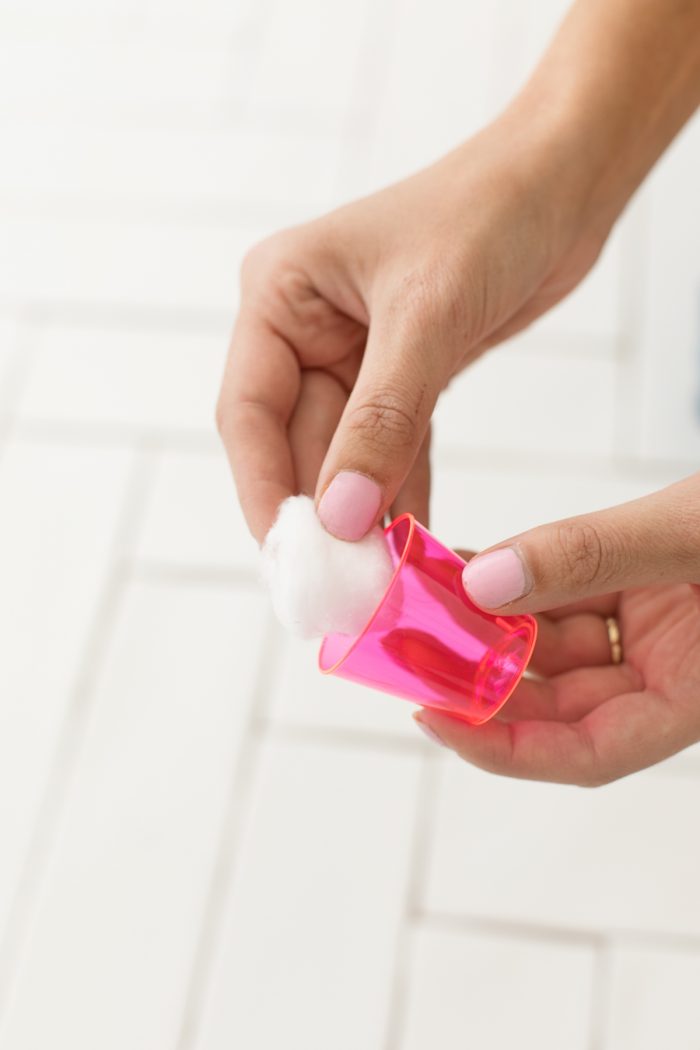
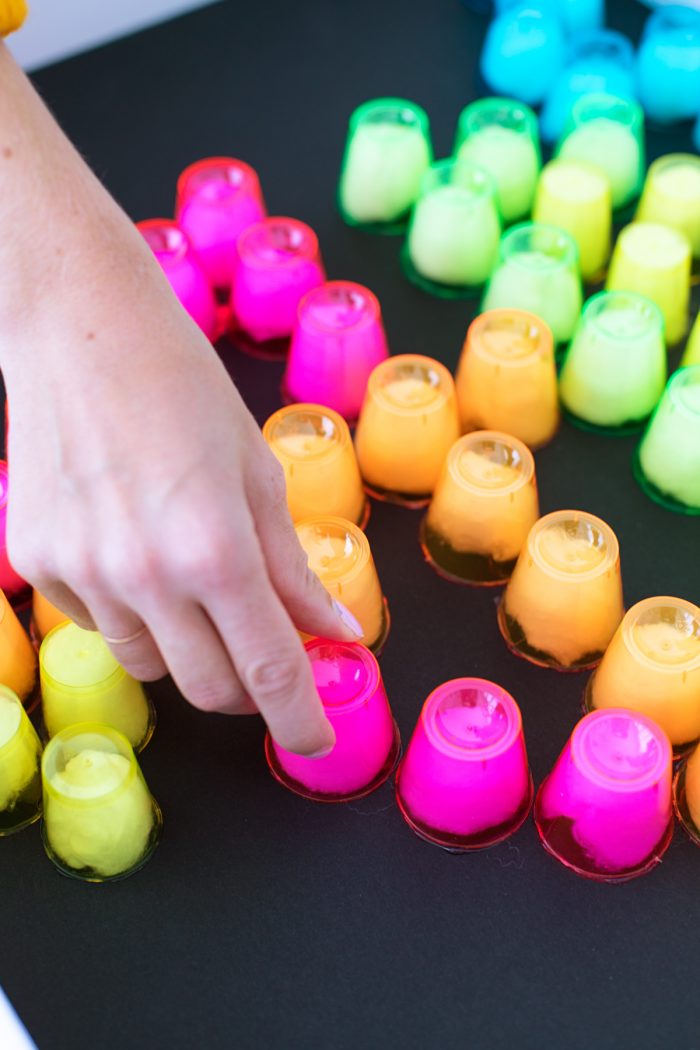
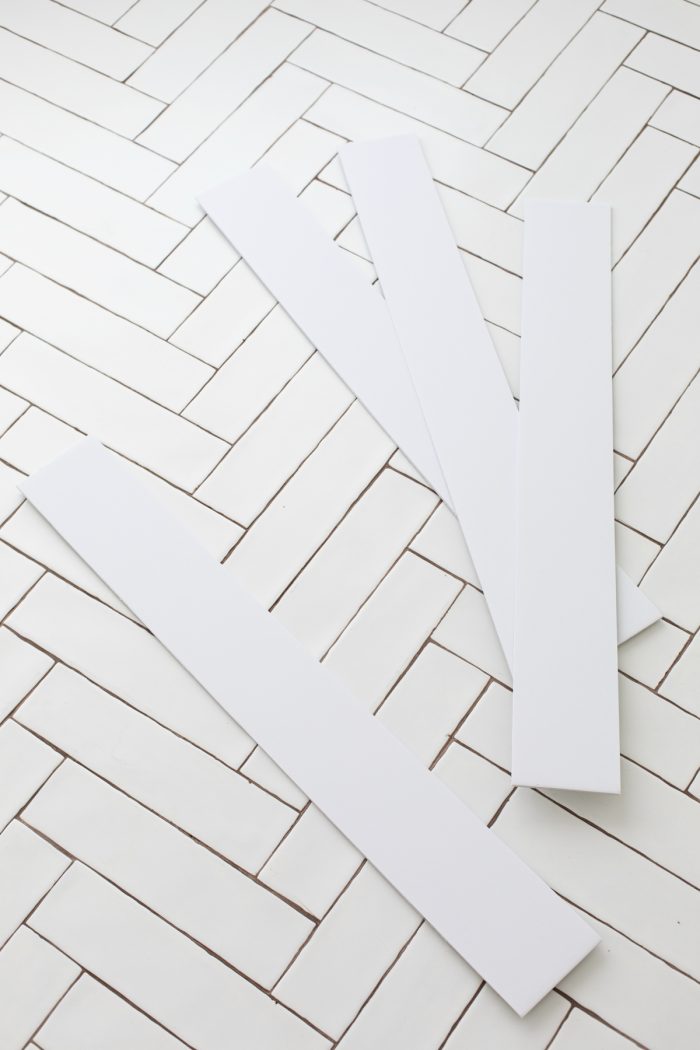
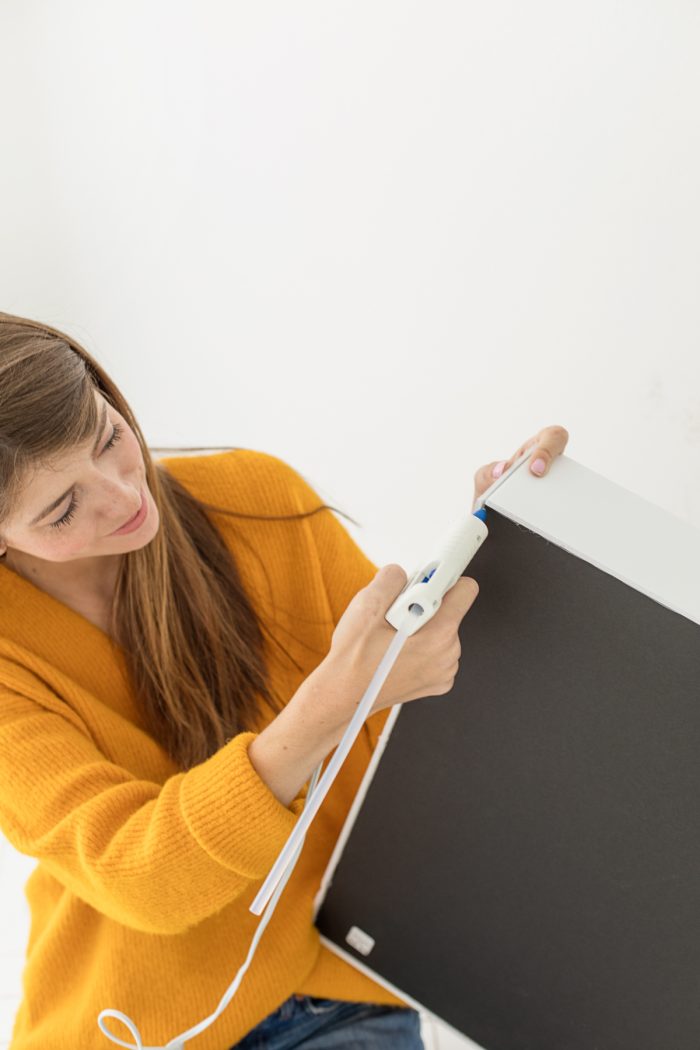
1. First, figure out what design you want your Lite Brite to make! I went with one of the classic ones, the sailboat.
2. Layout your design with your shot glosses on the black foam core. This is just so you make sure your design fits before you start gluing.
3. Once you’re happy with your design, pick up one of the shot glasses and stuff it with one cotton ball (or more, depending on the size of the glasses and/or cotton balls). Then, run a line of hot glue along the inner rim of the glass and glue it right back in place (where you picked it up from).
4. Repeat this with all your shot glasses until they are all stuffed and glued down.
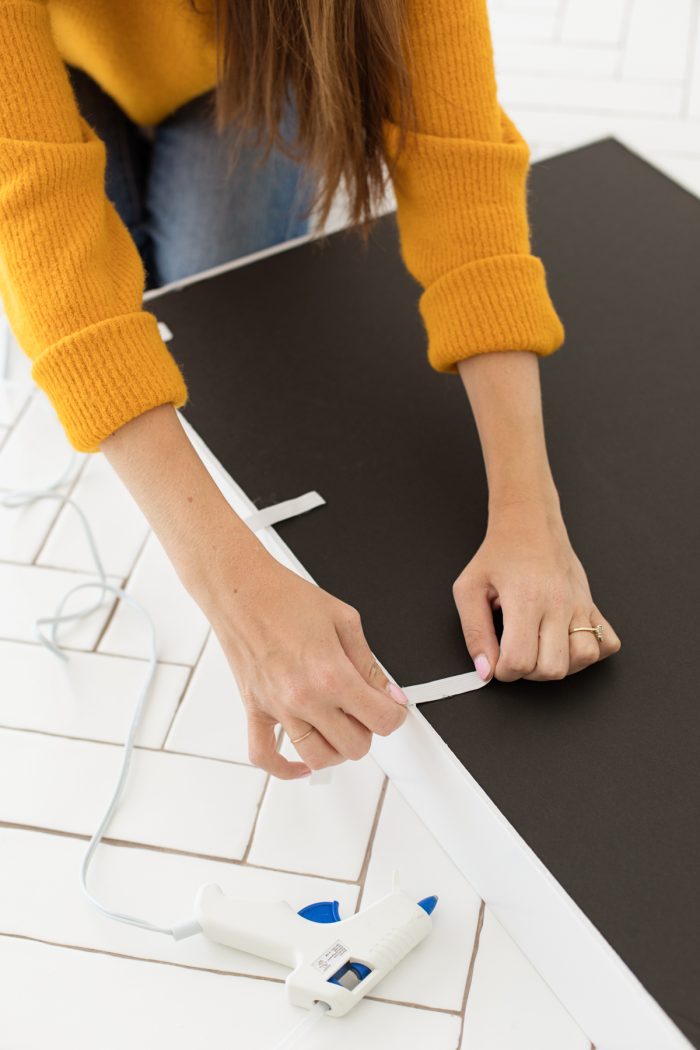
5. Now cut four 4″ wide strips from your white foam core: two should be 30″ in length and two should be 20 1/2″ in length. To cut foam core, you need to do it in two parts. Use your yard stick as a guide and cut through the top layer of the foam core first. Then go back over it again, cutting all the way through the bottom side this time. (If you try to go through both layers at once, it’s going to be jagged!)
6. Hot glue the longer pieces to the top and bottom of the black foam core. Then hot glue the shorter pieces to the sides.
7. Last, hot glue a loop of elastic (length will depend on your height and desired placement of the Lite Brite costume!) to the center back of the black foam core.
Photos by Jeff Mindell
BOOM! I think this entire costume cost under $20. And that’s pretty freaking awesome!
p.s. More costumes right this way!



Kristina B says
NO WAY!! I thought the lights were going to be balloons!
Amanda James says
Seriously contemplating this costume this year!!! Thanks, Studio DIY!!!!
Sydney says
Love this costume!!
Also, I love the shoes! Where did you fet them?
Sydney says
get*
Indya | The Small Adventurer says
I don’t usually ever feel too young, but seeing as I have no idea what a Lite Brite is, I am feeling a little naive 😅 However, I looked up what they are and have to got to say you’re honestly a genius when it comes to creativity. Who else would have thought of using NEON SHOT GLASSES for this instead of lights?!
I definitely think I would have purchased a million little lights for far too much money, and then would’ve had to deal with them getting too hot and/or bursting all through the night! Your way is much better 🙌🙈
B says
Love!
And, where did you get the coveralls? Love those too!!!
hotmail says
Great costume. She looks really impressive.
gmail sign up says
I like your article very much, thanks for sharing the good information we have read
hotmail login says
Really i appreciate the effort you made to share the knowledge. This is really a great stuff for sharing. Keep it up . Thanks for sharing.
Brooke says
I love this. Can I ask what thickness of foam board you used? 3/16 or 7/16ths?
Linda says
I love this Lite Brite costume! I still have my Lite Brite from when I was a kid and it still works (with the original light bulb). This is such a clever and fantastic idea!!
Kelly says
Hi Linda, Thank you for your comment. I’m glad you like the Lite Brite costume. It’s a very creative and nostalgic idea.