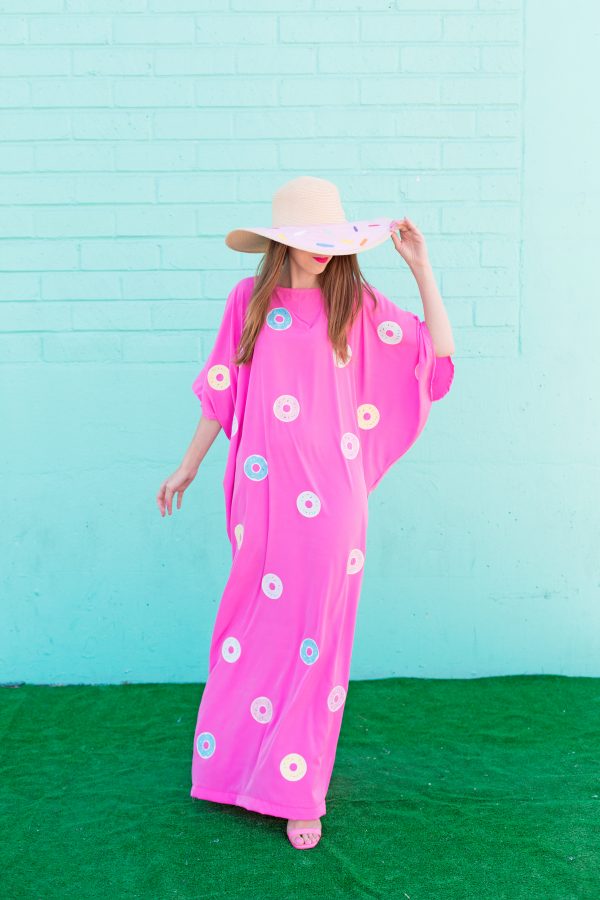
You saw the sneak peek yesterday but yes, yes we DID make a donut caftan!!!!! It’s not like you can get through summer with just a donut beach umbrella. Luckily, we have your back! 😉 I don’t know about you, but the second I put on a caftan, I feel like I need to find myself a lounge chair and a pretty pink drink. Definitely my summer aesthetic. Hahaha! So are you ready to get your caftan on!?
A note for you non-sewing folks! I made my caftan from scratch because I couldn’t find a pink one I loved. But, here are a few existing cover-up/caftan/maxi dress options that you could easily add the donuts to!
Midi Batwing Dress | Maxi Cover-Up
Maxi Sleeveless Shirt Dress | Yellow Henley Shirt Dress
Tie Front Maxi Beach Dress | Maxi Tea Dress
Mini Beach Cover Up
DIY Donut Caftan
Total Time: 2-3 Hours
Supplies
3-4 Yards of Light Cotton, Silk or Other Light Fabric (Depending on height, we used 3 yards and I'm 5'6"!)
Fabric Scissors
Pinking sheers
Sewing Machine + Pink Thread
Single-fold Bias Tape
Donut Printables
Printer
Iron
Iron-on Transfer Paper (This one for colored fabric or this one for white or very pale fabric)
Directions
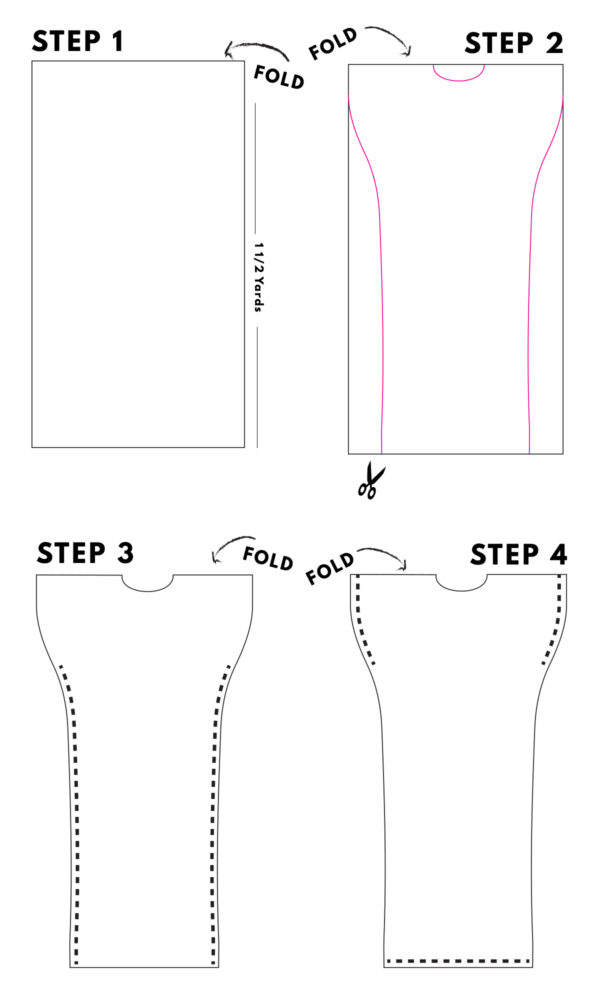
1. Fold your fabric in half, width-wise. That means, if you have three yards of fabric, you'd fold it so each half was 1 1/2" yards long.
2. Find the center of your fold and cut a neck hole (a half circle shape) through both layers, about 7" wide and 3" deep. Then, it's time to cut the shape you want for your caftan. I made mine with slightly curved sleeves but you could also just leave it completely rectangular! Caftans are supposed to be loose and flowy, after all. To get the shape we made, cut as shown in the diagram above. For ours, from the neckline to the end of the sleeve measured about 16" each. The curve for the sleeve was about 10" tall and the body width was about 28" wide.
3. Now it's time to sew! With right sides together, sew up each side of the caftan until you reach the sleeve. If you chose to keep your kaftan a rectangle shape, leave about 10" open at the top. If you went with our shape, stop when the fabric starts to curve. Use your pinking sheers to trim the edge of the seam allowance and prevent fraying.
4. Now you need to cut the caftan to the appropriate length. Try it on, with the shoes you'll want to wear it with, if applicable, and mark where you want the dress to end. Add an additional one inch below that mark and cut off the excess. To hem the bottom fold the bottom edge under 1/2" and then 1/2" again to encase the raw edge. Saw along the edge of your hem to finish. Repeat the same steps to hem the sleeves, but with 1/4" folds instead.
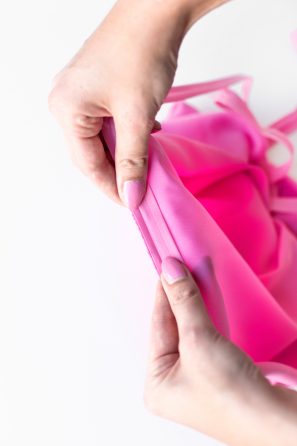
5. Finally, you need to hem the neck. I used bias tape to do this. If you have never used bias tape before, there are a ton of videos out there with great step by steps as well! It can be hard to understand with just photos/words. Open up one of the folds on your bias tape and pin it to the right side of the neck. Stitch all the way around, in the crease of where the fold was.
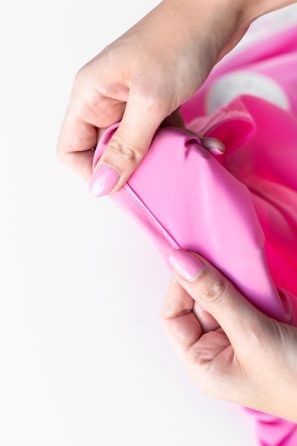
6. Fold the bias tape onto the wrong side of the neck. Stitch the bias tape in place along the neck, using the edge of the bias tape as your guide.
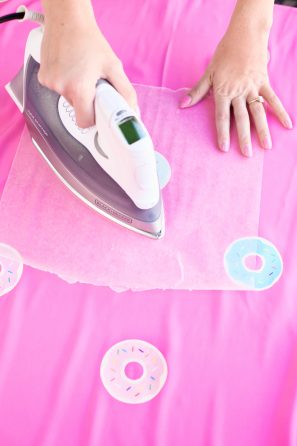
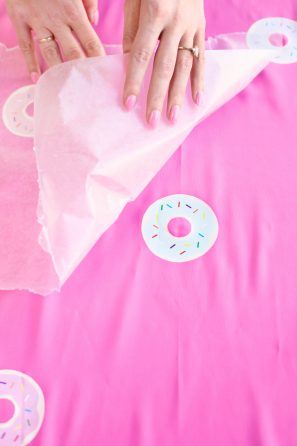
7. Print off the donuts onto the iron-on transfer paper, following the instructions that came with it (every brand is different). We used about 45-50 donuts total. Cut out the donuts. Lay the caftan on top of a sheet on a flat surface and place the donuts as desired.
8. Follow the instructions on the package to iron the donuts on. NOTE: We found with the particular fabric we chose that we did NOT need to iron the donuts on for nearly as long as directed. I recommend printing out a few extra test donuts and testing them on the scrap fabric you trimmed off to determine how long you need to iron for. Once you're done ironing, flip to the other side and iron again. If you are using very thin fabric, you may want to place something in-between the front and back of the caftan to protect the donuts you already ironed.


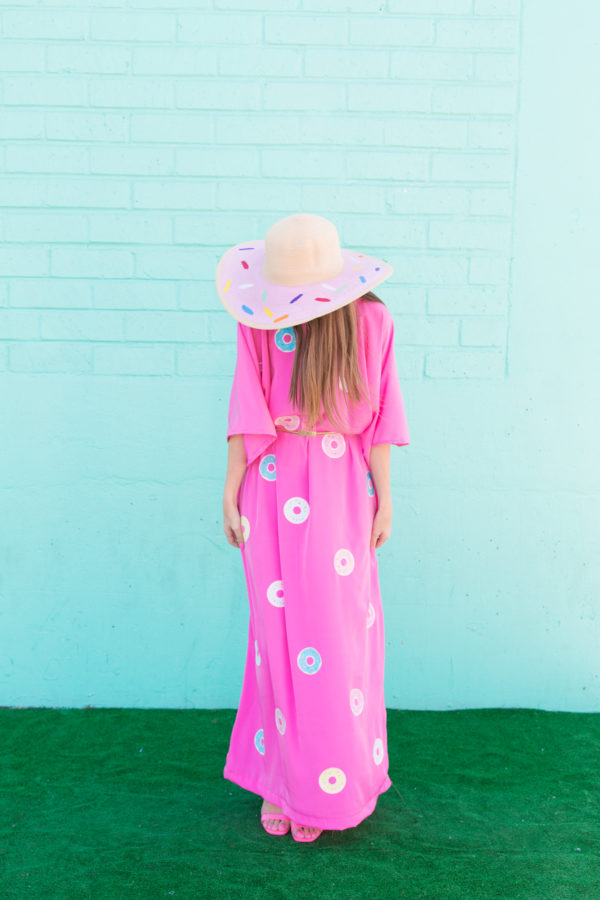
Photos by Jeff Mindell
GET THEE TO A POOL! So tell me folks, what was your favorite project from this year’s donut week!? You know what’s coming tomorrow… THE GIVEAWAY!!
p.s. You can find the tutorial for the donut hat pictured above right here!




diann says
OOOps…your picture says 1.5 YARDS and your words say 1.5 FEET…
Thanks for the pattern…(I noticed it because I tend to go by the words and not the pictures…somehow 18 inches length just did not compute)….very cute and love the donuts!
Kelly says
Whoops! Thanks for catching that, just fixed it!
Kelly says
Wow, this is so amazing, want to try this! check here