This post is sponsored by BEHR® and PopSugar. All content and opinions are that of my own!
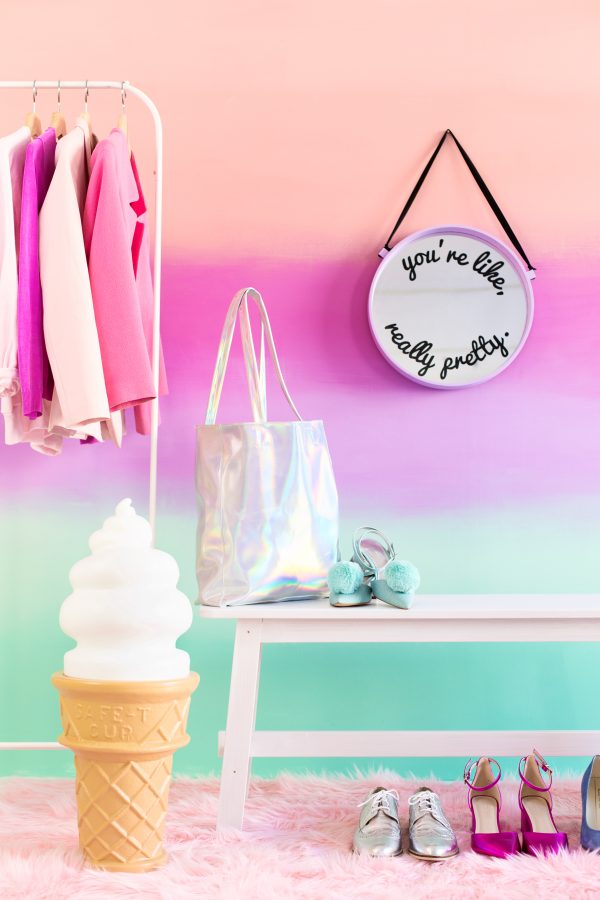
Are you ready for a little wall makeover!?!? We love having a giant white box of a studio to shoot in most days, but sometimes it’s fun to experiment with something different! We decided to try our hand at giving one of the walls this colorful ombré makeover. Isn’t it fun!? I’ve never tried a painting technique like this, but I’m pretty happy with how it turned out, and it only required a few extra paint brushes!
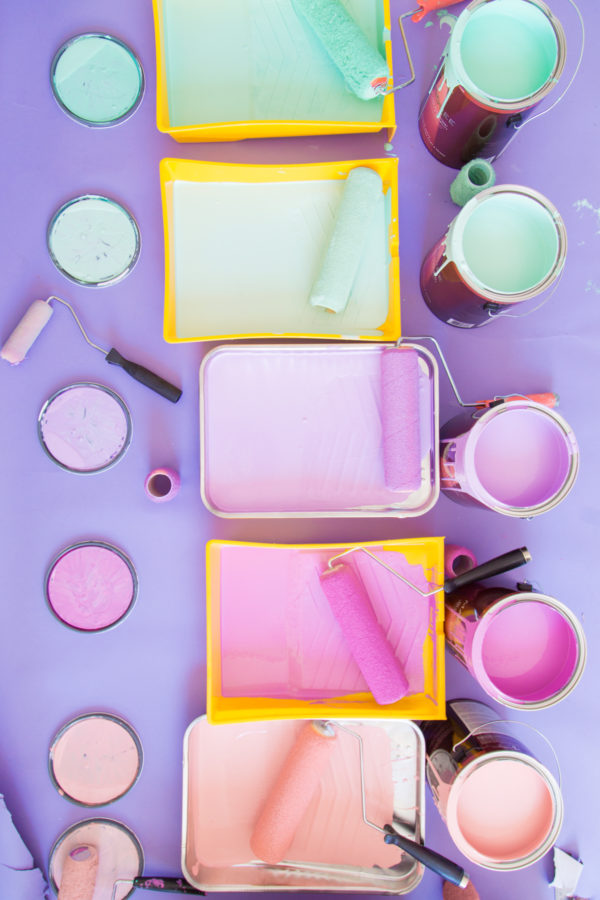
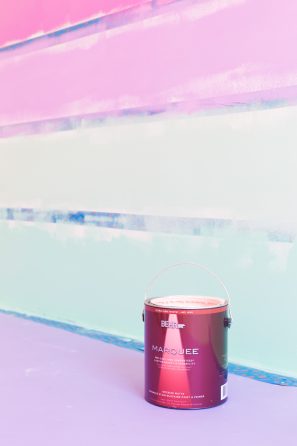
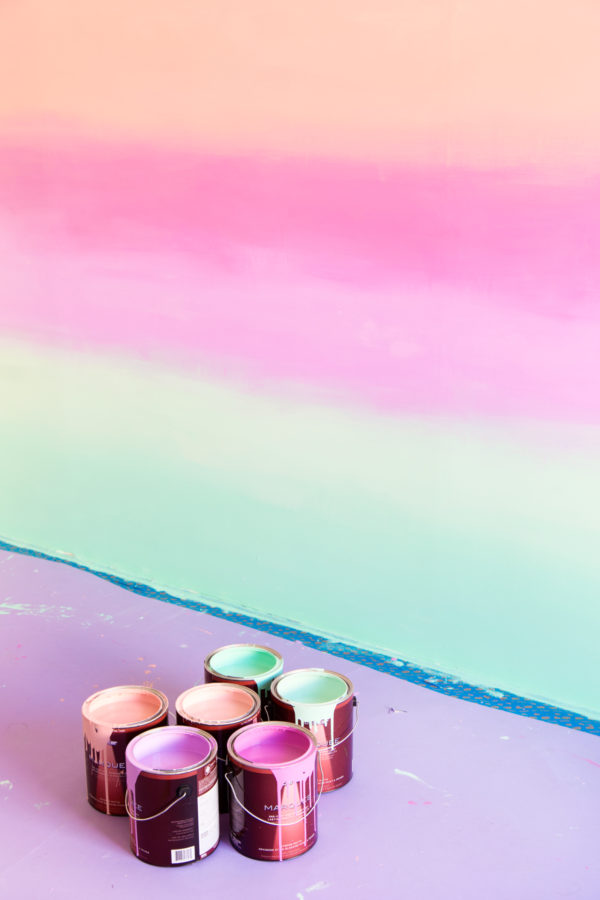
We worked with BEHR® on this project and used their MARQUEE® Interior Paint and Primer. I was going to just do two colors, but then I just kept finding more that I liked (it comes in over 1,000 hues! *gasp*) so we ended up blending six! And I’m so happy we did!!!
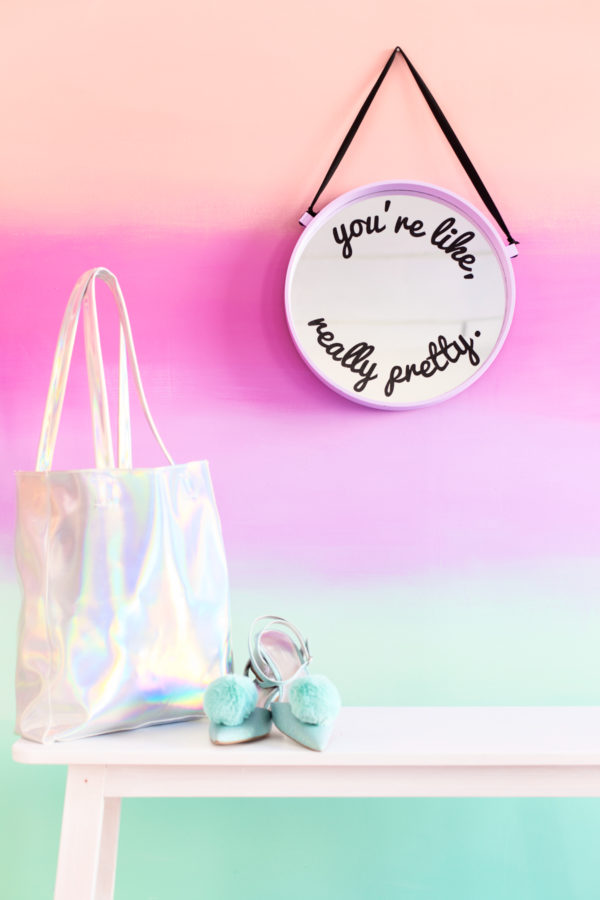
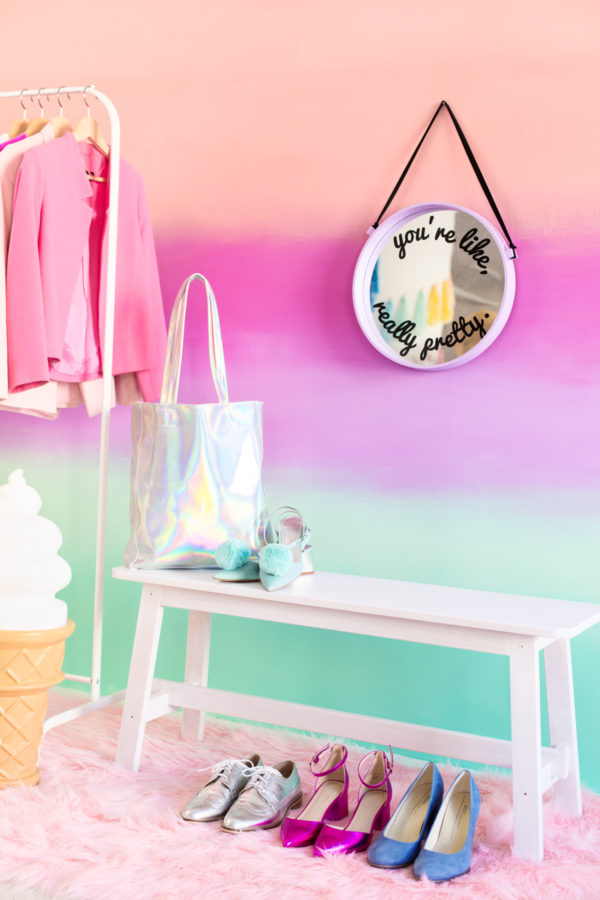
Look at those COLORS! Still stuck on that, yep. But, honestly, we jumped at this opportunity because the BEHR MARQUEE® Interior paint has awesome hide and stain resistance and if you have ever stepped foot in the studio, you’d know this importance! We’re constantly moving things around, banging things into the walls… you get the picture. Plus, it’s a one-coat kind of situation and this girl has got cake to EAT and confetti to throw so I’m all about that one-coat life. Alright one more look at the colors before I tell ya how we did this!
DIY Colorful Ombre Wall
Total Time: Dependent on Size of Wall!
Supplies
BEHR Marquee® Interior Paint in 3-6 Colors (We used Noble Blush, Coral Fountain, Joie De Vivre, Purple Gladiola, Free Spirit and Pageant Green, in that order!)
Measuring Tape
Painter's Tape
Paint Roller (You'll either need six roller covers or to wash them in-between!)
Paint Trays
At Least 3 Large Paint Brushes
A Buddy! (This project is best done with two people)
Directions
1. Decide how many colors you want to use. Then figure out how tall your wall is and divide the height by the number of colors you're using. That will tell you how tall each section needs to be.
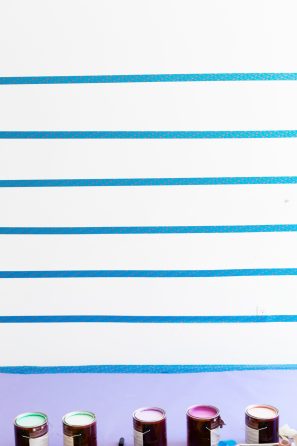
2. Once you know how tall each section needs to be, divide up your wall. You can start by making a few small marks with a pencil or just go right ahead with the painter's tape. NOTE: You don't actually want to paint right to the painter's tape (you don't want to because it will create a hard line) so you can either use full strips across the wall (like we did) or just a few pieces across the lines where you want each color to stop. If I were to do it again, I would probably just place a few places along each dividing line to save some tape!
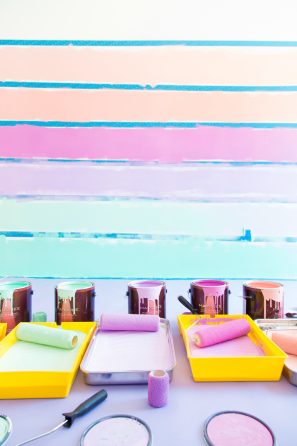
3. Now that your wall is taped, it's time to paint! Start painting the sections in each of their respective colors. Remember, the tape is just there to help you see where each color section should start and end. You do not (and should not) paint right to the tape like you normally would! You can see the white gaps in our photo above.
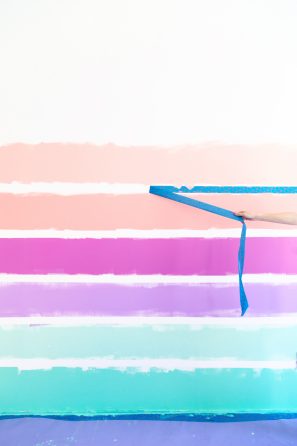
4. Peel off the strips of painters tape.
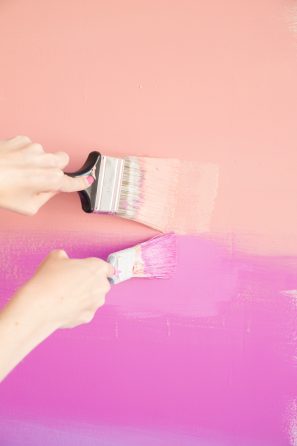
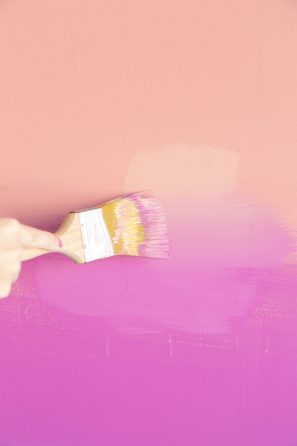
5. Now it's time to blend! This is the part that you really benefit from having a painting buddy with you. You're going to work in small sections at a time. With one paint brush, paint a few strokes of one color, covering about half of the white "gap" that you've left between the two colors. Right away, use another paint brush to brush the other color right above that, so they meet (or almost meet) in the middle.
6. Immediately use a third brush to blend the two wet colors together, making long strokes back and forth over them. More is more here, continue making stroke after stroke to thoroughly blend the two colors together. You can add more paint if a certain part isn't blending well, just work quickly! If you want the colors to have a more gradual fade, widen your blending area a bit. Easy as that!
7. Continue working your way across the color divide until you've completely blended it. Then, move on to the next two colors and repeat the same steps, and so on. I recommend stepping back every so often to look at the blended colors from afar and to ensure you are happy with how they are blending. If you need to touch up a spot, go back in with more paint of each color and blend again. This is the kind of project where there's room for error, so it's easy to do touch it up whenever you need to! HOWEVER! Keep in mind that paint looks different when it's wet than when it is dry, so if you notice it has a "splotchy" look, wait until it has dried more before making more changes to the paint.
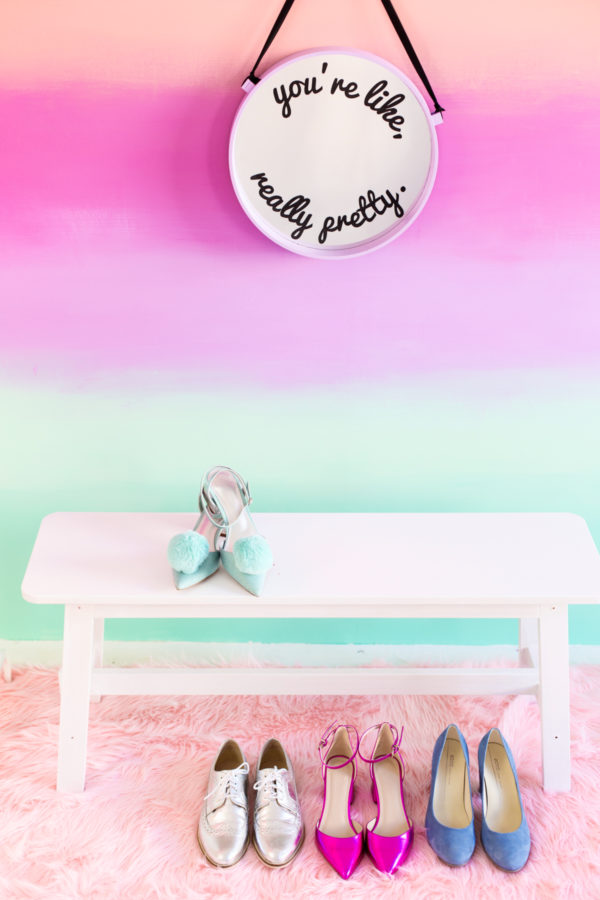
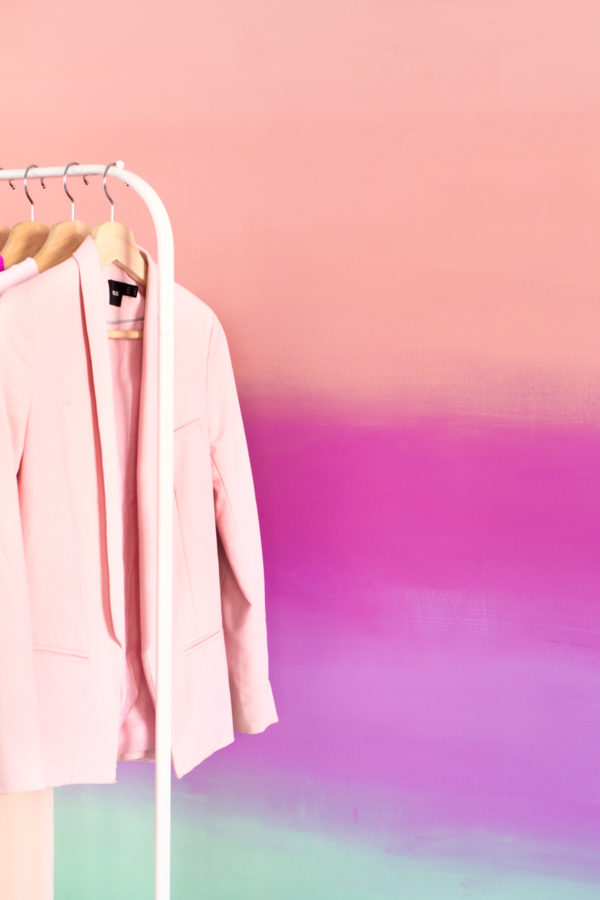
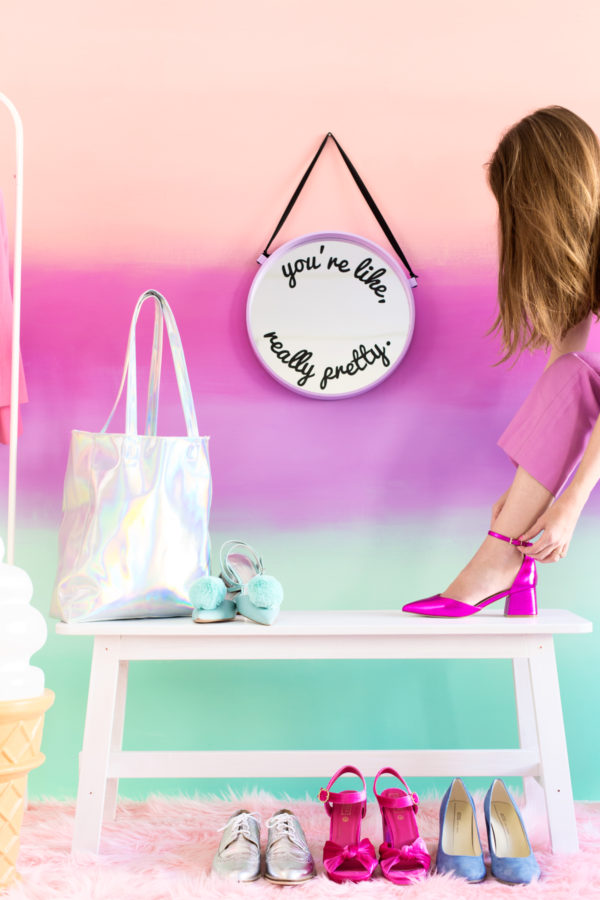
Now, imagine adding in a few more colors and making it a full ombré rainbow! I mean, how could you even LIVE!? Would you ever try a paint technique like this? Where would you use it!?





Michelle says
I love how bright and cheerful it looks, so cool!
https://www.makeandmess.com/
les says
LOVE the colors!
and i didnt realize how many there were…i thought it was only the 4 (didnt see that light peach-ish) so imagine all the others you could sneak in!!!
love this!
Paige Flamm says
This wall is amazing! I want to try this in my daughter’s room!
Paige
http://thehappyflammily.com
V says
Looks great! And is really different, and it kind ofmakes me think of a rainbow cake🤤
Tom W. says
The colors are fantastic! I like how you blended the colors to make the ombre effect.
hemp cord says
I like your idea. Wonderful colors! It really different post. I will try it my room!
Rachael @ Rachael's Foodie Life says
Yes Yes Yes!!! LOVE THIS!!! now how do i convince my husband to let me paint a ombrè wall in our new house…..
farah dafri says
Everything ombre is so pretty! and now, an ombre wall! I want thisss
Serkan says
Thank you for your advice
Ari R. says
this is a really cool wall 🙂 Pinned for my followers.
Redshed says
Very unique idea. The color combination is very good. Is it looks beautiful if we used printed ombre wall?
Courtney Doughman says
I saw this post and did this to my daughter’s room. It turned out amazing.
Evie Keith says
Oh, this is so amazing all the colors look so nice at wall love this idea
James says
Nice wall, my wife would love something like that but we ended making it for our daughter.
Angelina Orlando says
I did my wall similar to this however I unfortunately got that “hard line” from the tape, I’m trying to blend, but am having a bit of difficulty.. Any suggestions would be great. Thank you
Ashley G says
How much you paint did you use?
We’re getting ready to paint my daughter’s room and I think that many gallons would be a bit much for and accent wall?
Mallory says
Hi! I love this idea and we are going to do it in my little girls room. However when I started to buy the paint the joie de vivre looks more purple than pink. I was wondering if they tweaked the color or if it’s just how the color looks on the computer? I really want the pink to show through it’s my favorite part? Do you have any insight on the color? It looks really close to purple gladiola. Any help would be appreciated!
Mallory
Sarah says
I love this colour so much I am doing my daughters bedroom like this I am struggling in the uk trying to match the colours can u buy from the uk thx x
KTK says
Thank you for your page! We love it and did it ourselves! It turned out amazing!!